|
12/25/2014 0 Comments Eeeeewwww! Ew ew ew ew!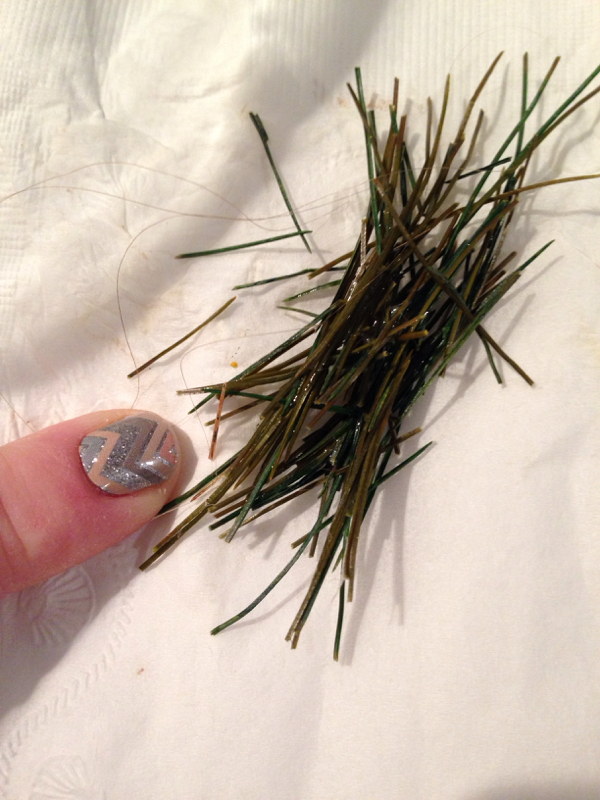
My cat puked this up in one go. How did he even eat these?!? #christmastreeproblems
0 Comments
12/7/2014 0 Comments Christmas fabric garlandI started working on this a while back. It ended up going through several iterations before landing on this. I could give you a list of what didn't ended up working. But it turned out pretty nice. 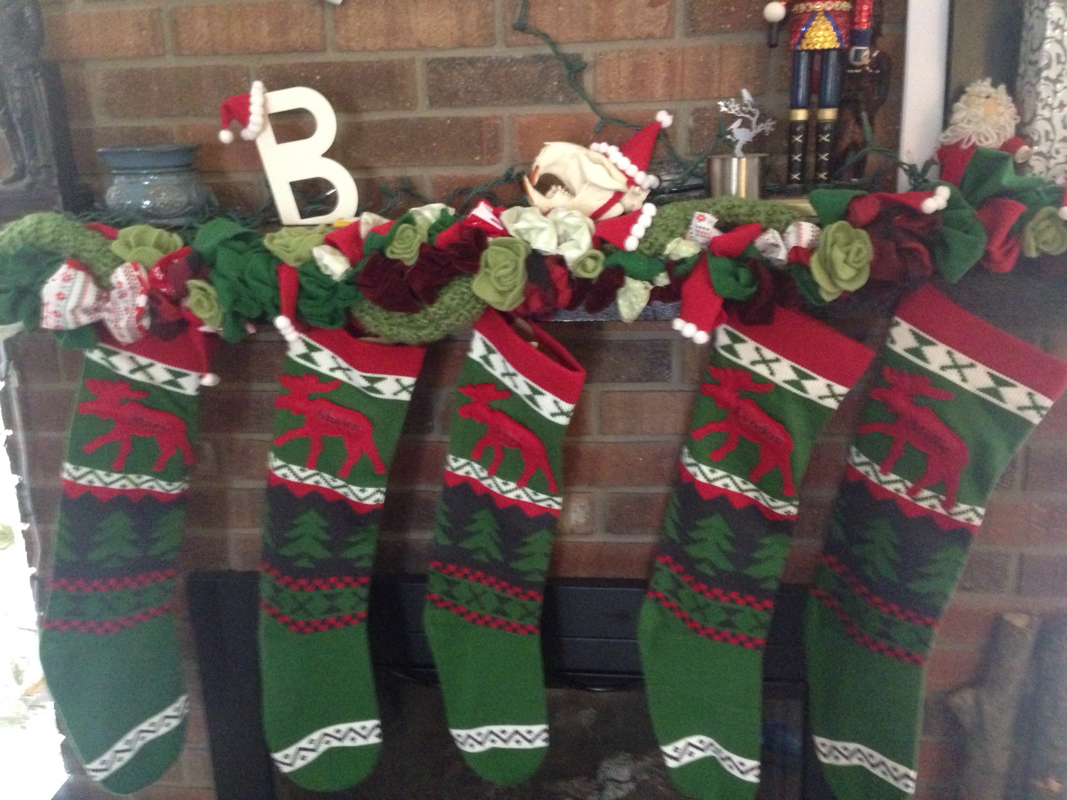
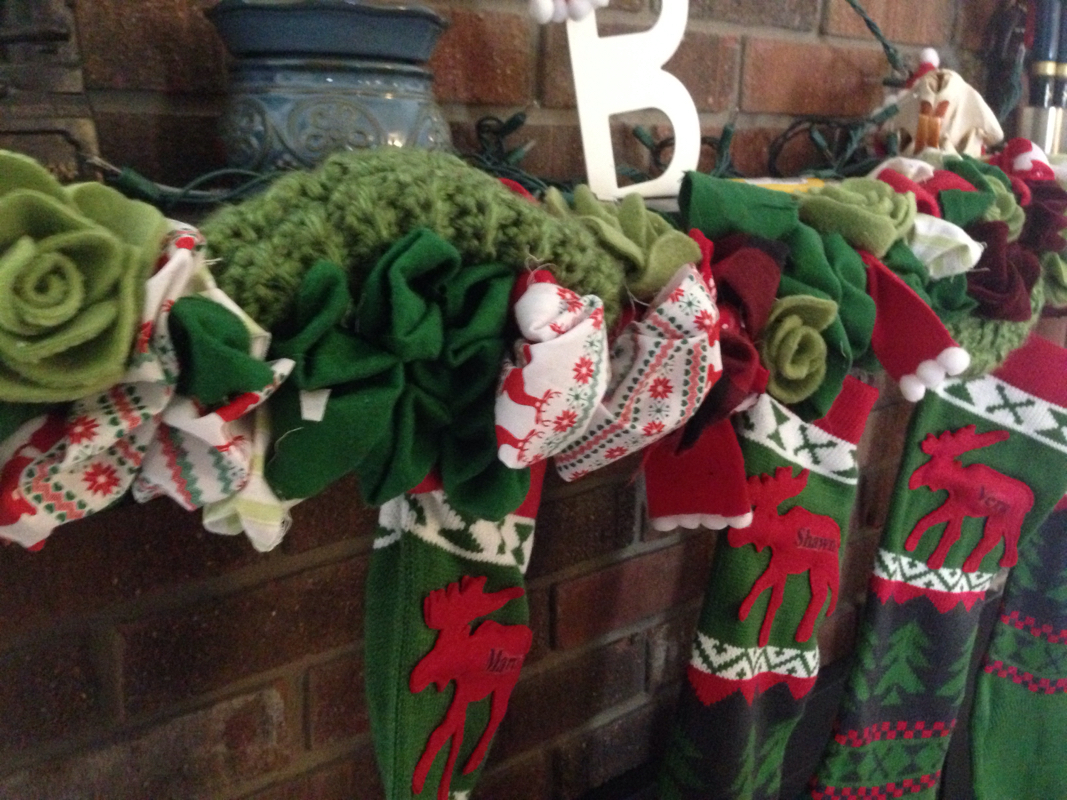
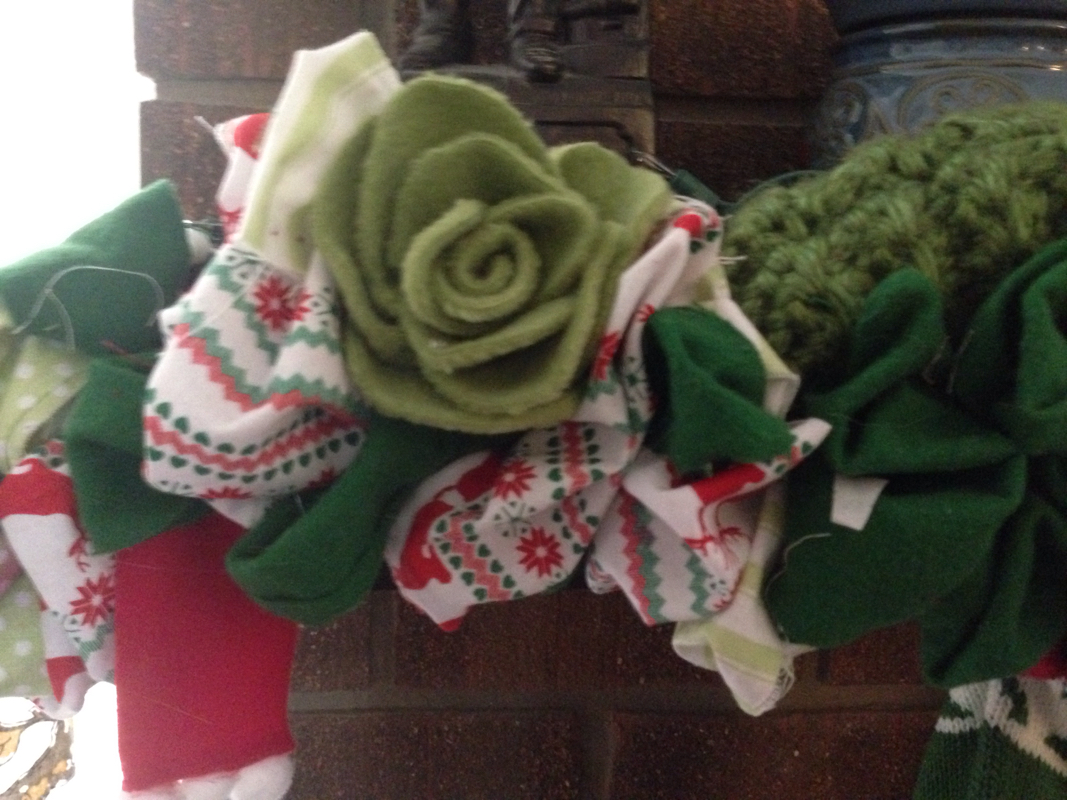
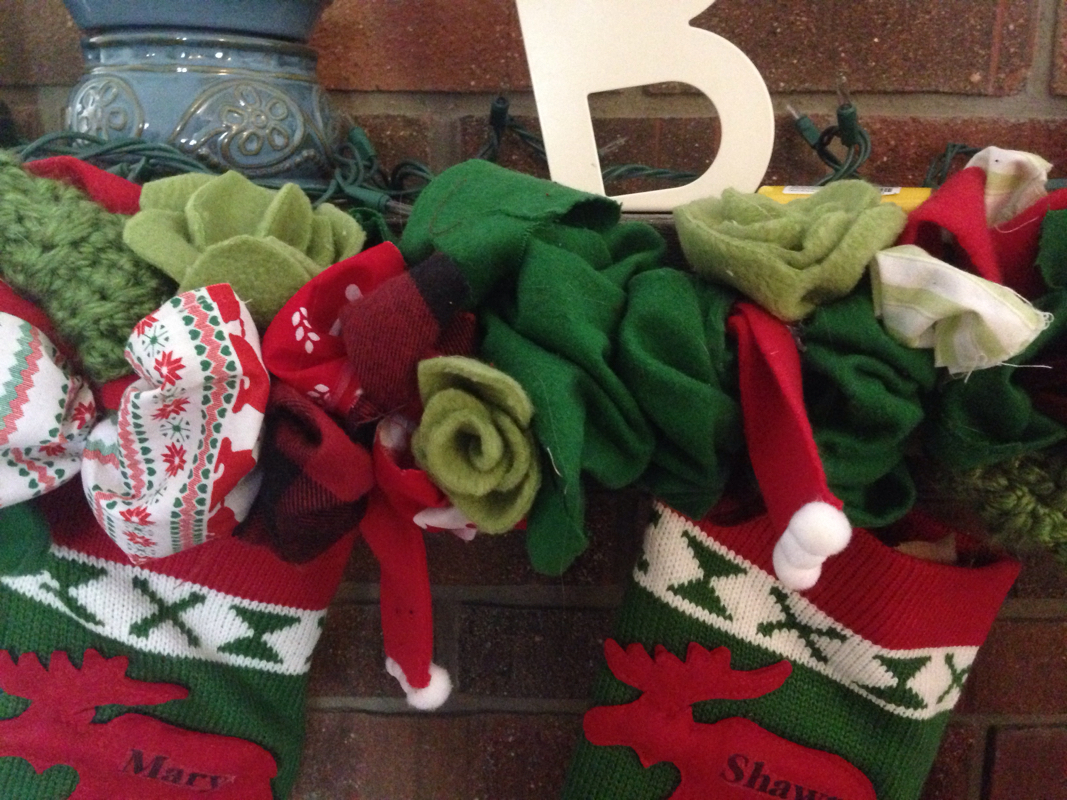
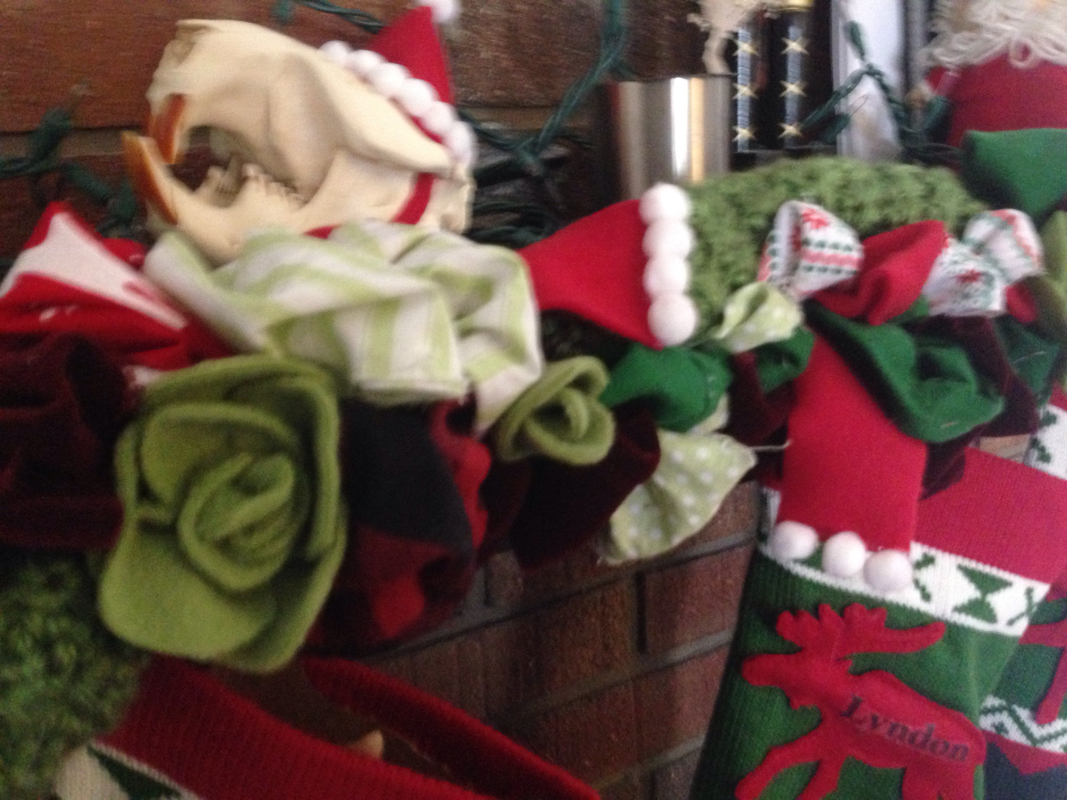

All the fabric edges are raw. The fabric was more flexible left alone, and I figure I'm not washing it anyways. I took a 2 inch strip of fleece and cut slits in it every 1 inch or so, then pulled the fabric through. I cut varying lengths and widths. I used twist ties to join fabrics on the back side, but I probably could have stitched them together. Then I added my fleece roses and "scarf" strips with hot glue. I also had a square of crochet that I sewed into tubes and weaved in. I think it turned out pretty nice. Like an ugly sweater, happy but tidy, sweet crafty Christmas. I wish I had ornaments to match. 12/4/2014 0 Comments The perfect cup of JoEvery cup of coffee I've had has been slightly different. You think something so simple would be uniform but it's really not. It's especially different regionally. Coffee shop coffee is stronger, and diner coffee is weak as hell. When I make coffee at home, it's often hit or miss. Mostly due to the way I measure out my grounds, water, sugar, and creamer. So I'm trying to be more scientific in the way I prepare it myself to figure out what I like, and what makes a bad pot when I don't like it. 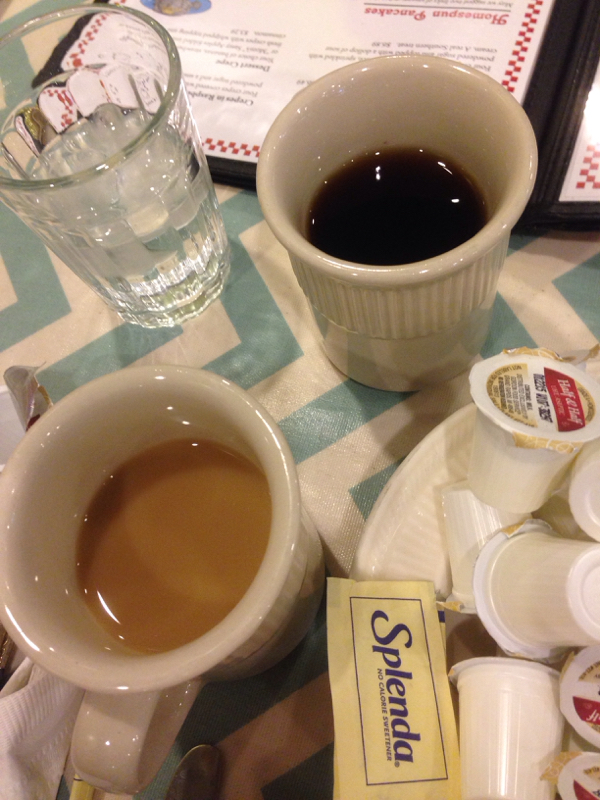
Our local diner 'Le Peep' has what my husband and I refer to as coffee-tea. It's as watery and transparent as tea.
Often, bags of commercial coffee grounds have instructions for measurements. 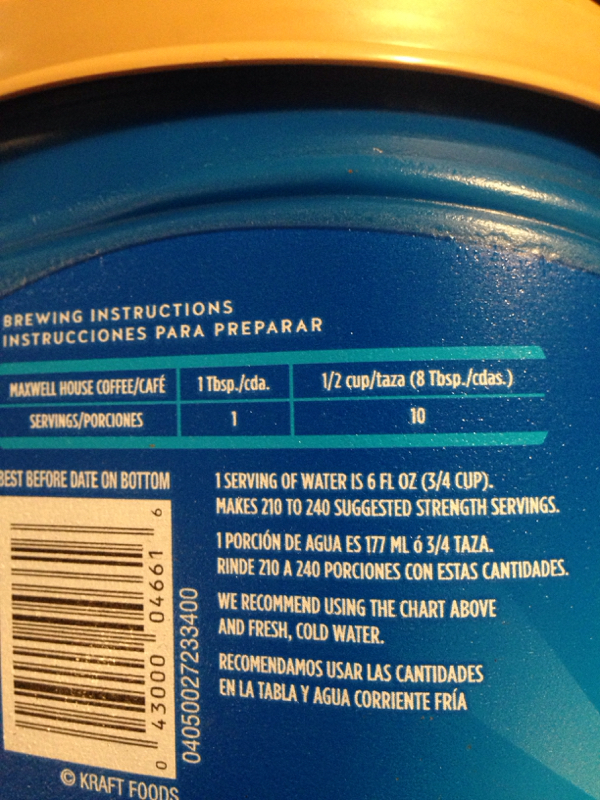
This Folgers suggests 1 tbsp grounds for every 6oz water.
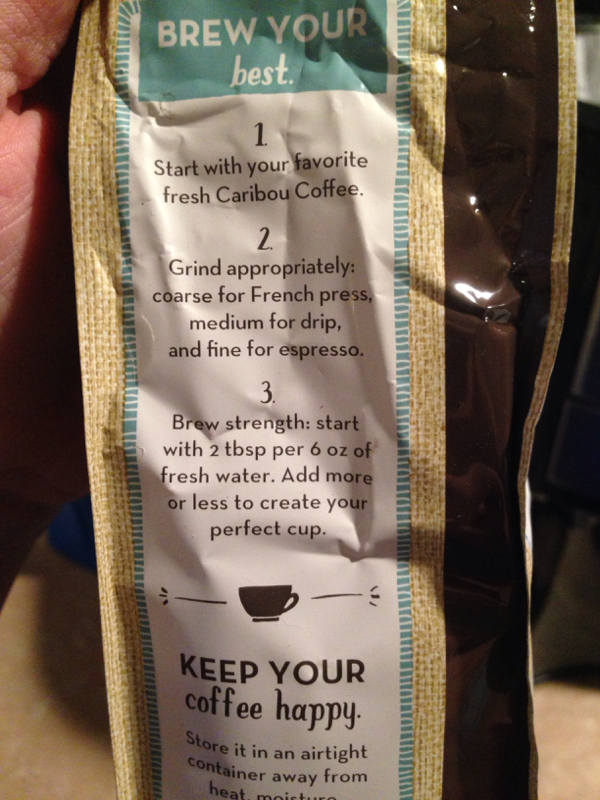
This Caribou Coffee bag suggests 2 tbsp grounds per 6 oz water
I had a container of Starbucks that called for 1 mounded tbsp of grounds for every 6 oz water. I'm guessing that would equal about 1 1/2 tbsp if measured precisely. So between 1-2 tbsp is what commercial products suggest. Here's where things get wonky. My coffee maker has measured dash lines to let you know how much water you're using. But what do the dashes mean? 6oz = 1 serving? You'd think so. But... 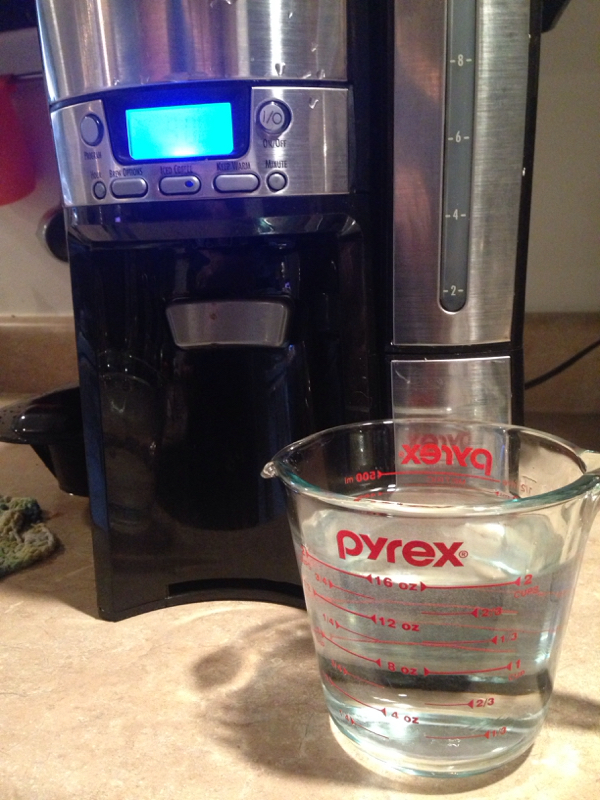
16 measured oz of water
"3"???? Wtf???
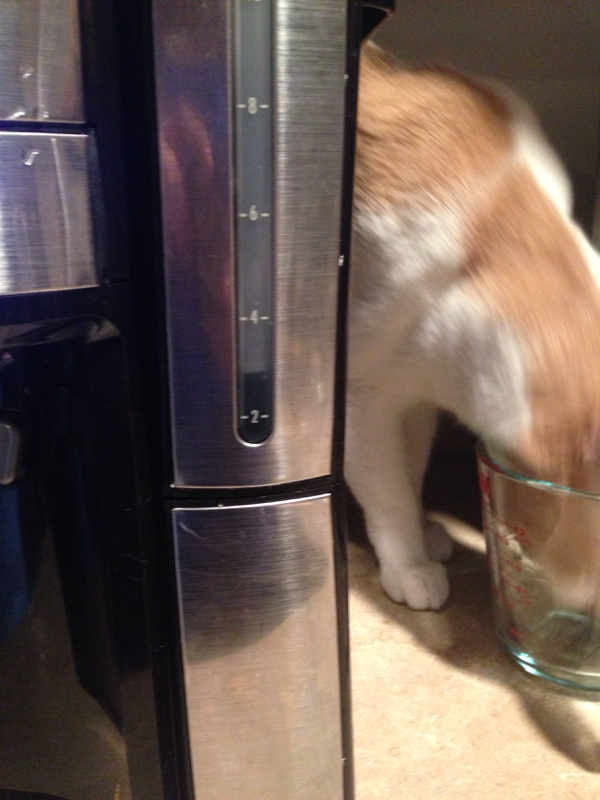
So 16 oz goes to an implied 3 marker. 16/3 = 5.3 oz which is not a serving of water. I measured an additional 32 oz into the machine which filled to the 9 marker, implying the dashes are evenly spaced for 5.3 oz of water each. Now, with 48 oz of water in the machine, I need to figure out how many grounds I should add. 48/6 (because 6 oz in a serving)= 8 servings of coffee. Then I get to decide how may grounds I want per serving 8 tbsp? Or 16 tbsp? There are 4 tbsp in 1/4 cup. 8 in 1/2 cup. So I settled on a lightly mounded 1/2 cup measurement, which puts me mid to low range of the suggested serving. But a hell of a lot stronger than diner coffee. As long as it's not making oil sheen rainbows on top, I'm enjoying myself. Which lead me to create this chart: 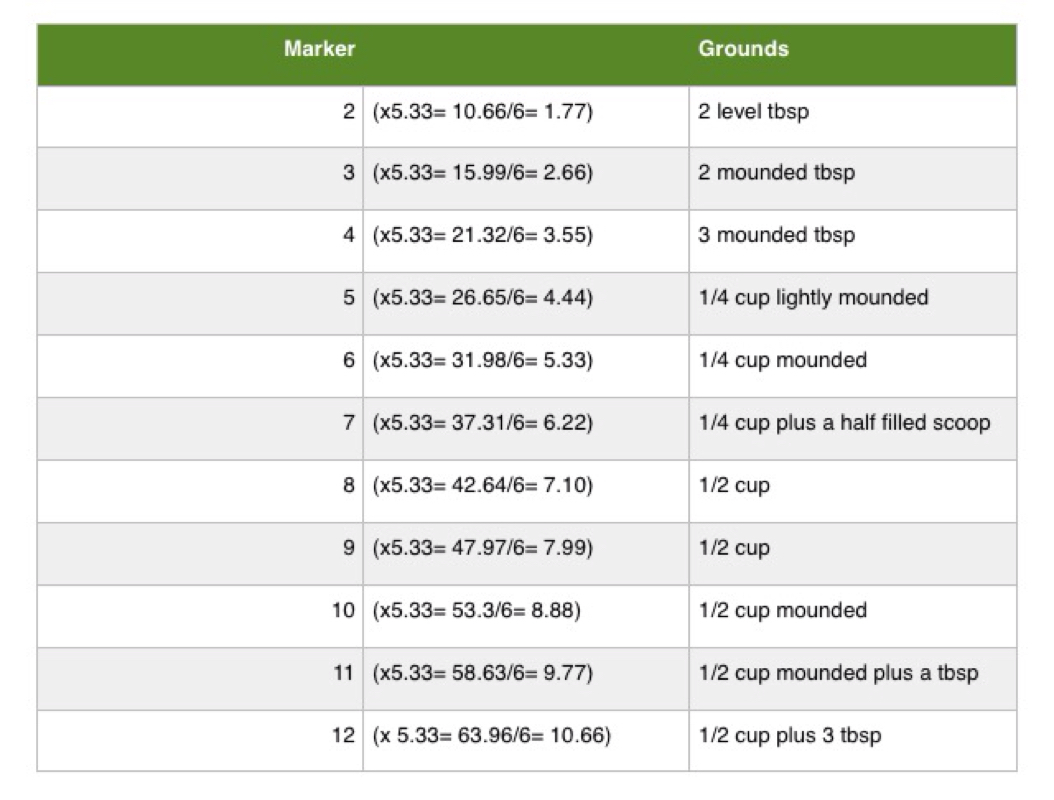
Didn't that turn into an exciting real life word problem?? Perhaps I'm overthinking things, but I like knowing what to expect. Especially when I'm usually making my coffee in a sleepy stupor. next thing to figure out is how much cream and sugar I need to measure out for each of my mugs of varying sizes. Now you can have a damn fine cup of coffee, however you like to brew it. 

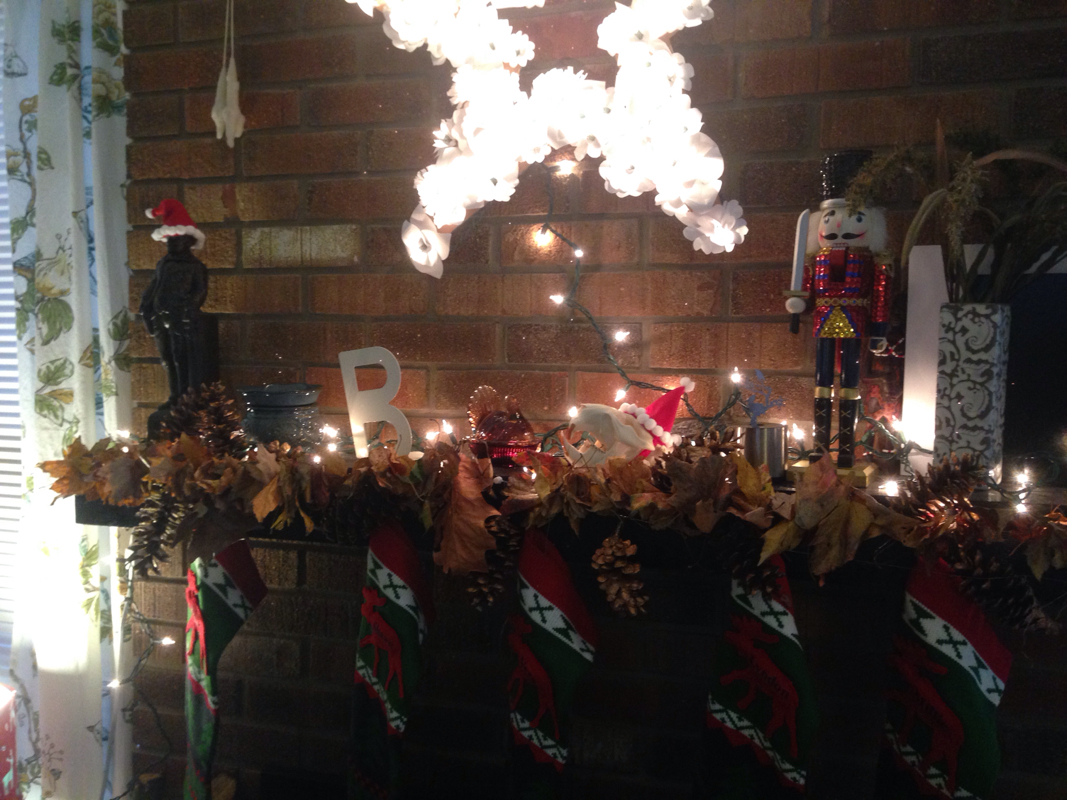
12/4/2014 0 Comments Leaf garland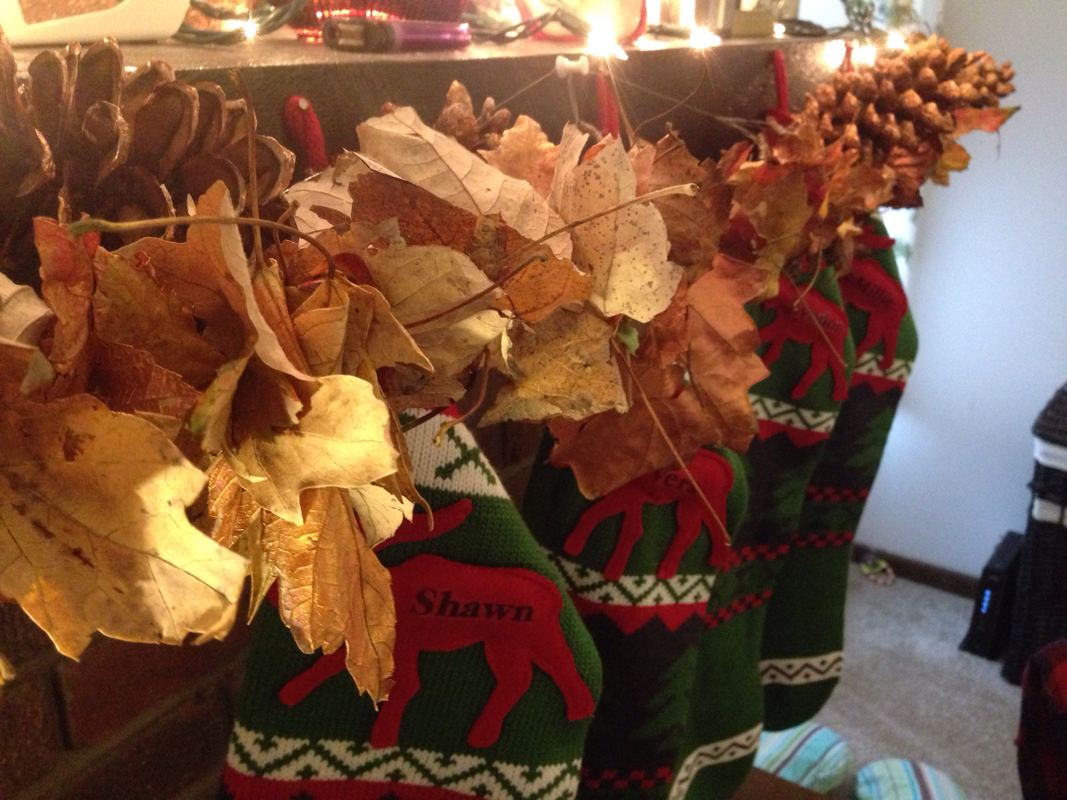
I wanted to make something for fall, without spending money. I had some jewelry wire and shiny tempera paint, so I collected some fallen leaves and pine cones. I laced the leaves together on the wire and painted a few to add shimmer. This project had a few major flaws. 1) I waited too long to collect leaves and they were a bit too dead/ crunched up 2) I couldn't be patient enough to fully paint one side of each leaf, which was my original goal. 3) I wasn't patient enough to lace the leaves so they faced forward. I basically took wire, and poked it once through each leaf and strung them up on my mantle. My daughter politely said it looked "helter skelter" but it was polite for "that looks like some trash, strung across the mantle." I made my oldest (she offered) paint the pine cones, and I made wire hoops by wrapping wire around the stems. She only painted one side (top) which I believe was out of laziness (like mother, like daughter?). Those turned out cute. 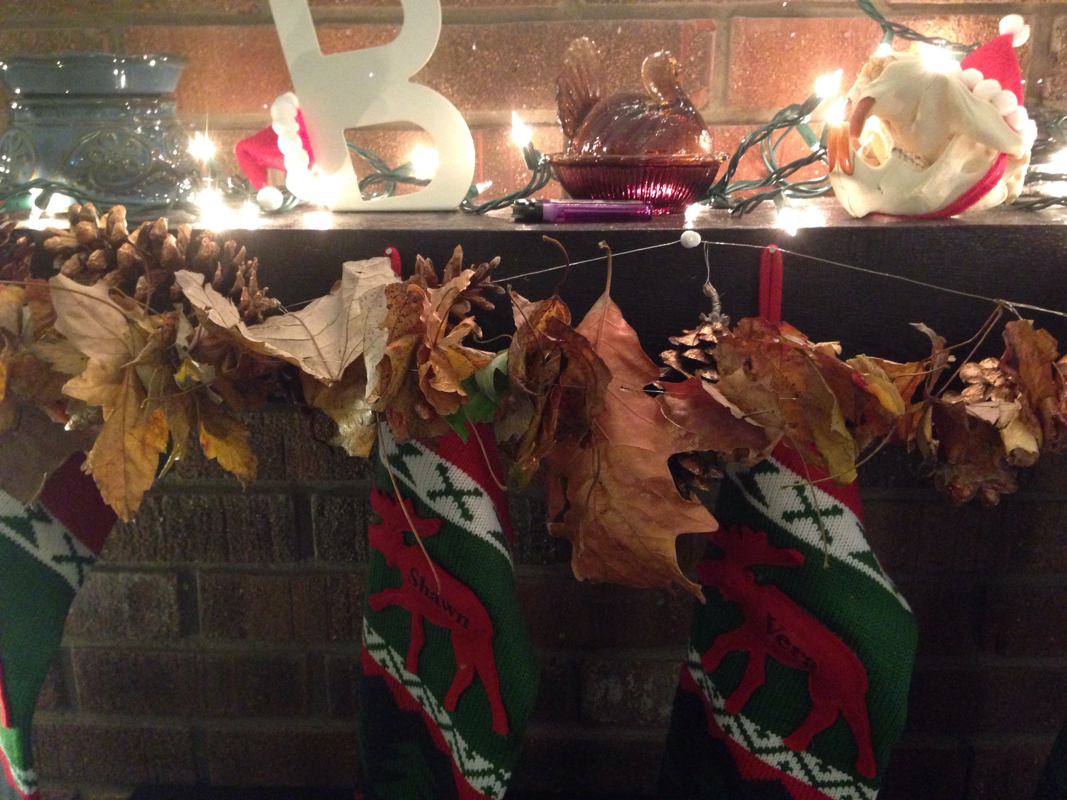
Bad pic. I had trouble keeping the pine cones clustered, since I didn't secure it well.
12/4/2014 0 Comments Holiday lamp shade slipcover.I went super lazy with this lampshade cover. I just wanted to add a pop of holiday, without creating anything too permanent or difficult to store. I took my fabric, cut it 1/2 inch wider on each side to my lampshade. I wrapped it around and did one strip of hot glue on the fabric only. Then I folded the top and bottom edges under. When the seasons over, I can pull it off like a slip cover and store it away. I can reuse it next year, or use the fabric for something else. 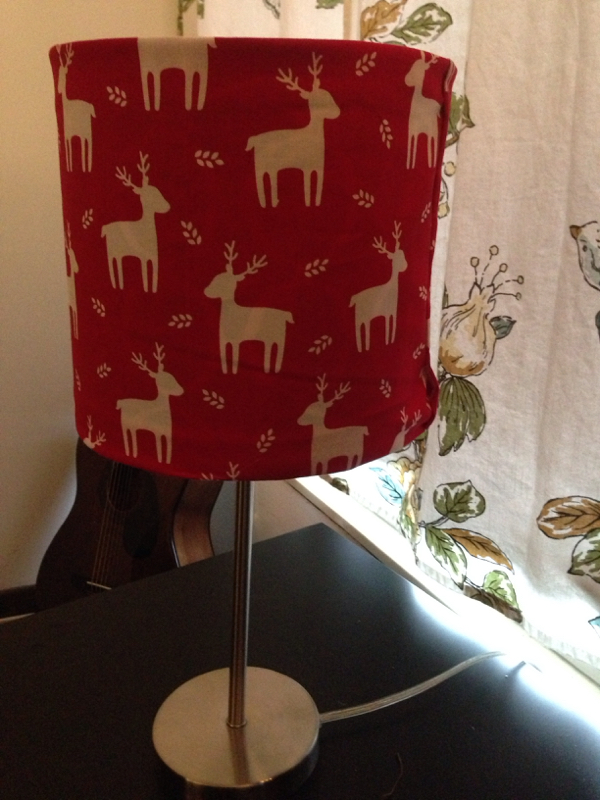
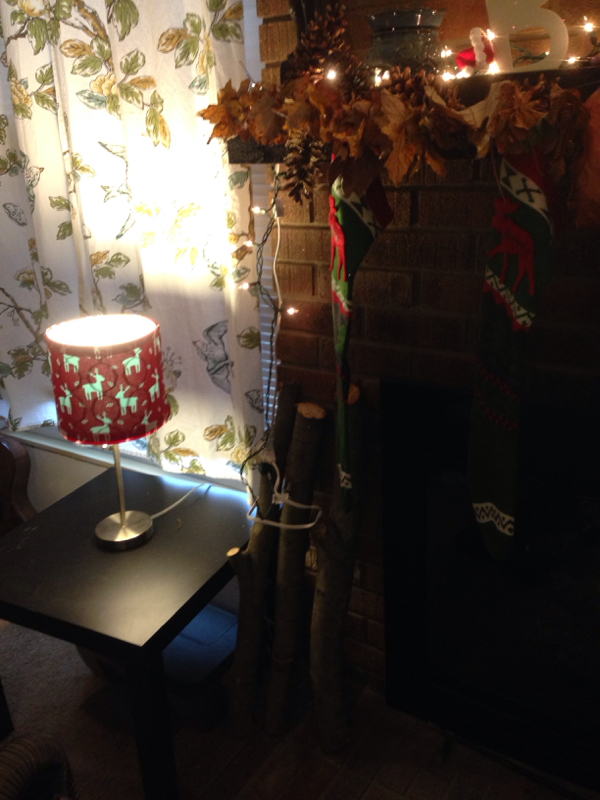
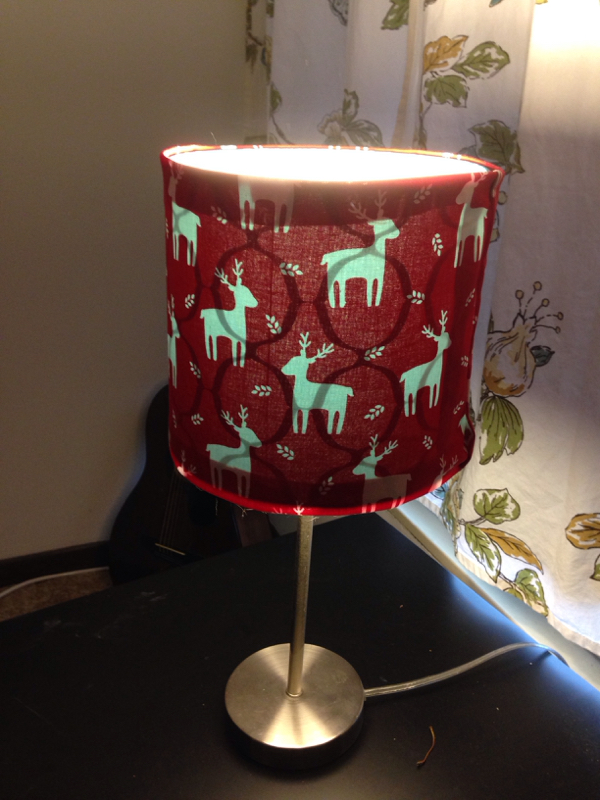
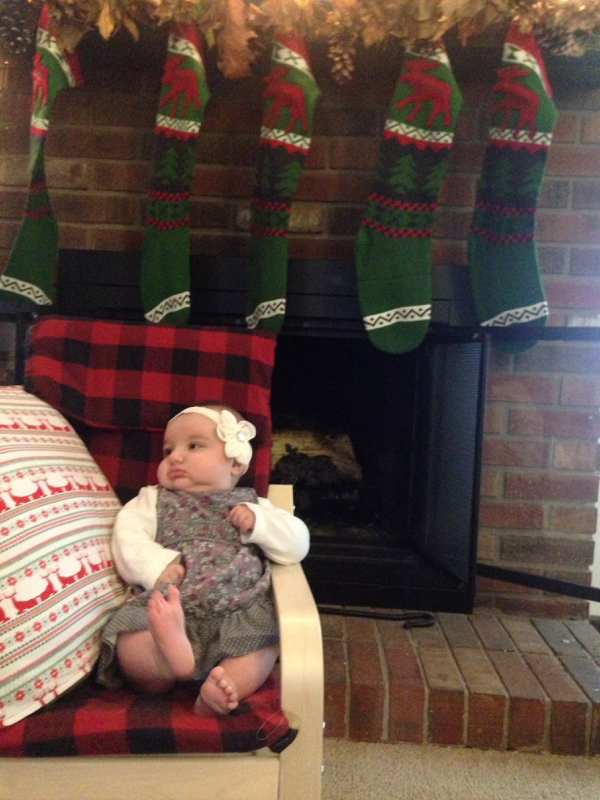
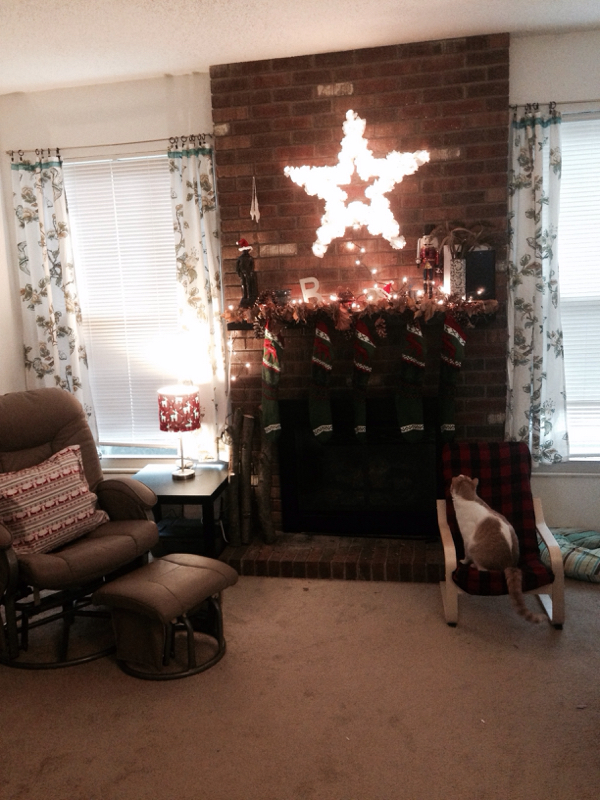
The major issues with this project is you can see the pattern from the real lampshade when the light is on. I don't really care much, since I don't have company and its just for me. Plus, I rarely use a table lamp (since it's just extra electricity). (My son does like to pull the string, so it's been on more than normal lately. But its cute) 12/4/2014 0 Comments IKEA chair slipcoverI didn't make a tutorial, I'm just showing off part of my Christmas decor. We have a kids chair from ikea sitting near our fireplace. It's never been covered yet, with the exception of draping fabric around it to decide what I liked. But I got excited to follow through with the last trip to hobby lobby* when I was holding one of our new stockings, in hand, to match to. I wanted to find something that matched our stockings, would be cheap, cozy, not too cheesy, and a hint of manly. Maybe when I make a cover for the non holiday season, I can show how I made it. (Hint: it was the cheapest, laziest way I could thing of). I wish I had rounded the corners of the top pillow, but I don't want to fix it. 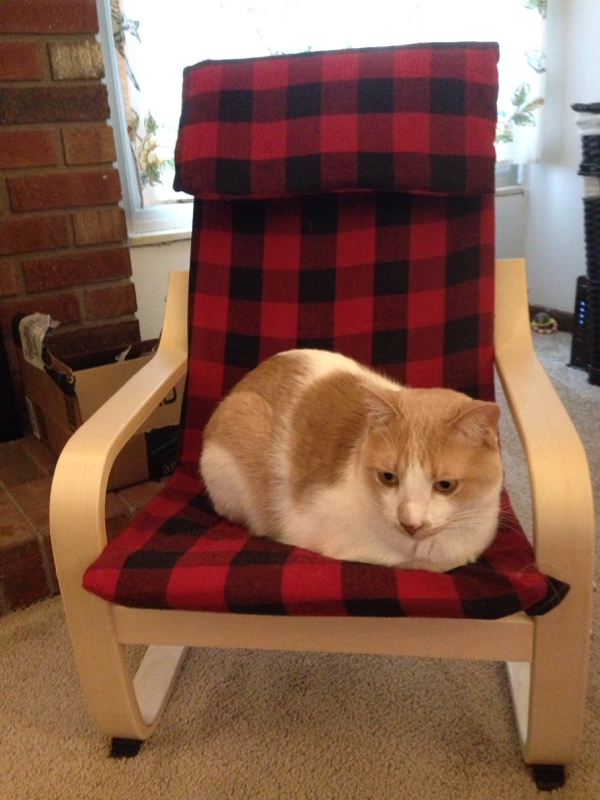
Patches enjoying the new slipcover
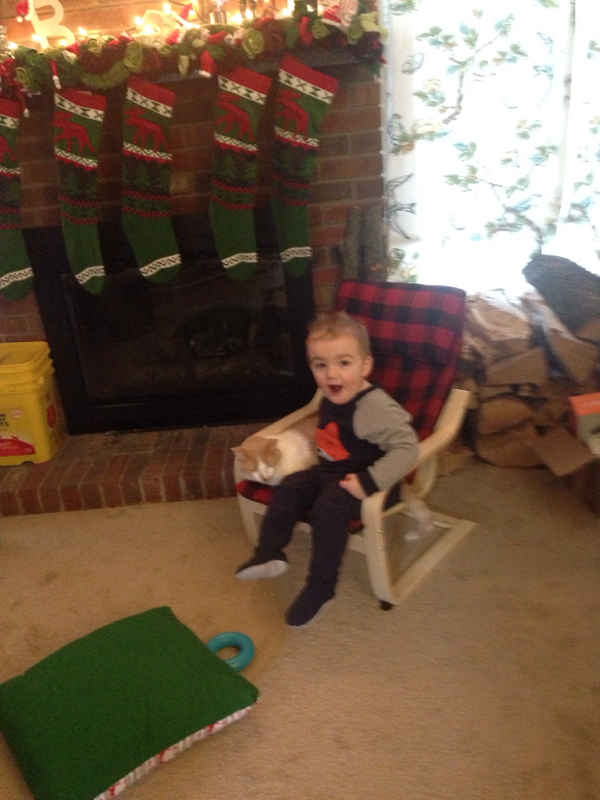
"Look, ma! He's letting me sit with him!"
*Whereas I choose not to boycott Hobby Lobby, I don't agree with their political views. |
Archives
June 2016
Categories
All
|
 RSS Feed
