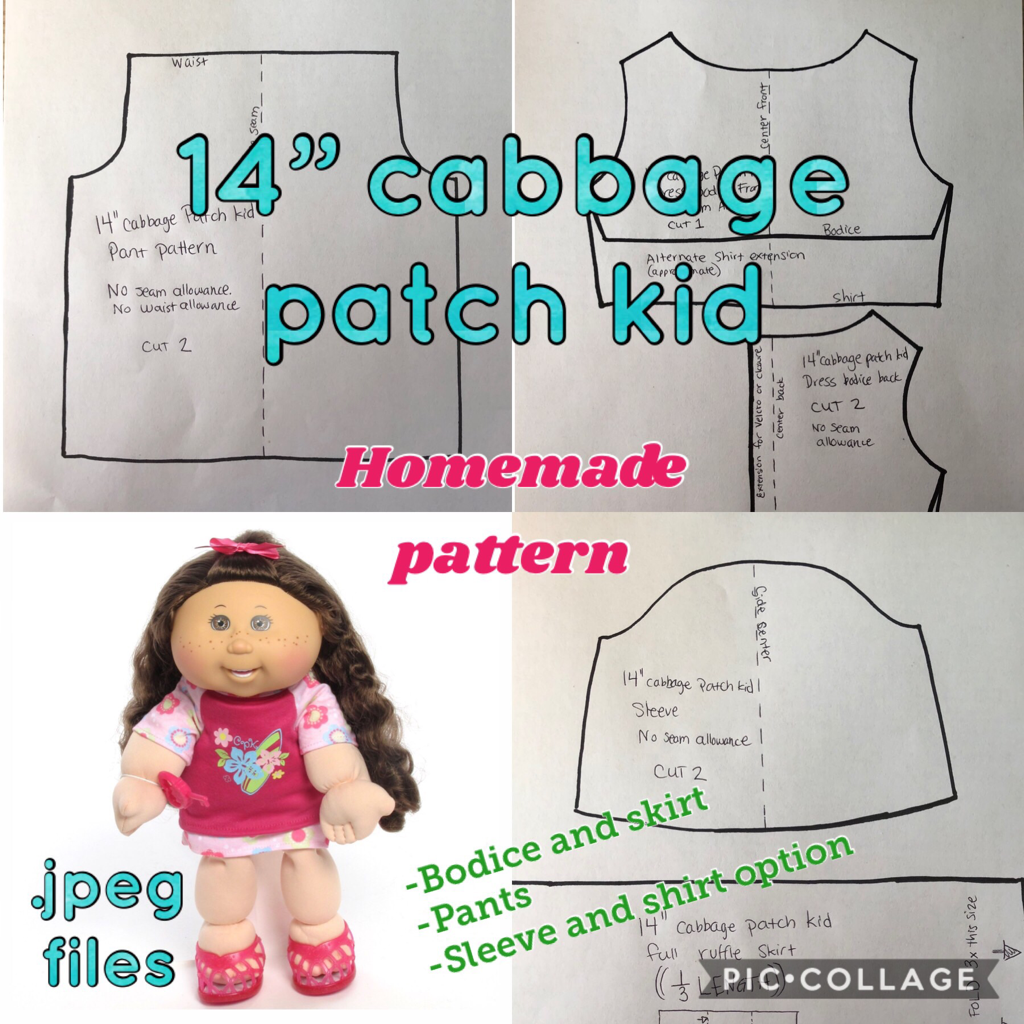
 Look. I grew up with cabbage patch dolls. I ADORE cabbage patch dolls. But wtf is up with their business lately?? Raise your hand if you’ve purchased a doll lately. Chances are the room is not full of raised hands. They are VERY hard to find in stores, and when you do see them, they are very specific looks and styles, that are hard to customize or change. If you want a 17-20” doll (like my childhood) you can order online. Those beauties are $69.99 flipping dollars. The ones in store (like Walmart or target) are 14” and range between $22.99-$45.99 depending on where you shop. They are limited release and if you miss out on one, people are selling them online for hundreds of dollars. I DO NOT UNDERSTAND why the cabbage patch people are focusing on adoptimals. No one has a flipping key from their doll, so that’s not a selling point. The little cutie mini plastic toys are cute, but I mainly think so due to my love of my baby doll that I used to feed are dress like she were real. I spend 6 hours today trying to find a 14” doll thatbhad medium blonde/ light brown hair and brown eyes to match my youngest child. I might have chipped in for the 20” doll, but I had already purchased one for my older two children and didn’t want a size discrepancy. (Jealously, you know). I could rant more about how they’re not being the best doll company they could be (they could rival American girl if they quit doing these bullshirt side projects) but I will bite my youngest for now. But the BEST part of dollies in general is dressing them up!! If anyone has any good 14” cabbage patch doll patterns, let me know, but in the mean time, here is what I have mocked up, as I was unable to search a good pattern out on Pinterest. My goal is to make these into pdf’s eventually, but as of now, they are jpeg photos of printer paper. If you can print this with no margins, it should be good. GOOD LUCK! 👍🍀 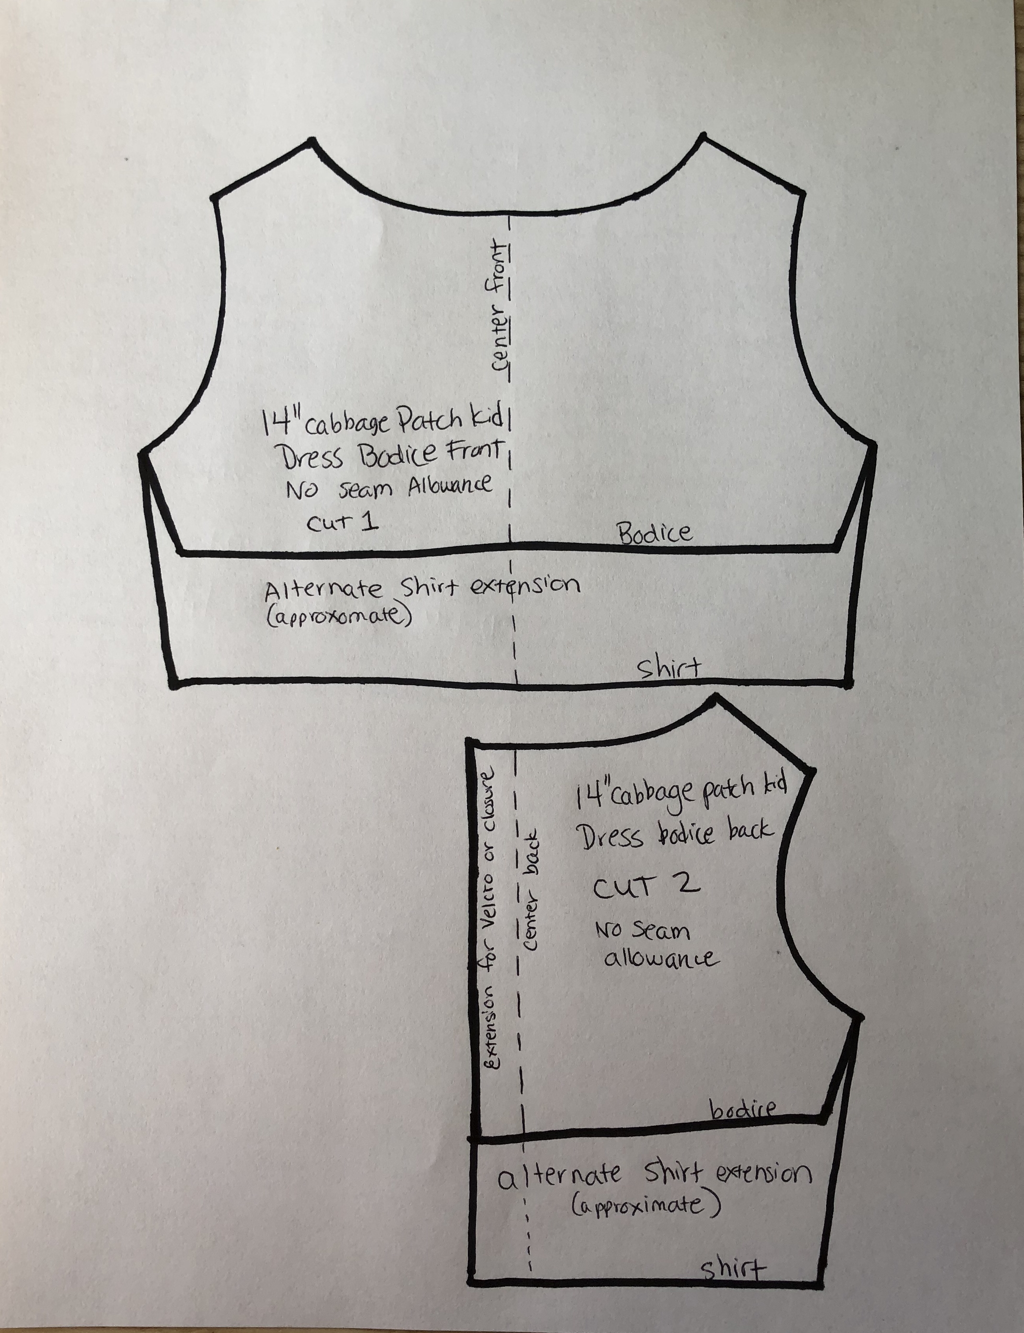 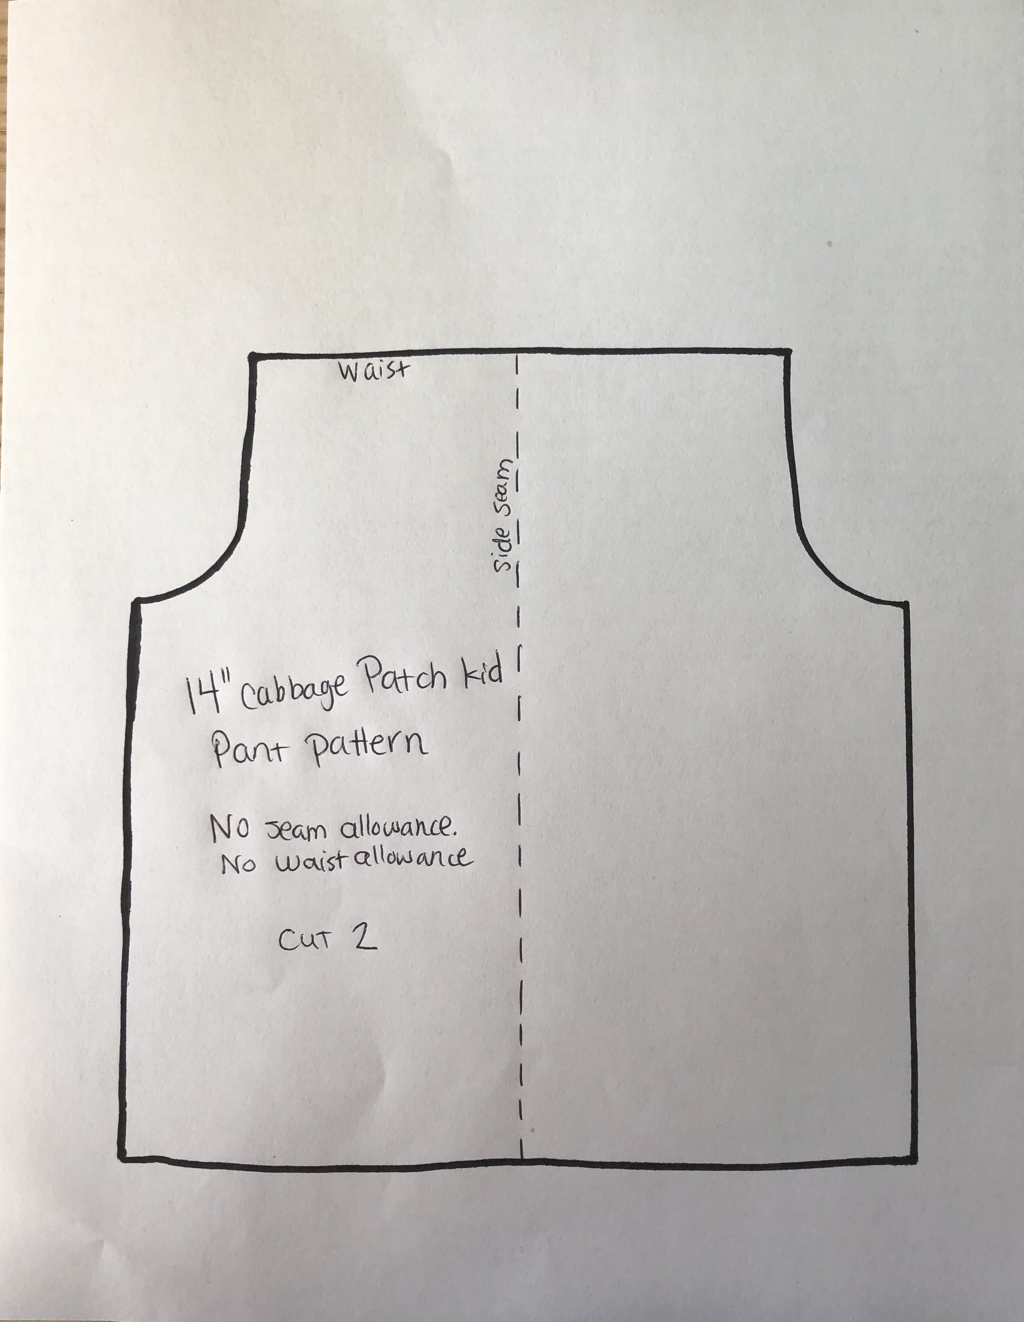 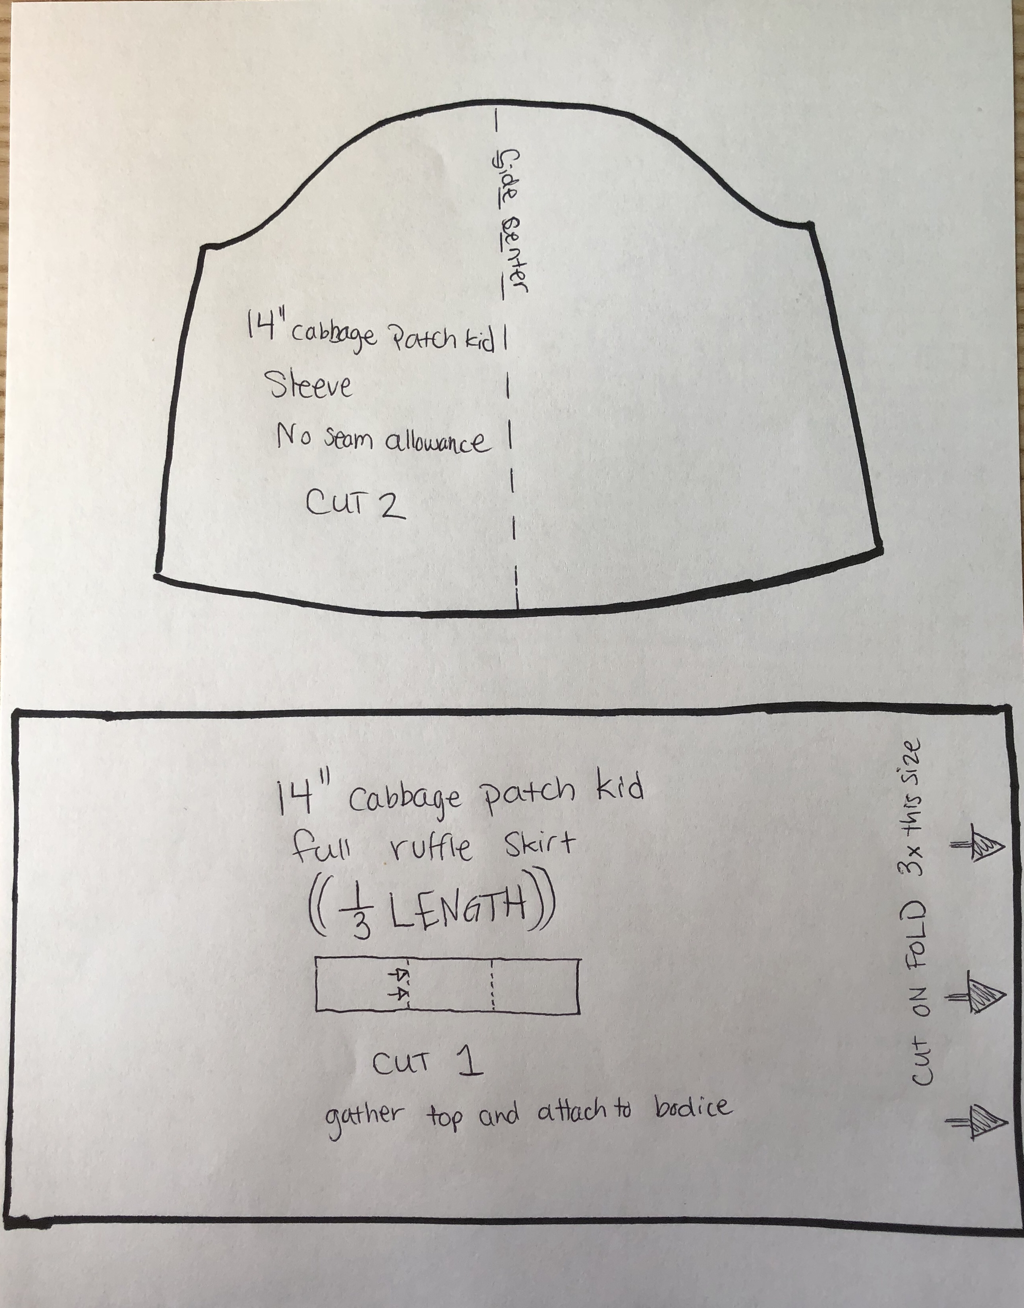
0 Comments
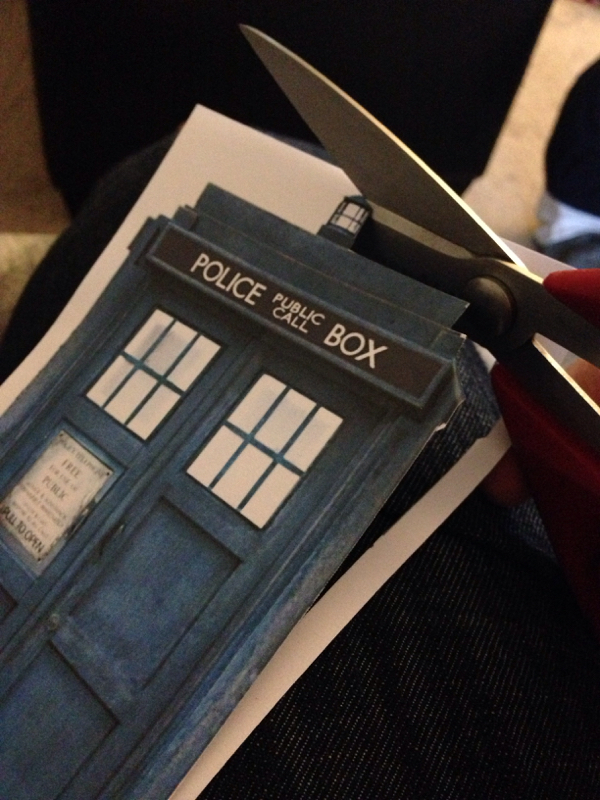
So, I'll admit. If I had unlimited time and zero responsibilities, I'd probably sit around making minecraft super structures. Whenever i see the Taj Mahal or Coliseum or whatever 1st thought: YAAASSSS!!! I want to go to there! 2nd thought: how the hell?? How did you even start? Like, literally, which block? What did you use? 3rd thought: you must have no one who wants to spend time with you... :( But I'm making an effort. My structures shall get larger and larger. I wanted to make an effort at building something with some planning though. I decided an omage to my nephew, who will be visiting soon. I told him to build me something last time he visited "to remember him by" and he did. (Haha! I need a pic. It's a block structure that 3x3 with a plaque that reads "remember Eli" adorbs). But where to start?..... 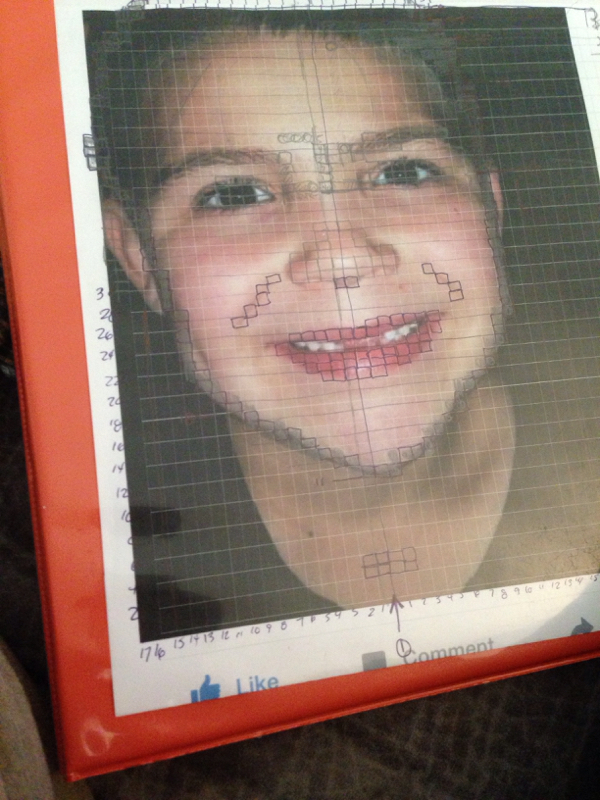 Hey there nephew! A photograph. I was using Pages app ony phone and I made a "chart" and created as many rows and columns as it would let me. I changed the photo format to be behind it. Then clicked print. However, I realize now that I should have put more effort into this step. It is the foundation for what I made. And I wish I rotated the photo to make his face centered. And I wish I made sure the rows/columns made squares and not rectangles. But they were at least double, so I divided each in half.  Measure Then I started ticking things off. I decided to build it just off the coast, surrounded by ocean. I have a grid of paths to map what I've been making, and the diamond trail didn't lead anywhere. Now it does. I counted 65 blocks up from sea level. I checked the photo and counted down 65, so I could make it as tall as possible. Then I used my knowledge of facial layout to grid of a skeletal structure. A head is an oval. The eyes are approx half way between the chin and the top of the head, when viewed from the front. I made notes of how many bricks left or right an eye or ear was. But it was giving me grief. I kept having to blow shit up. I was struggling. Until..... 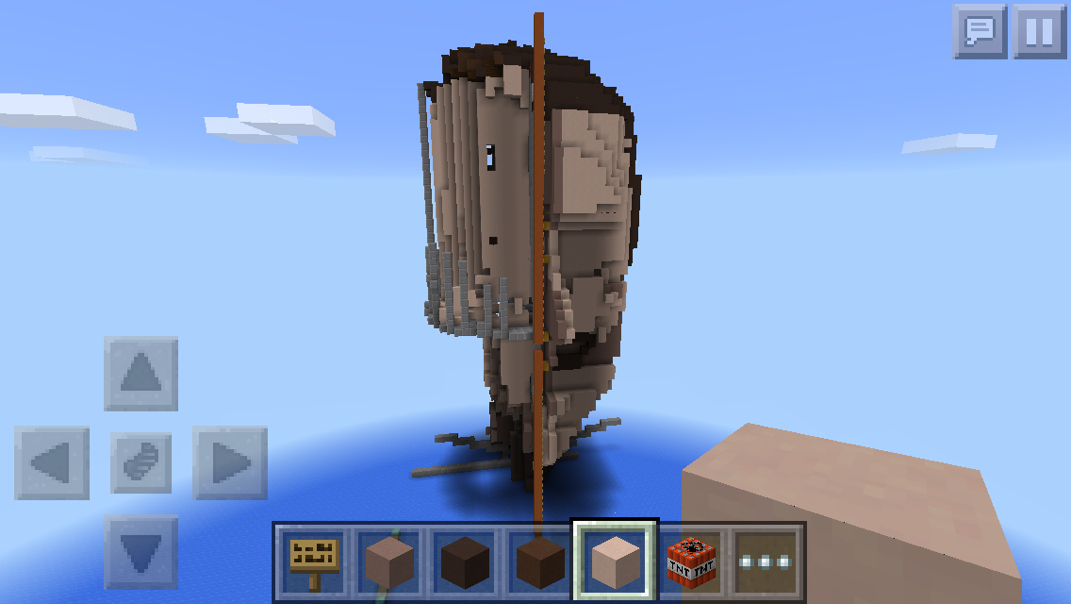 Made a "ruler" up to the limit line. It's 65 blocks from sea level.  Holy shit! This is amazing! Angles brought me this photograph. I'm sure other people have made things more profound, but this was just what I needed. What did they use? Planks, in a variety of wood types for color. It fit much better than the colored clay I had been trying. So fuck the old system, and just make a 2 dimensional pixelated pic of his face, and go from there.... 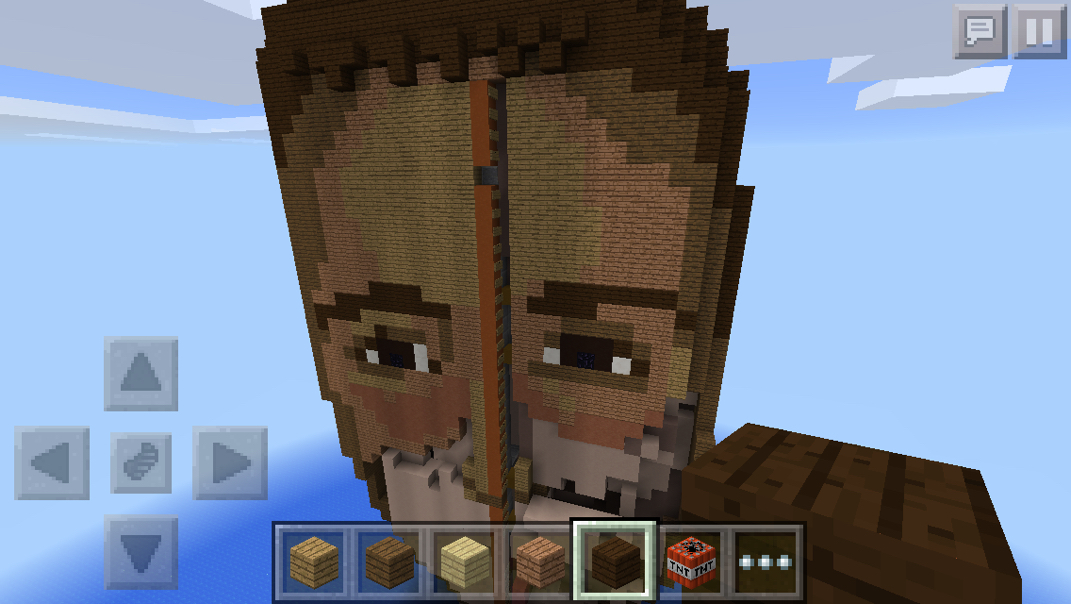 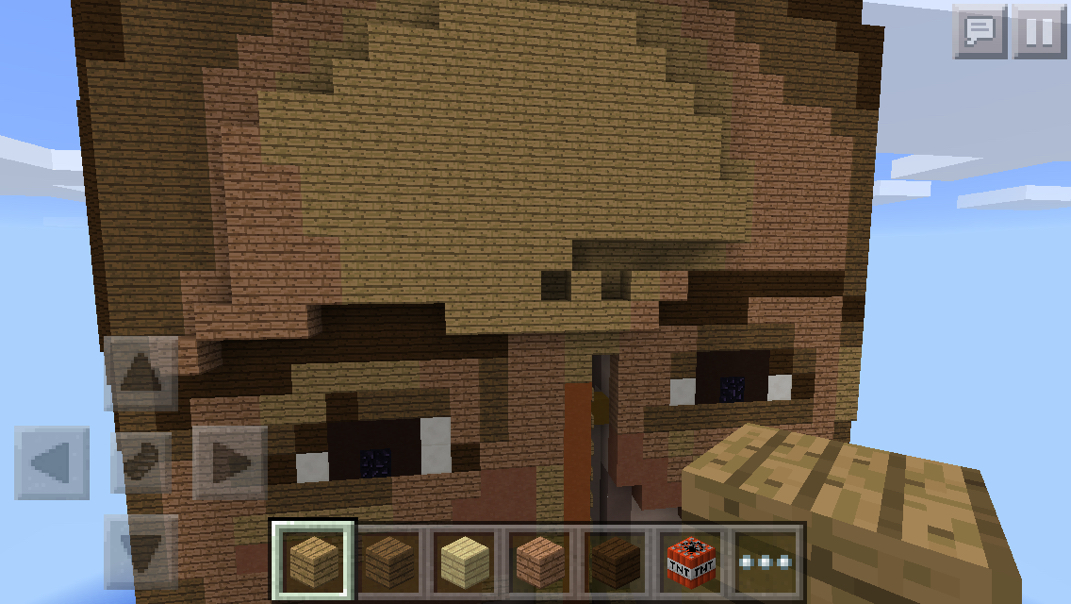 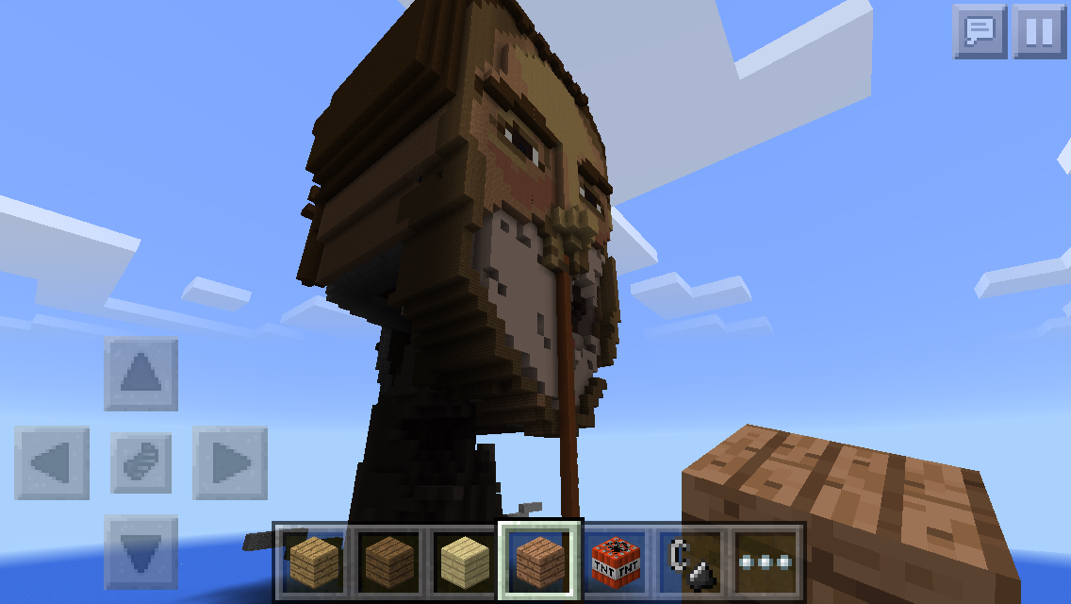 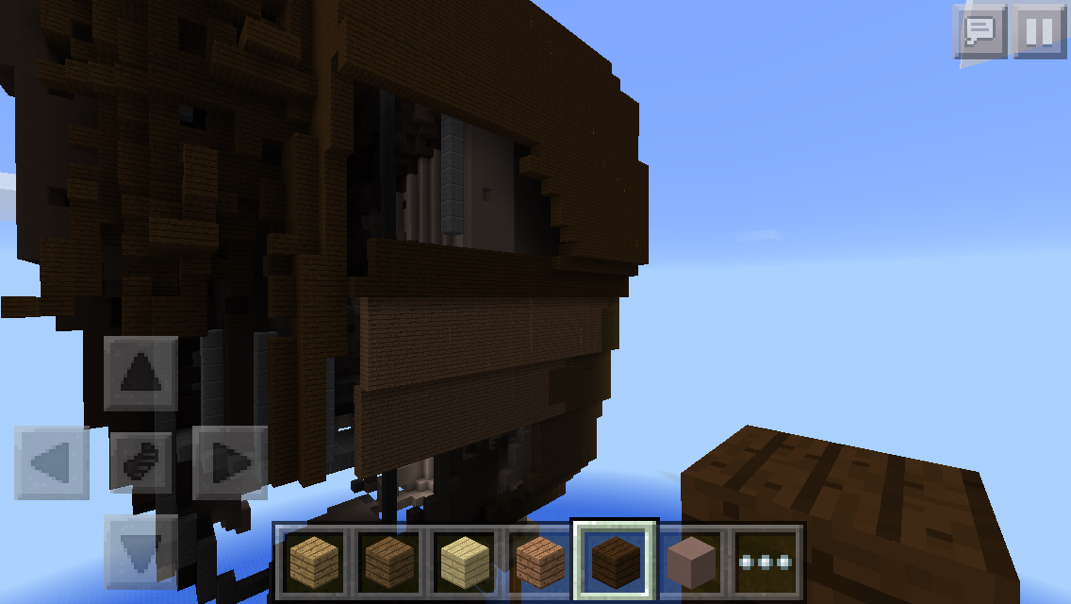 I extended the sides straight out from his head. I assumed that those edges would represent the widest parts visible, and I would reduce the corners to create a curve later on. More pics to come. I have completed this, but didn't grab pics of it yet. So, it's the first week of school. My daughter comes home for the first weekend break, and on Friday night, late before bed, she declares "oh! One of my assignments is to cover my math book!" Ok. No problem. Except... "Oops. I left the book at school!" This isn't really relevant to the project, except it gave up plenty of time to decide what cover to make. She just started reading the Harry Potter books after years of prodding and buzzed through 1-4. She's working on 5, but school slows the process down. We decided to have a mini-marathon and checked out 1-3 at the library (4 is on HBO. Why only that one, though? Really??) Bada-bing, bada-boom, long story short, the epiphany "LETS MAKE A CARE OF MAGICAL CREATURES FURRY COVER!!" 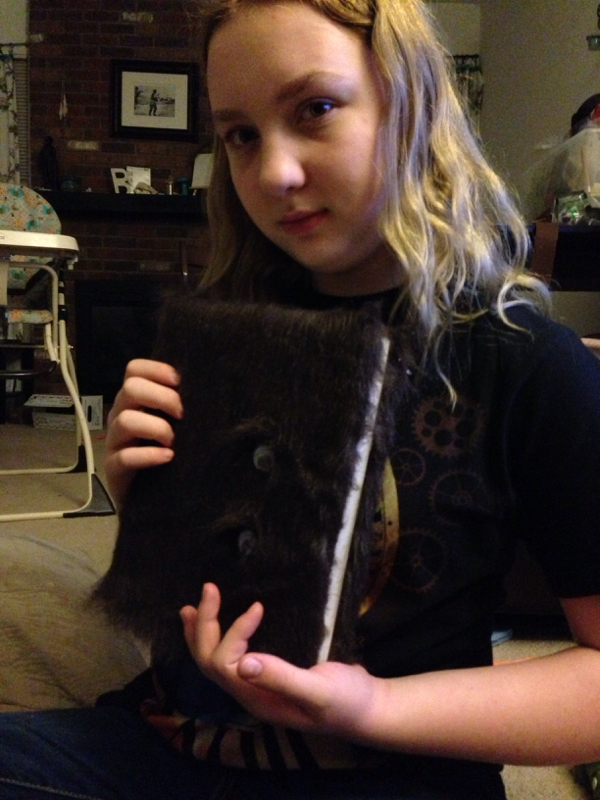 So we made a run to Joanns. She picked the furry fabric, what kid of eyes it would have and how many, and if we would add any more specific movie details. I measured and folded, she helped cut. I got glued, while she held things in place. It's completely held in place by hot glue. 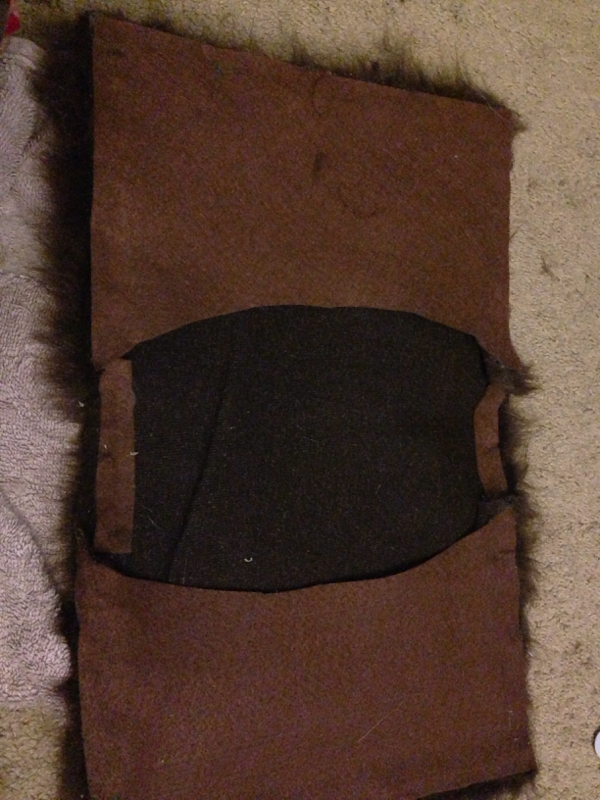 Inside 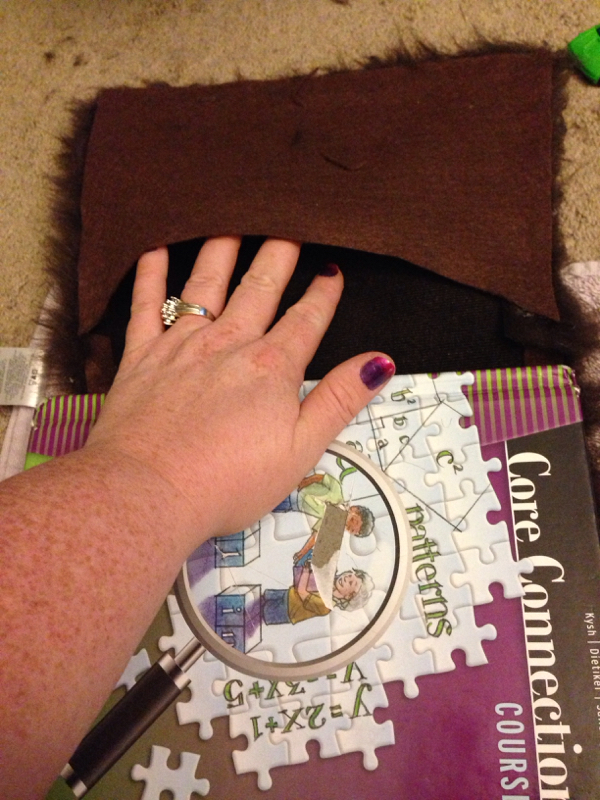 Felt pocket 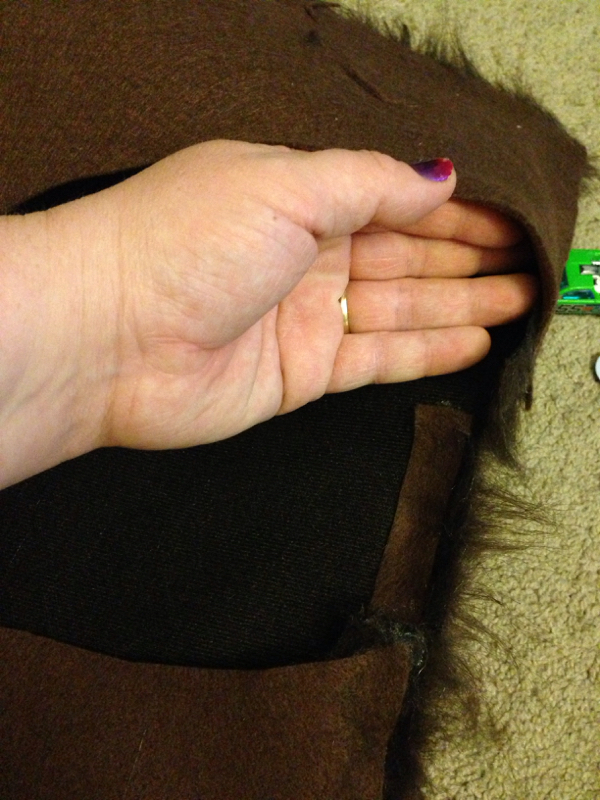 Trim trim 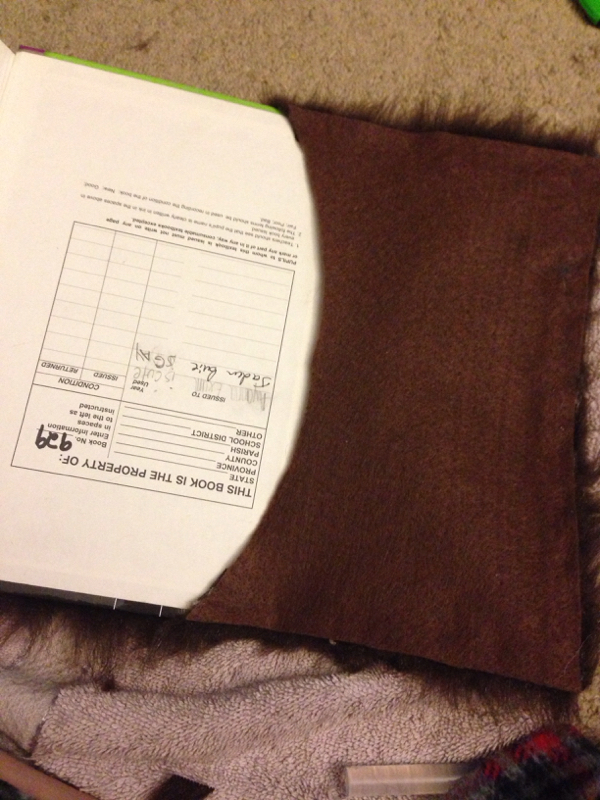 Just the tip 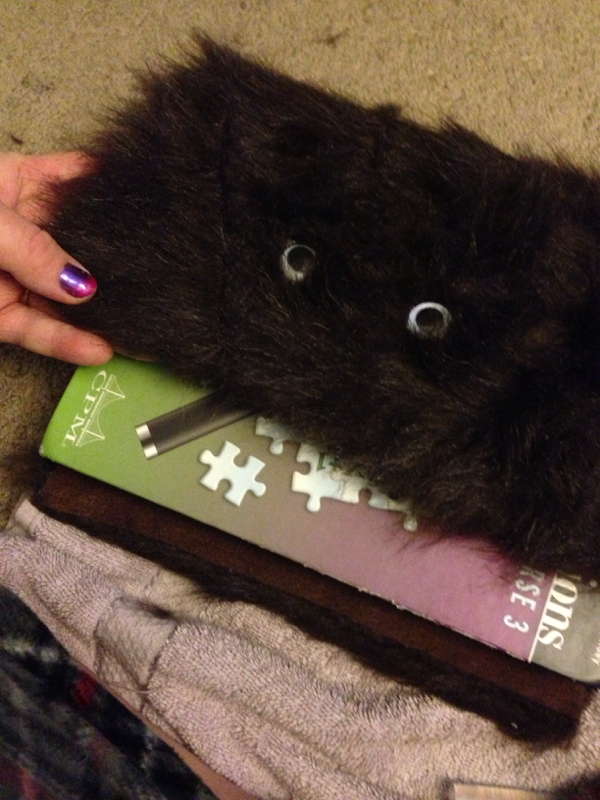 Sliding it on 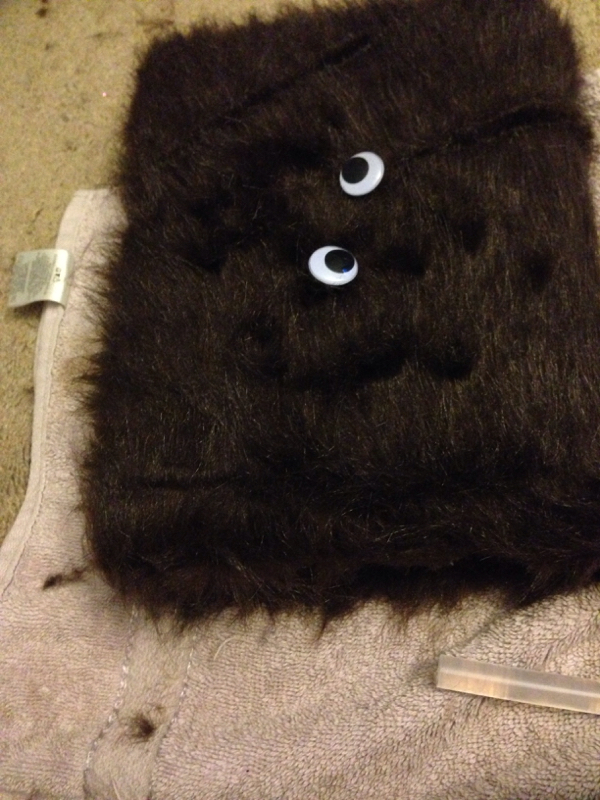 Where shall googly eyes go? 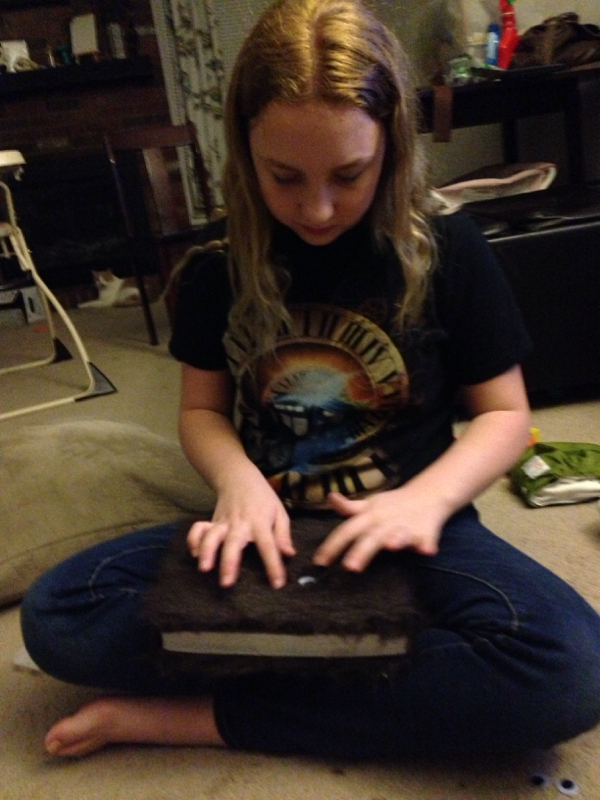 Checking it out. The perfectionist. 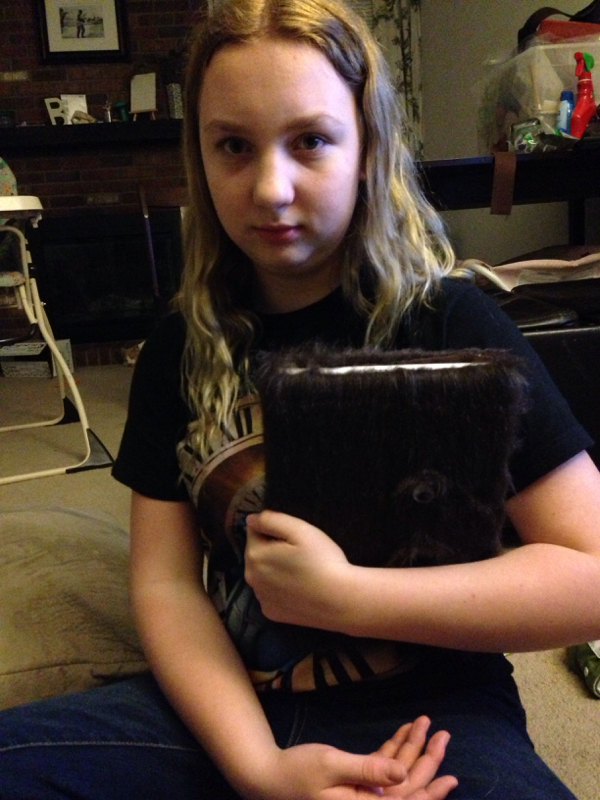 Approval. But this pic is terrible (hard to see. Bad lighting) 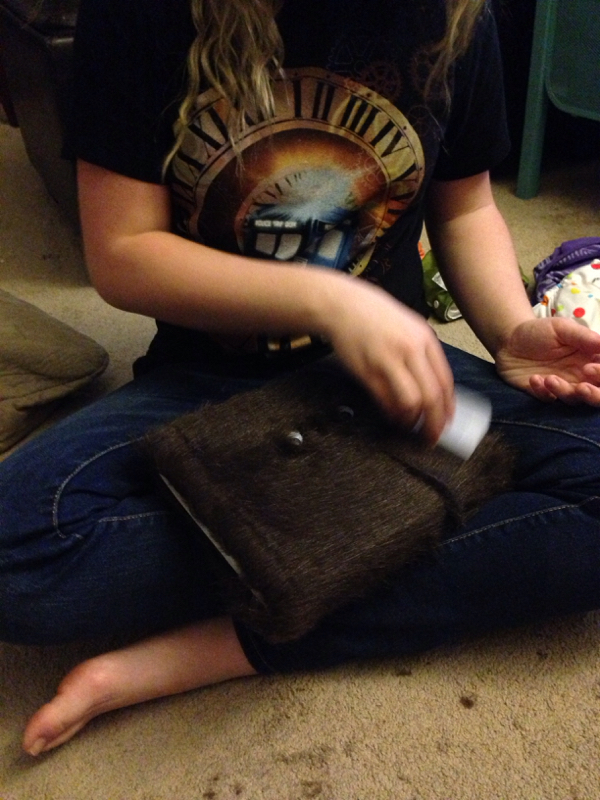 Brushing to keep it happy I should take some fashion photos of it later, but don't want to wait to post this. I hope it holds the whole school year, or at least as long as her new love of HP will allow. I can give more details if anyone needs help constructing it. I could also make and sell one to those of us who aren't as craft-talented. Craft-ilicious? Craft-macncheese? Craft-ka-teer? Whatever. I should have an etsy site, but I'm too lazy. 6/20/2015 0 Comments Double stroller canopy trim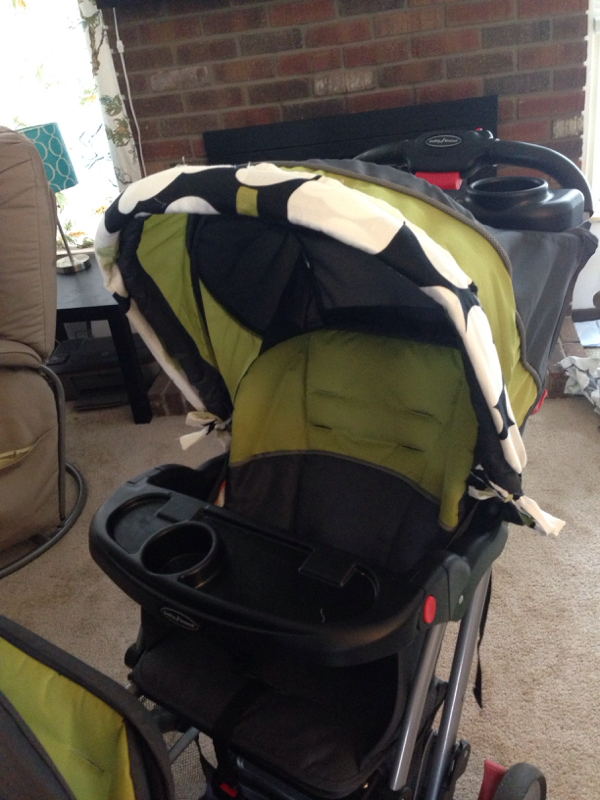 Canopy trim with hidden attachment I made this cool canopy cover for my double stroller. I've felt frustrated with the sun coverage for a while and now that it's summer i thought I'd do my kids a favor and provide an option for more shade. I've always felt that most strollers don't have a good system for blocking sun. These Rinky-dink, stumpy canopies that don't stretch out hardly at all seem like a waste of space. 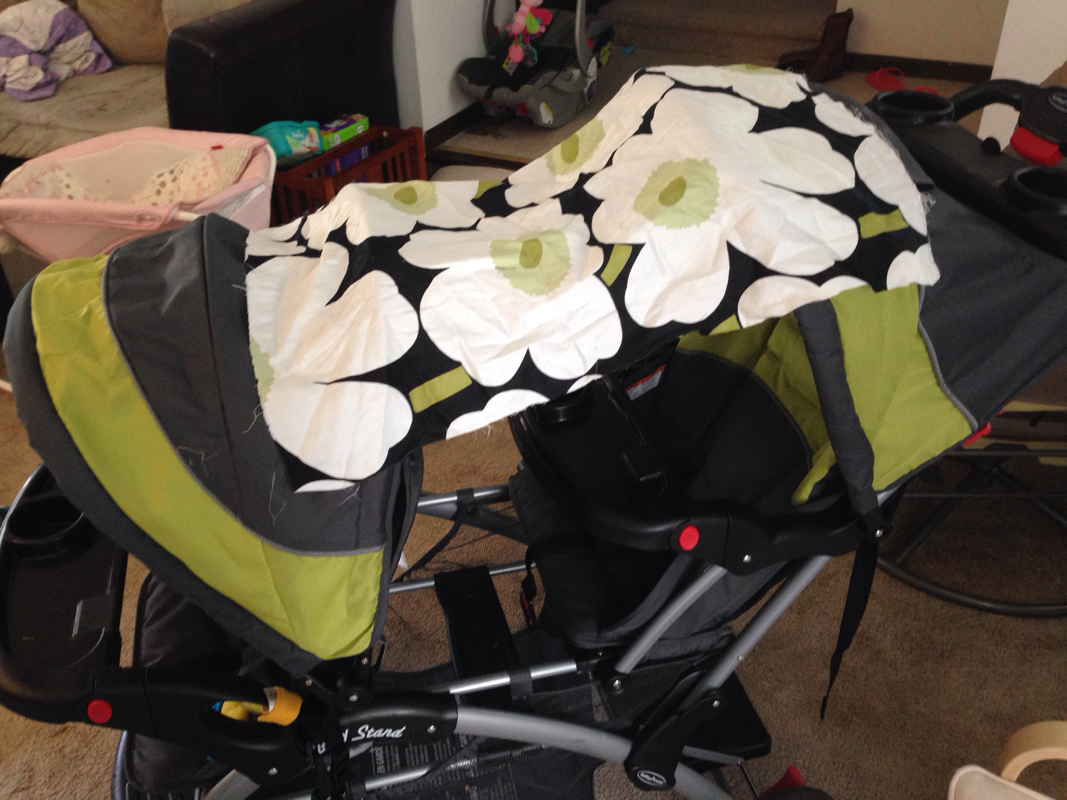 Eyeballed measurement of fabric 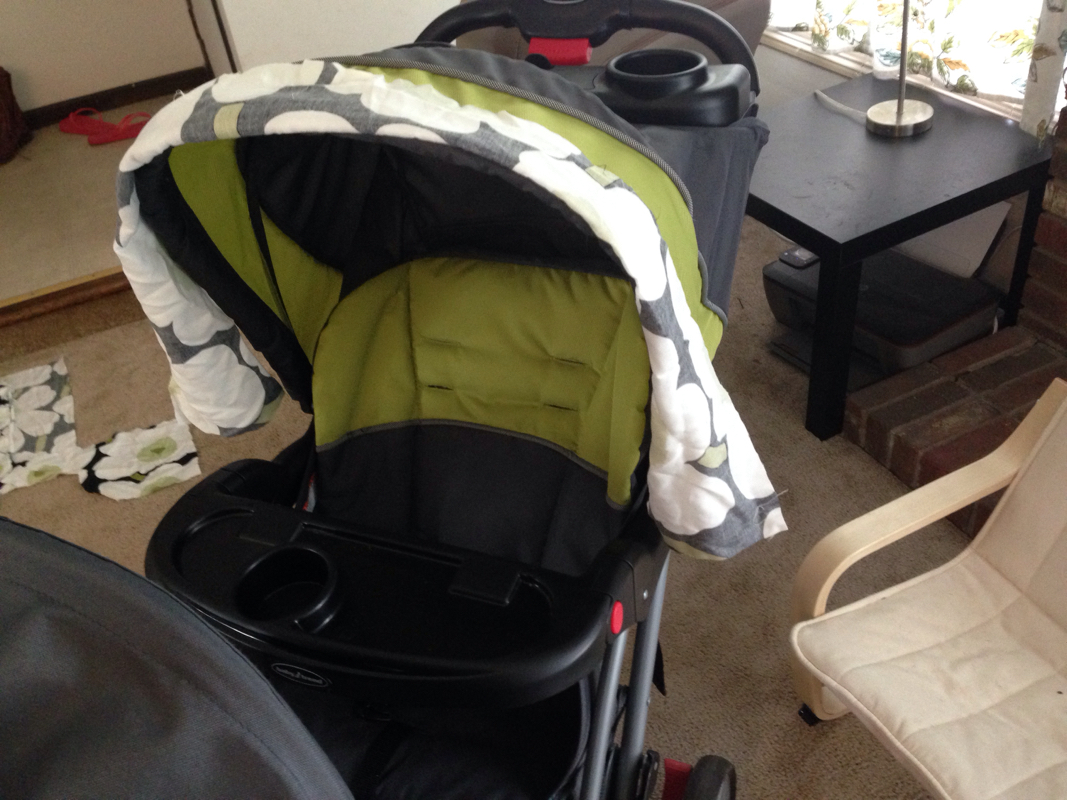 Eyeballed a strip the length of the canopy, and folded in half 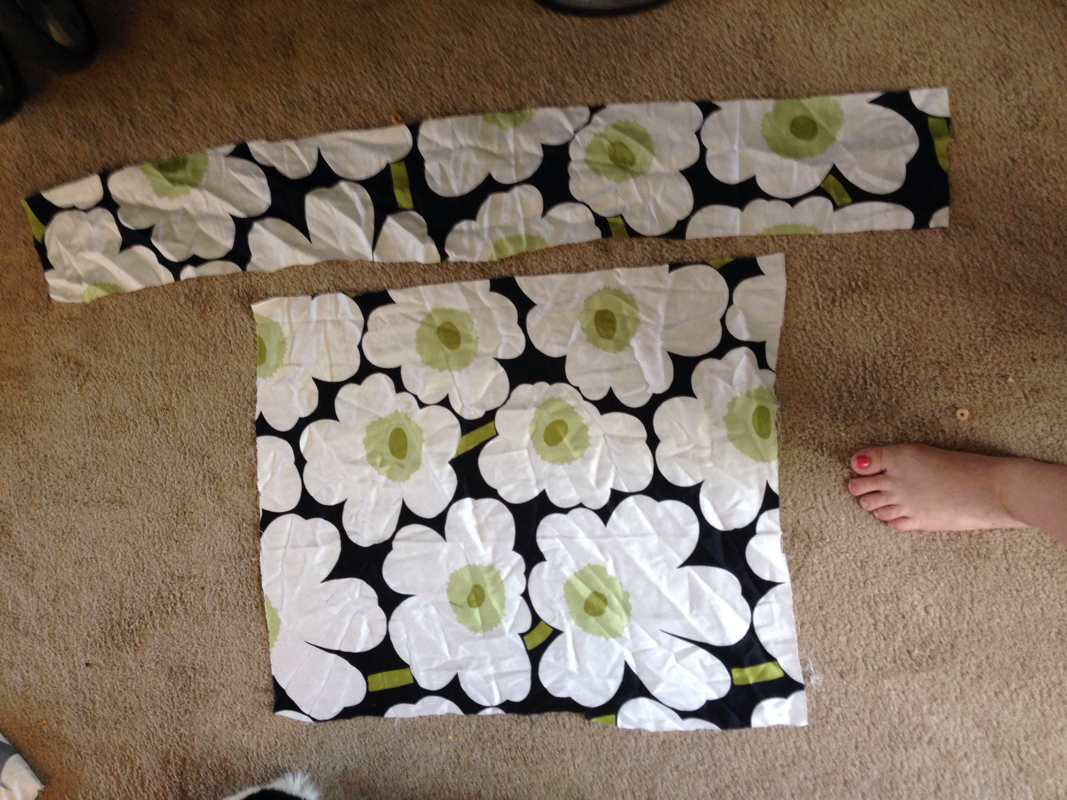 Cut pieces 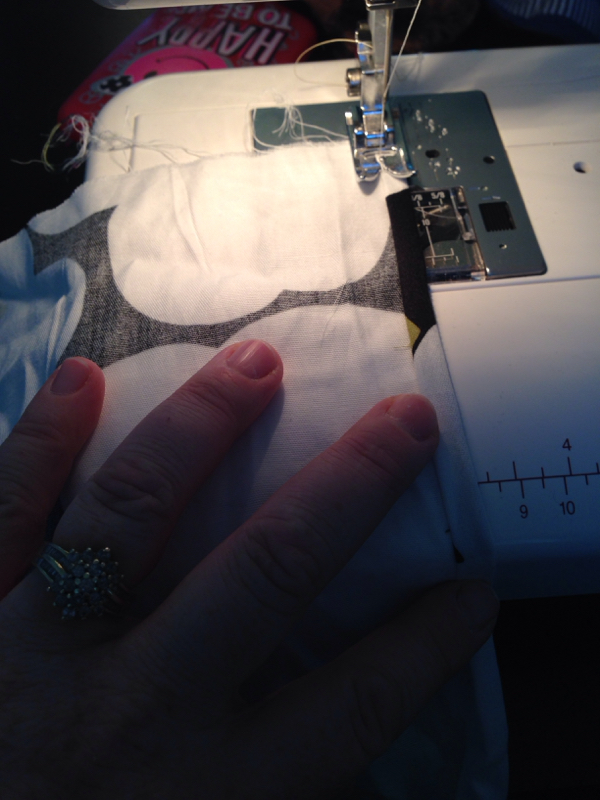 Tiny hem around squared piece 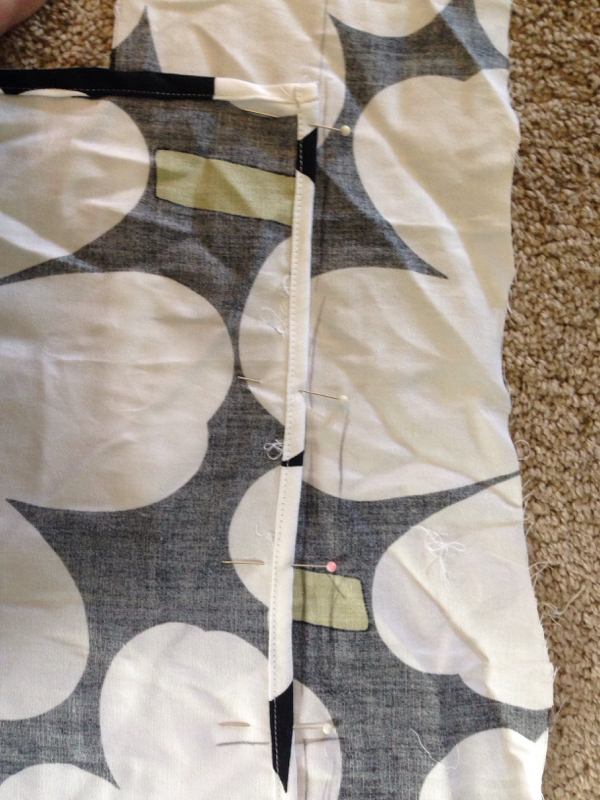 Match square piece to long piece, lining up centers. I sewed it in at this point, but it may have been easier to wait until later in retrospect 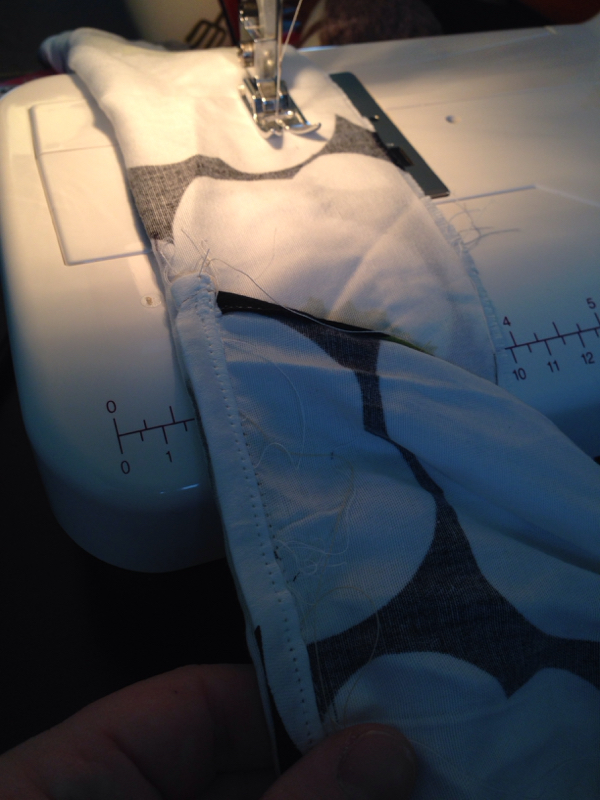 Fold the long strip in half, stitch the ends closed that extend past the width f the squarer piece, which is tacked down with centers matching.  Hem the seam allowances for the long piece in the long center opening 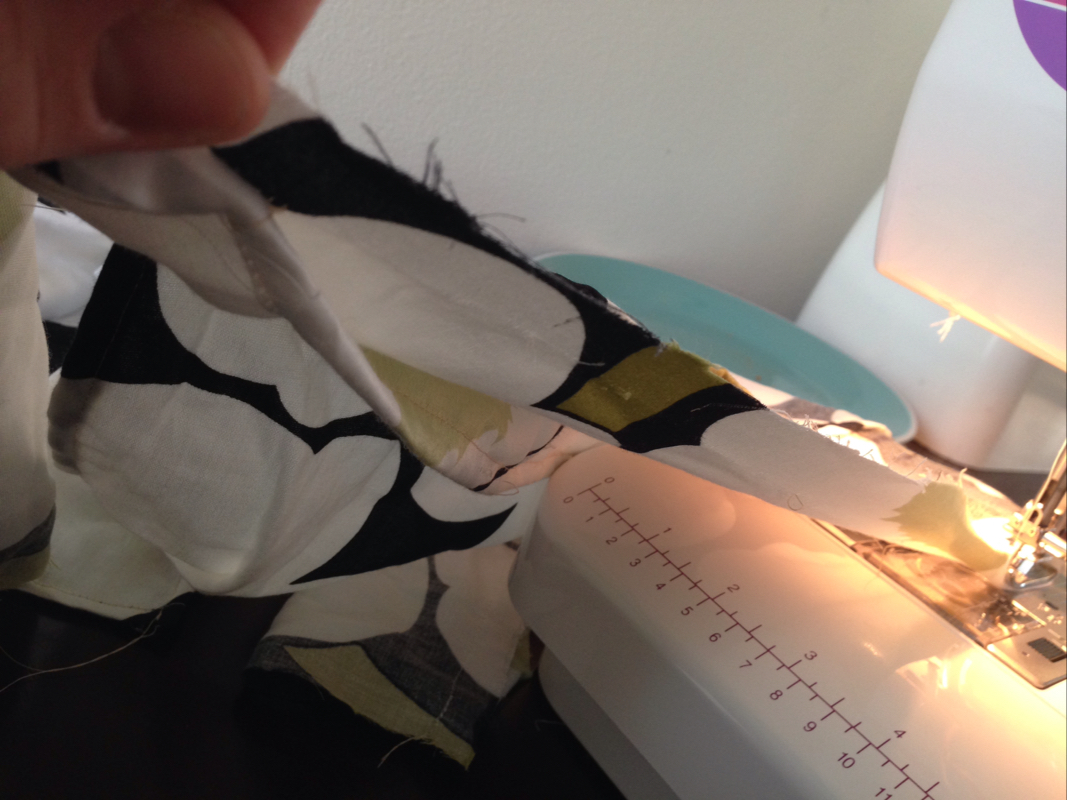 Hemming seam allowances without sewing square section. This was tricky 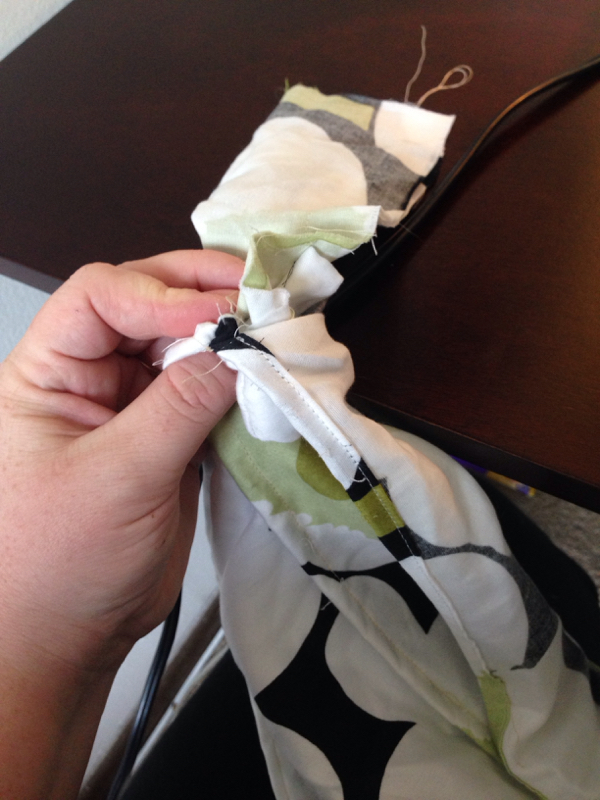 Push edge tube pieces inside out toward center opening 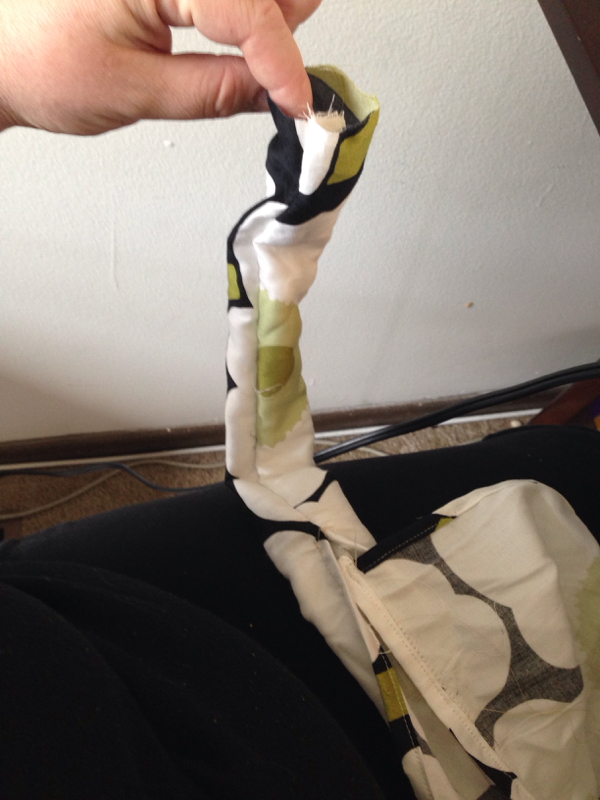 The result is a long tube with a hemmed hole along the center seam, and a strip of fabric hanging out of the hole. 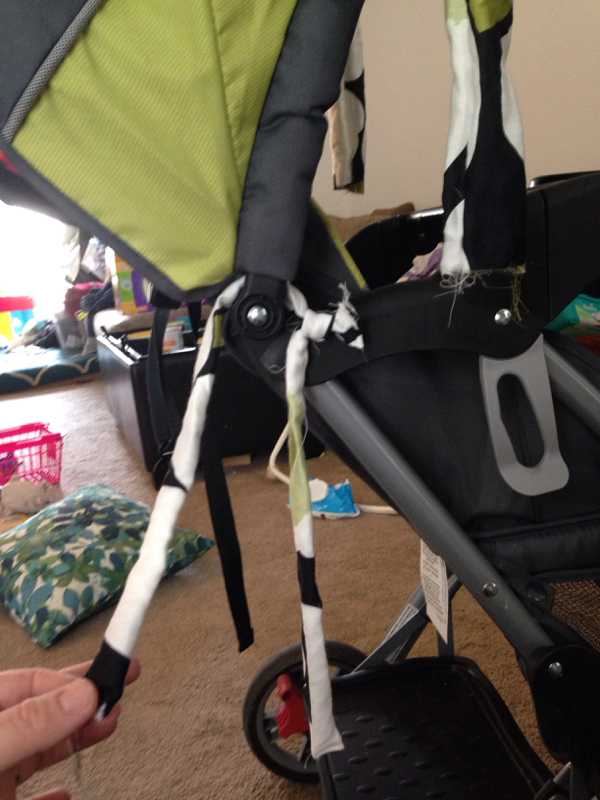 Made some ties 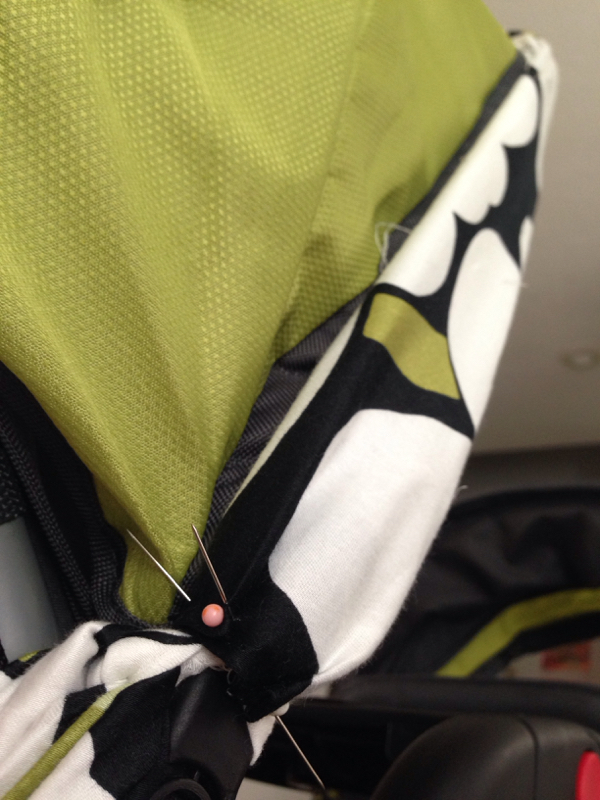 Fit tube piece tightly against canopy and tacked to ties 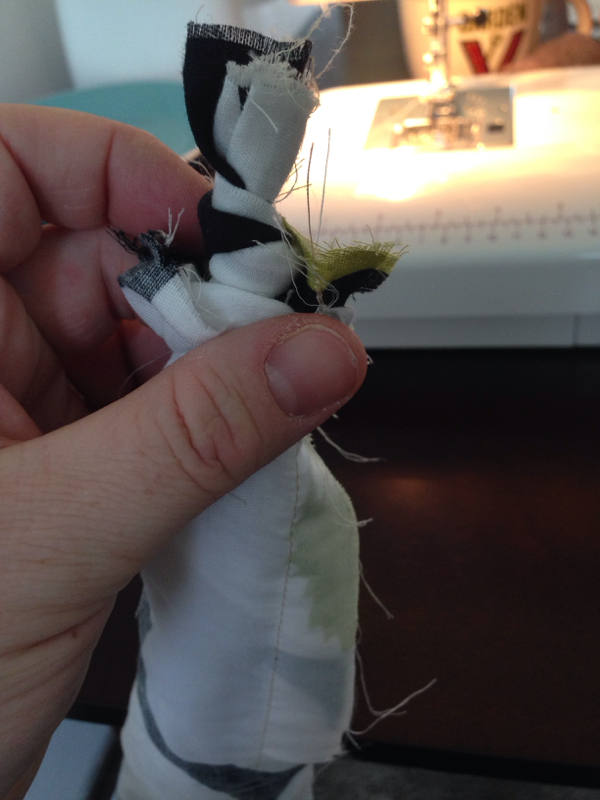 I ended up turning it back inside to sew, then pulled it out again 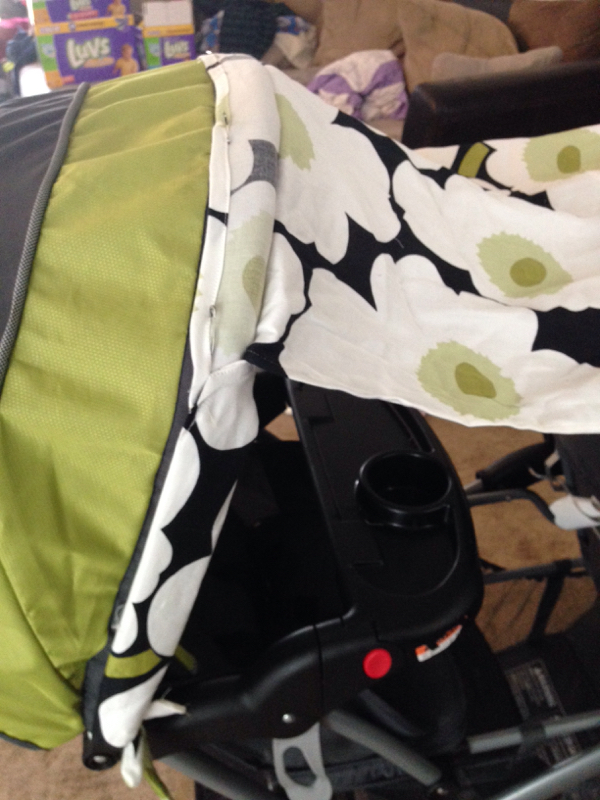 On mine, the opening faces the adult, and when the canopy is released, the right side of the fabric points up 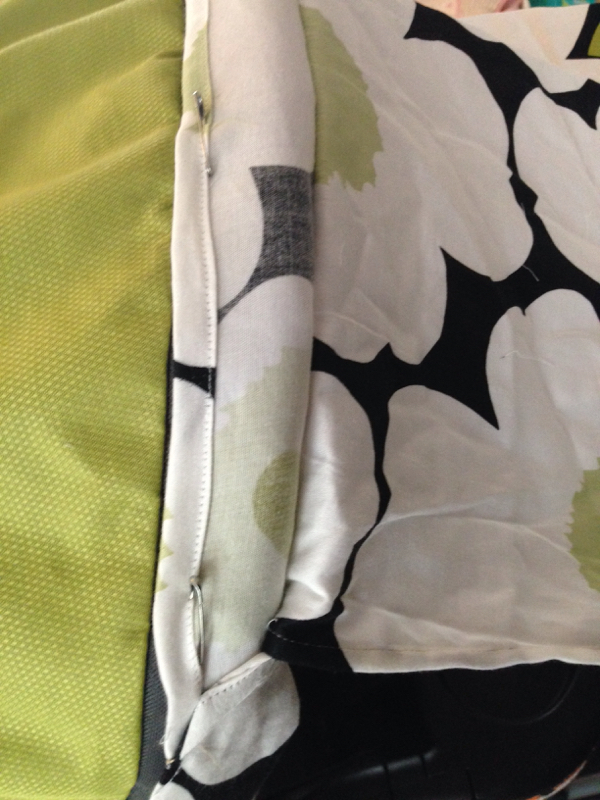 I used safety pins on the inside part to tack it on. There are other choices, but I went with this.  Ta-da! 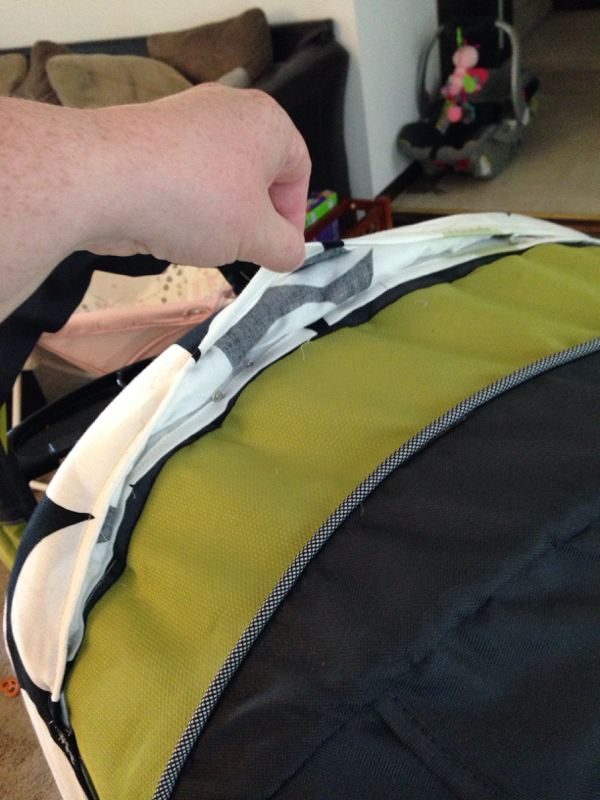 Lift 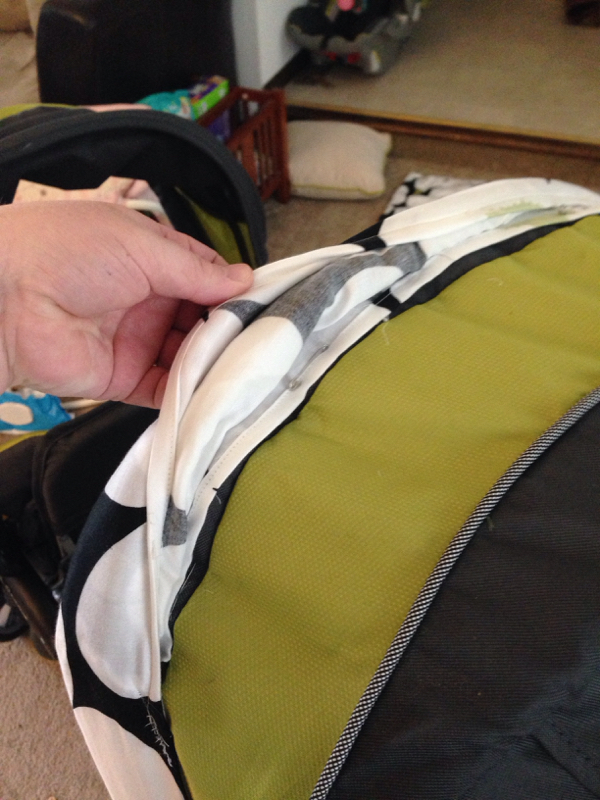 Open 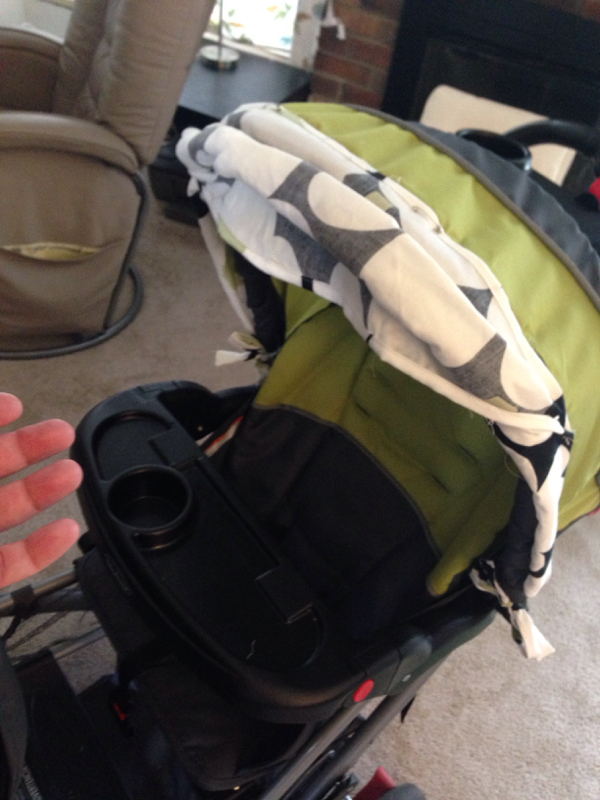 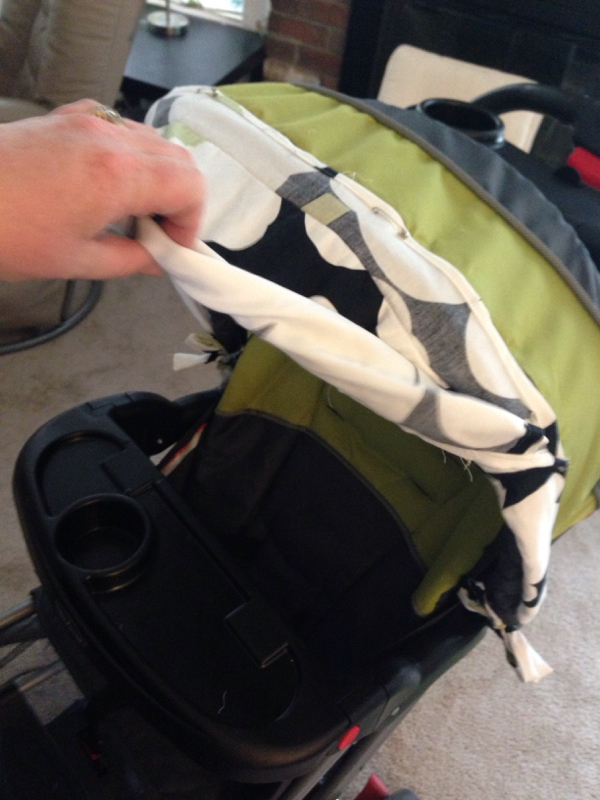 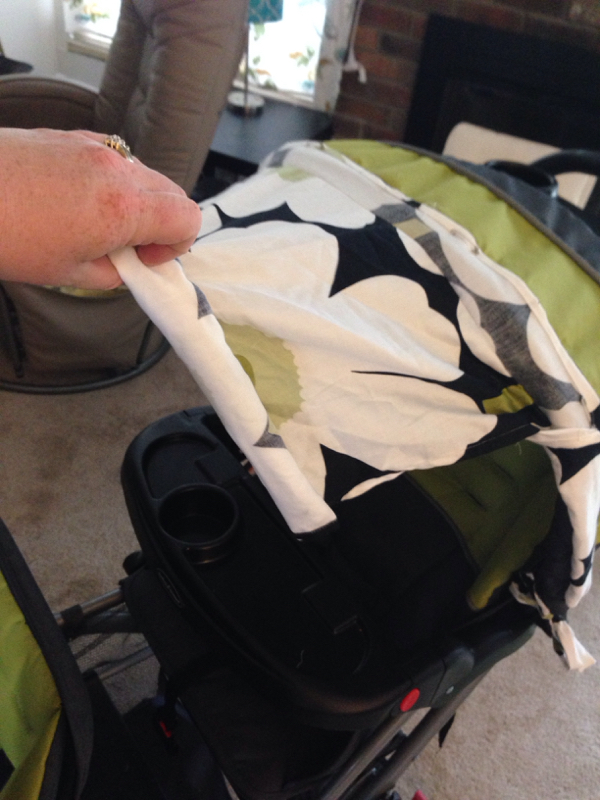  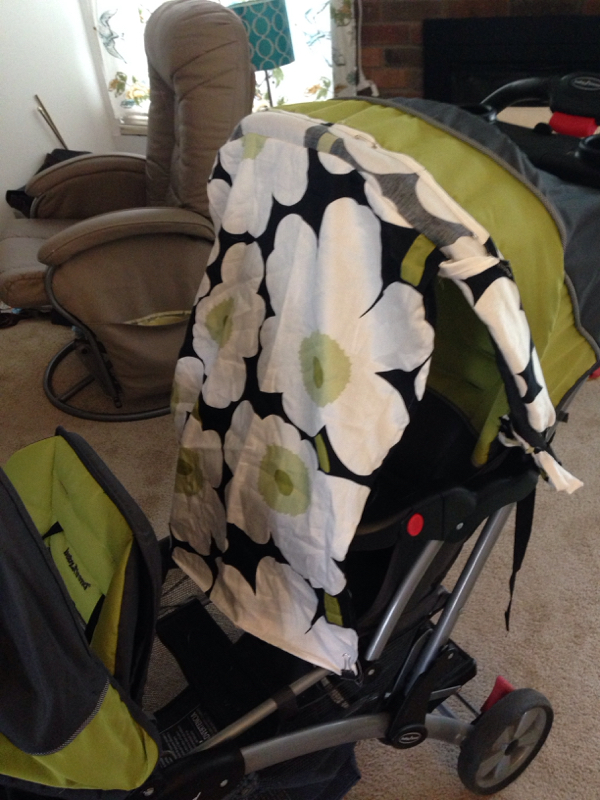 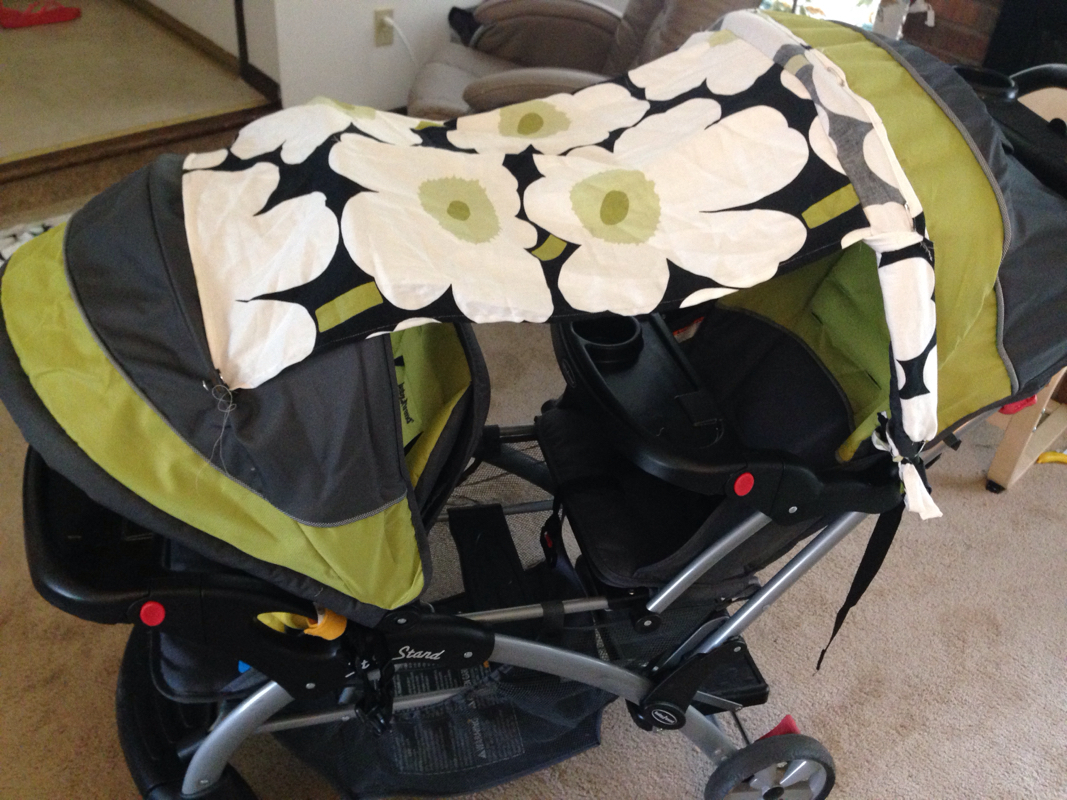 Clips on the end to attach where you'd like 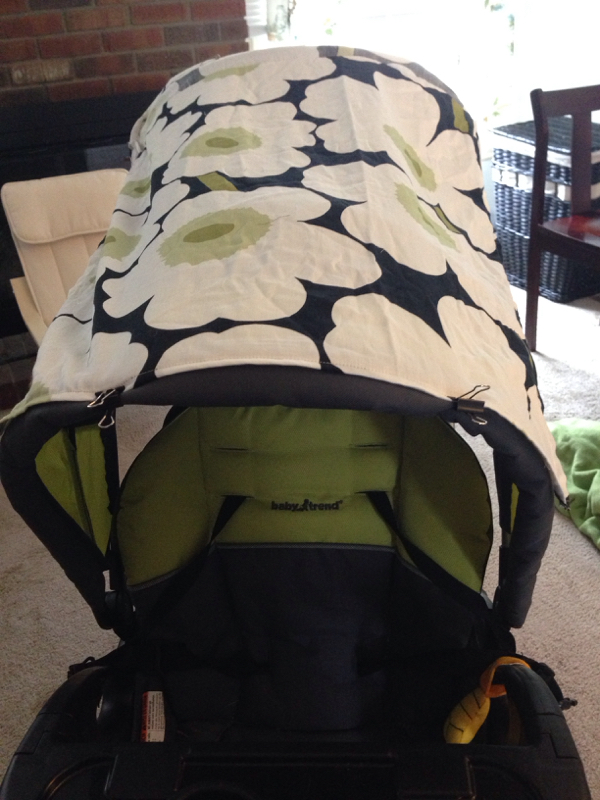 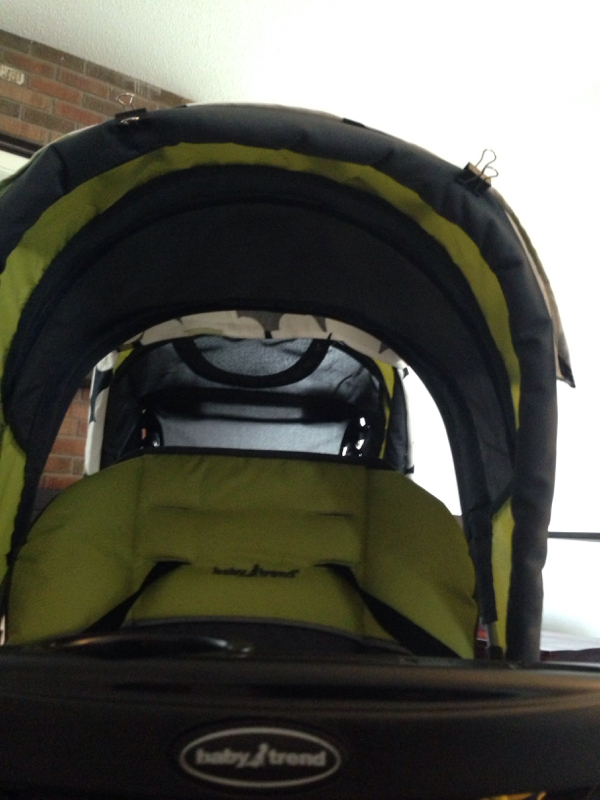  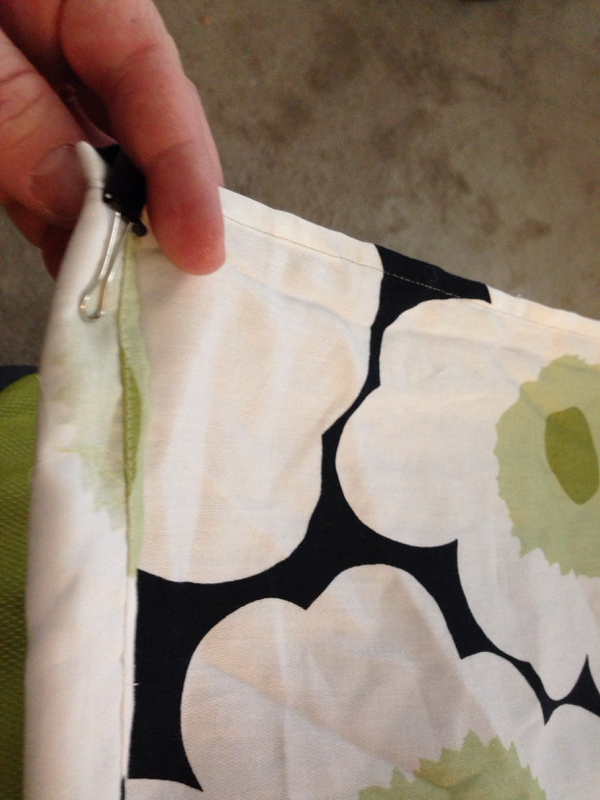 6/7/2015 0 Comments Hedgehog nurseryI started my sons nursery decorations when I was pregnant with him, and begged my mom to buy this set from ikea. Vandring Igelkott. It was before I knew if I was having a boy or a girl, and I fell in love. But it was missing a mobile to match, and after all my searching, the closest i could find was owls. I had always thought it would be fun to make my own, but never got around to it. I've had another baby since, and she's already 10 months, so idk what lit a fire now.   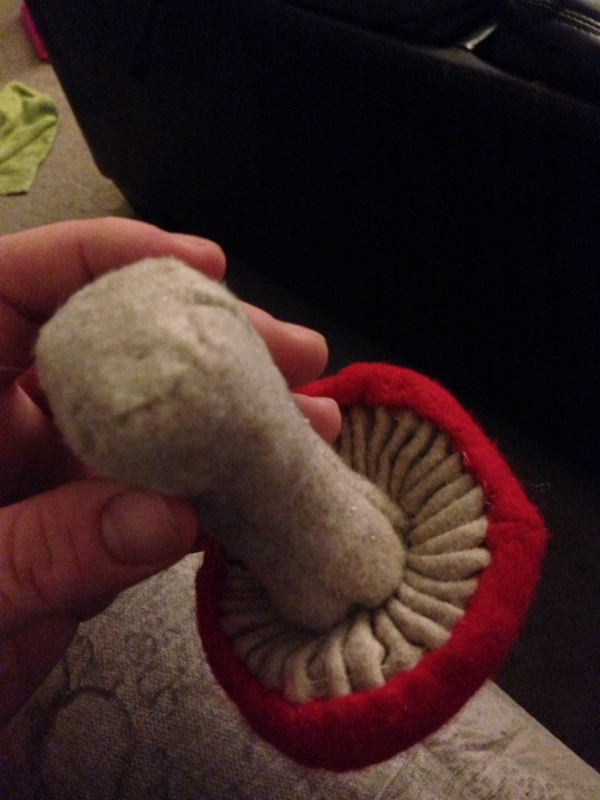 Loose gather stitched two rows on a long strand of felt, pulled it taught to make shallow and tight pleats, similar to smocking. Loosened one row to spiral out into a circle. 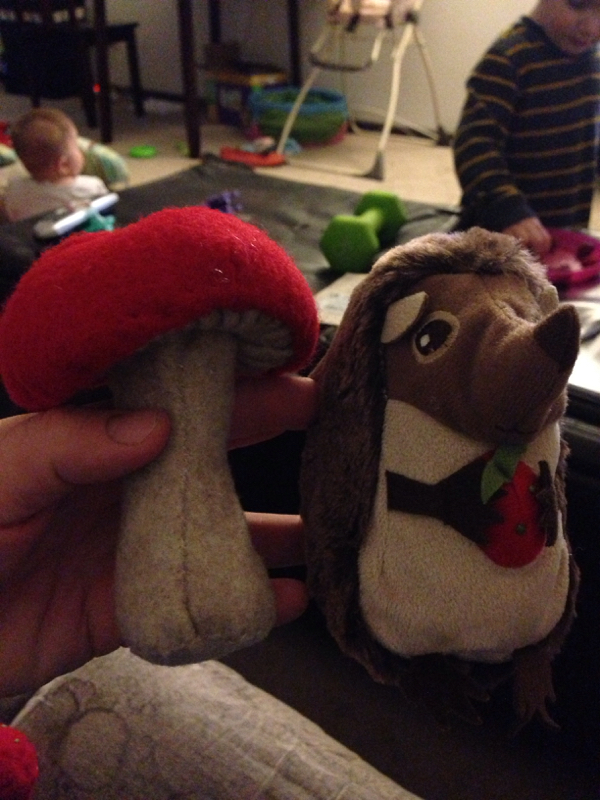 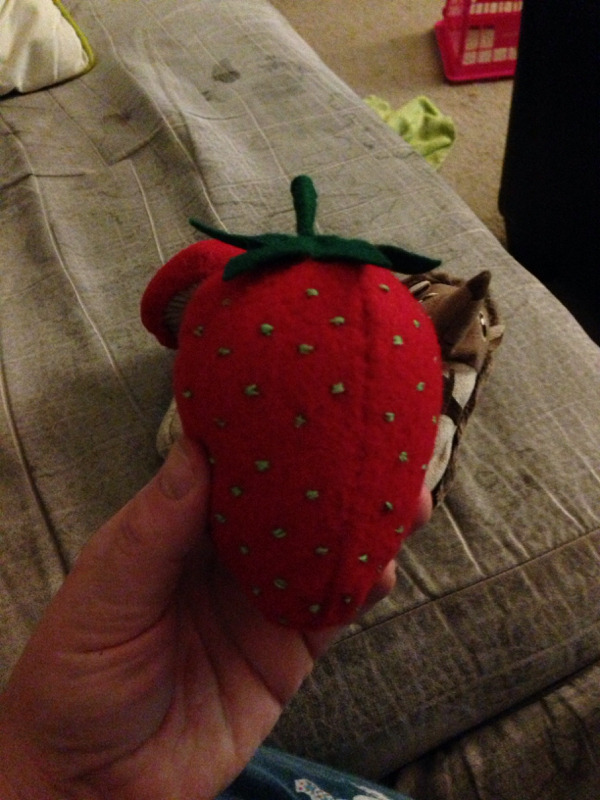 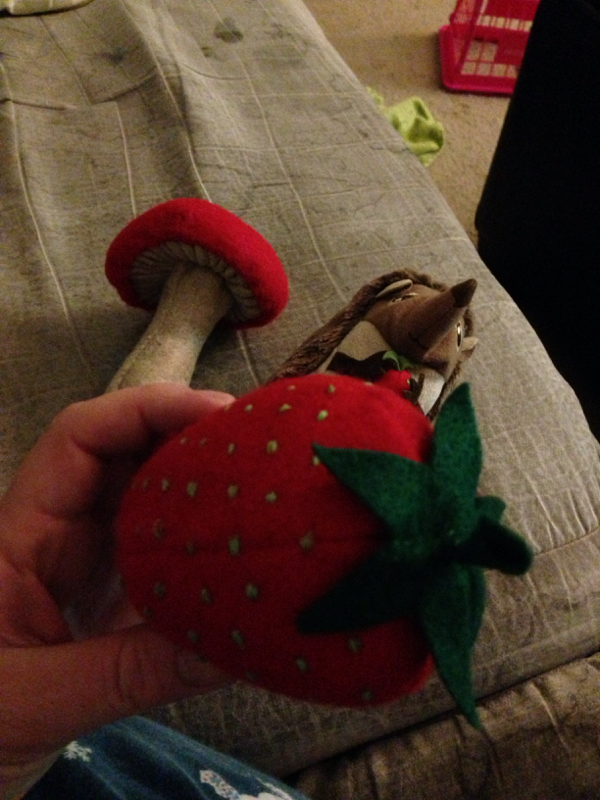 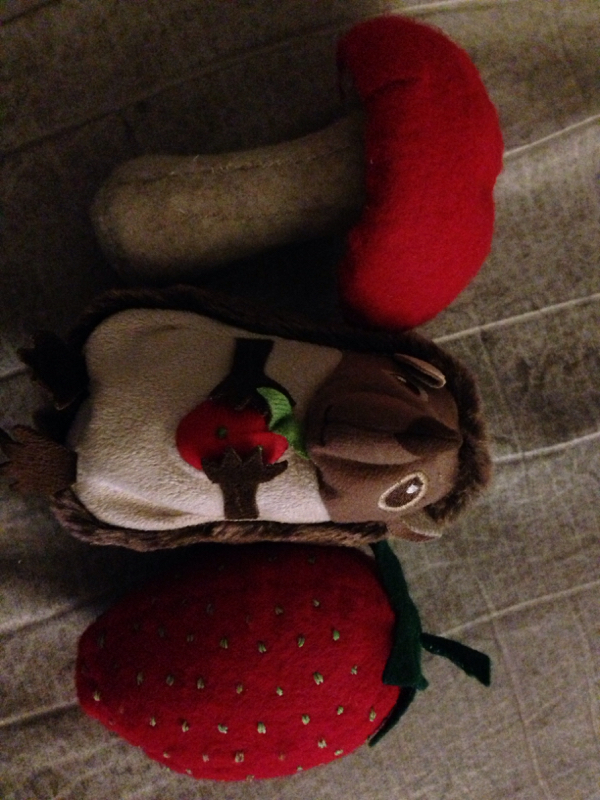 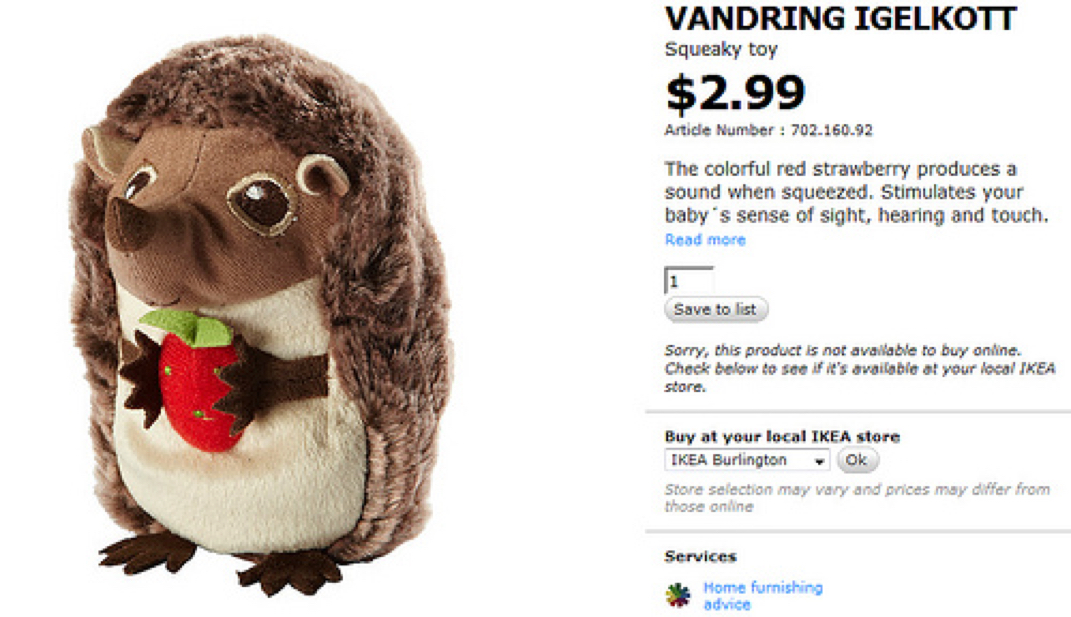 I have 2 of these So I need to attach cord, make sure they're weighted evenly, and I'll be done. Here's how my sons room looks now. 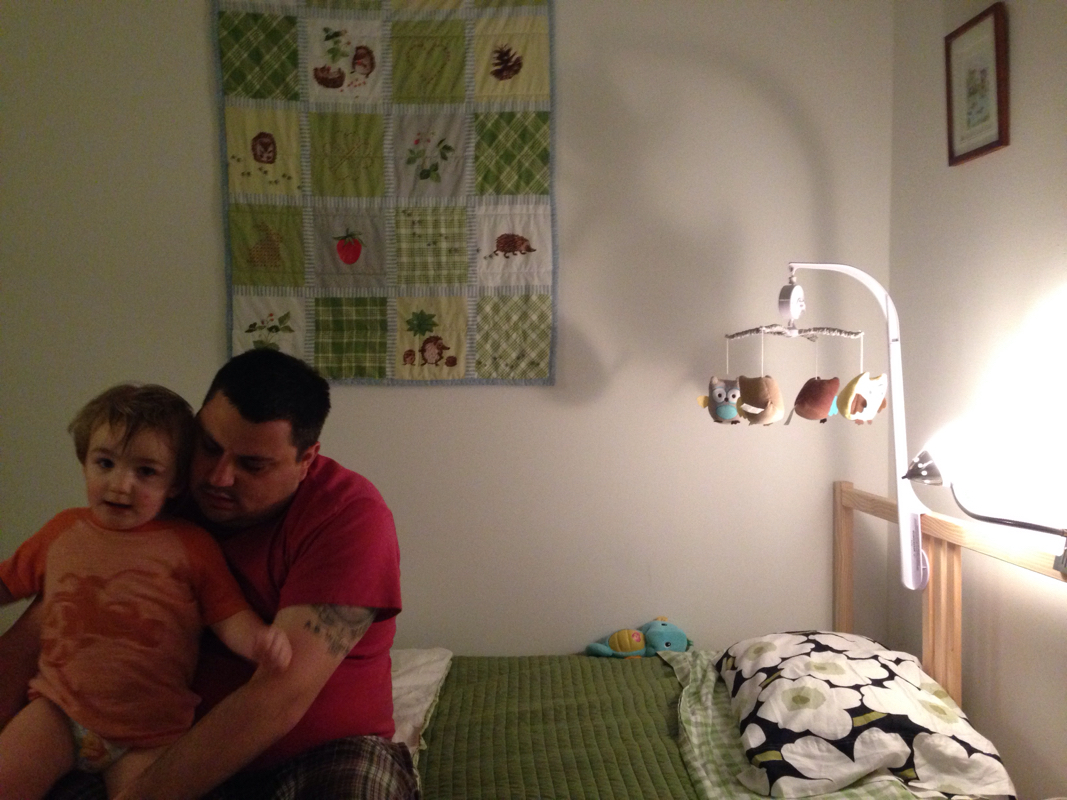 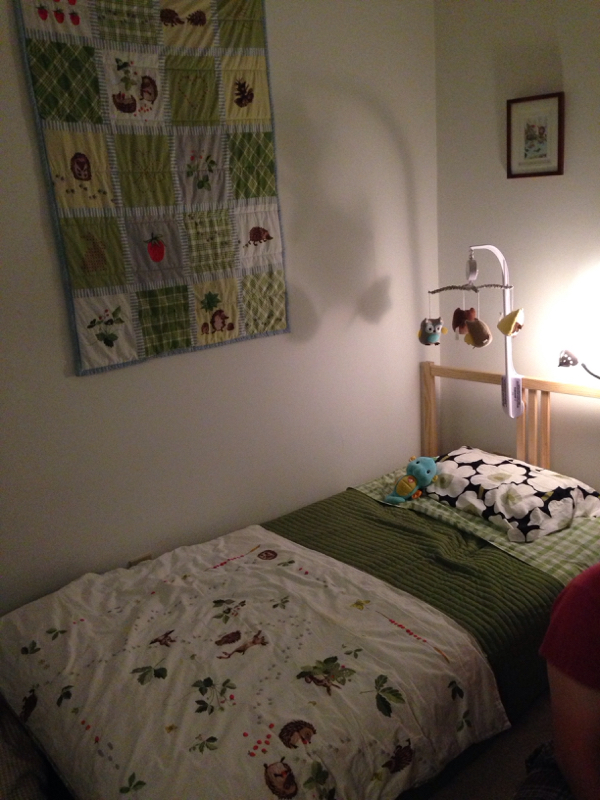 Baby quilts are cute wall art 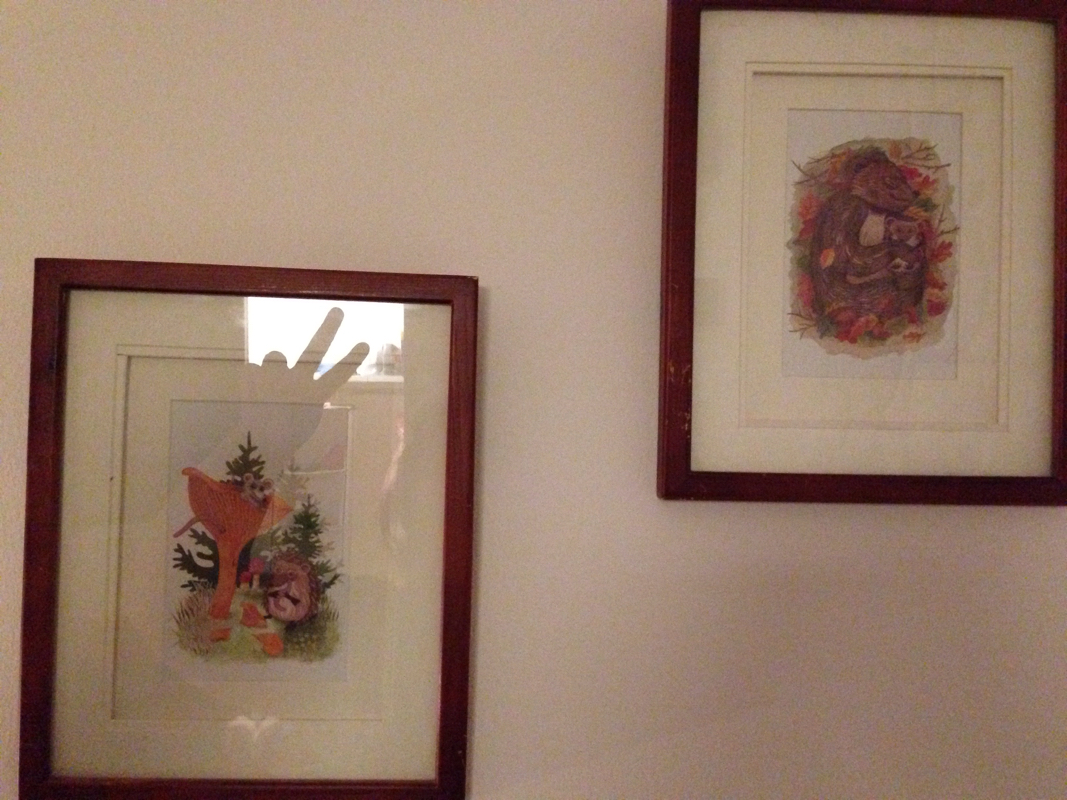 The book that matches this set had postcards in it. I framed them and hung them on the wall  That glowing seahorse is worth it's weight in gold.  Lyndon begging to have this book read to him.  *waves book frantically* 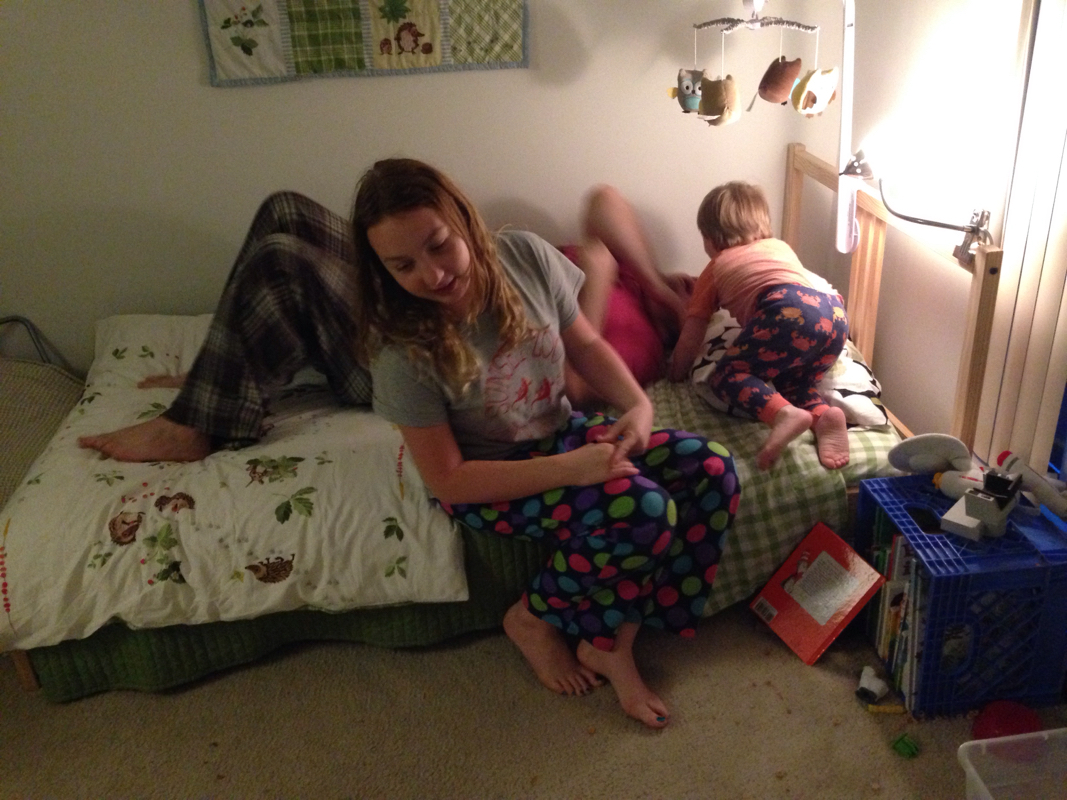  Wall quilt is from ikea Foot duvet is from ikea Green comforter is from target Plaid sheets on clearance at target Owl mobile from Walmart Sea horse soothe and glow from target Pillowcase is a remnant from a project, but it's a crate and barell sheet set. The wooden bed is ikea The clip lamp is 7+ yrs old and idk where it's from.  Went to buy Millie a glowing seahorse, and that same week they were all pulled and replaced with a giraffe soother. It has a few design changes. But it's ok too. 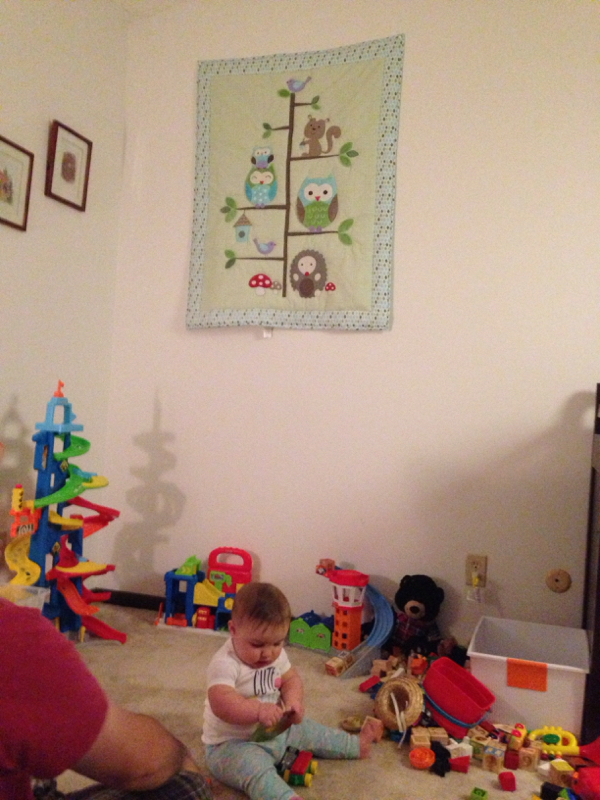 This was where Millie's crib was supposed to be, but she doesn't sleep through the night and got moved to the grown ups messy room. 3/18/2015 0 Comments Dr Who party: gift box TardisIf you could find a perfectly rectangle box, you could just gussy it right on up to make a tardis, but I had to make my own. They came out a little wonky, but it's just a novelty to pass out to a kid who's gonna toss it. 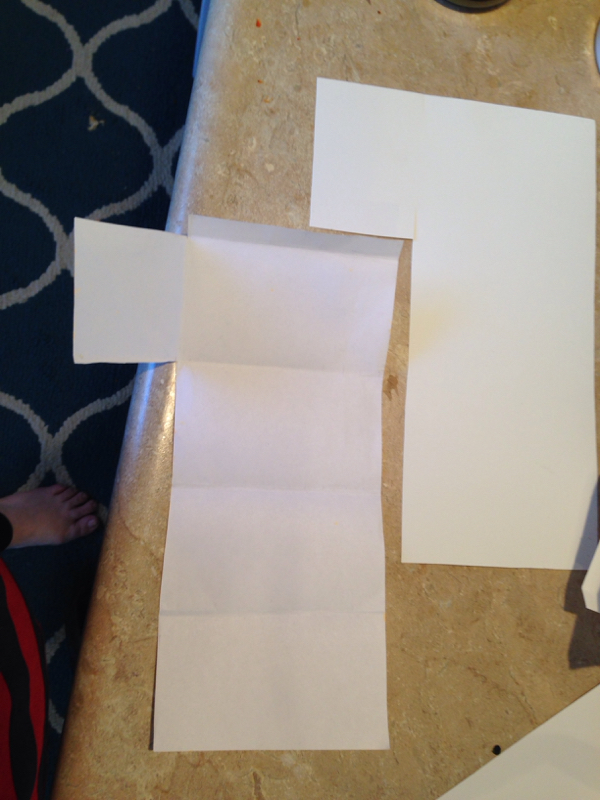
I made a stencil for how I wanted to fold the boxes out of paper
Traced the template to poster board

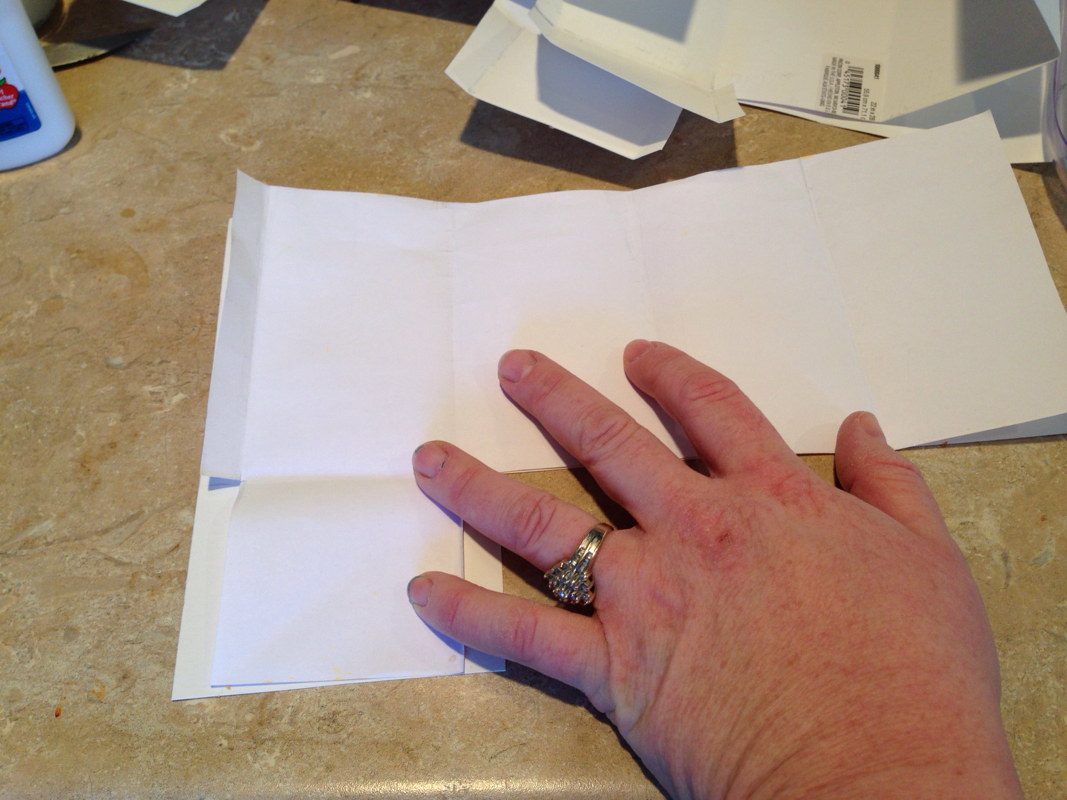
Pressed a piece of cardboard against the fold to bend it against
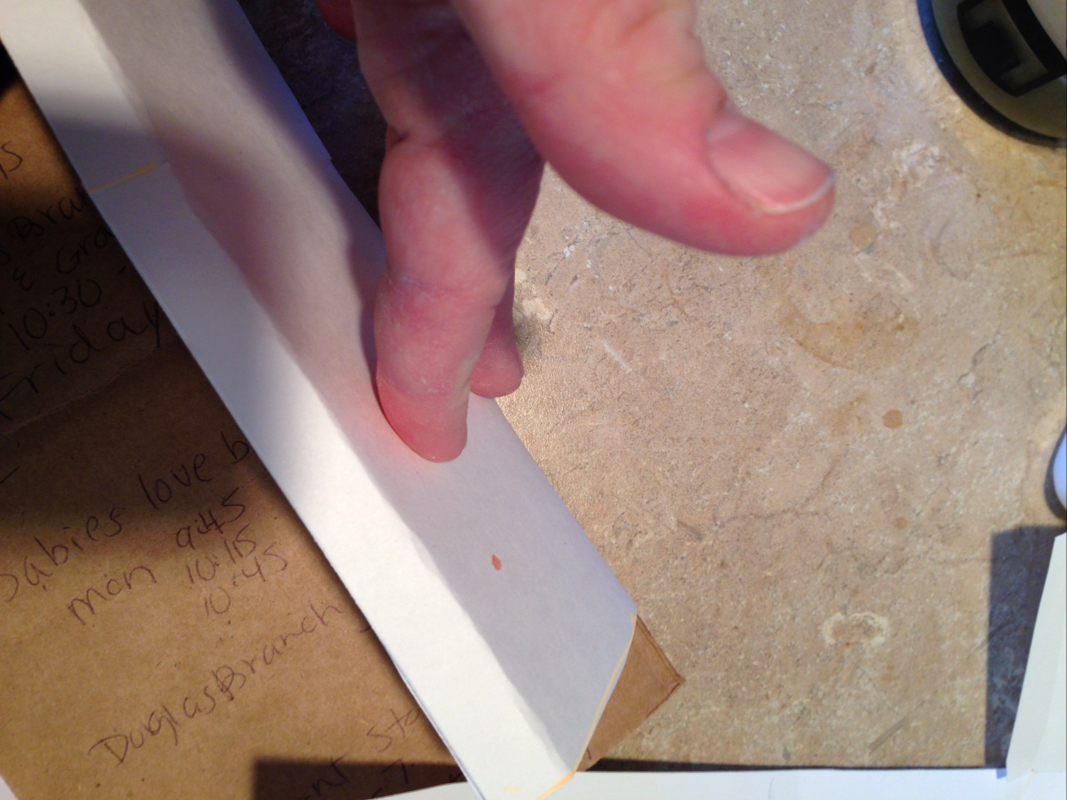
Bend bend bend
Bend some more
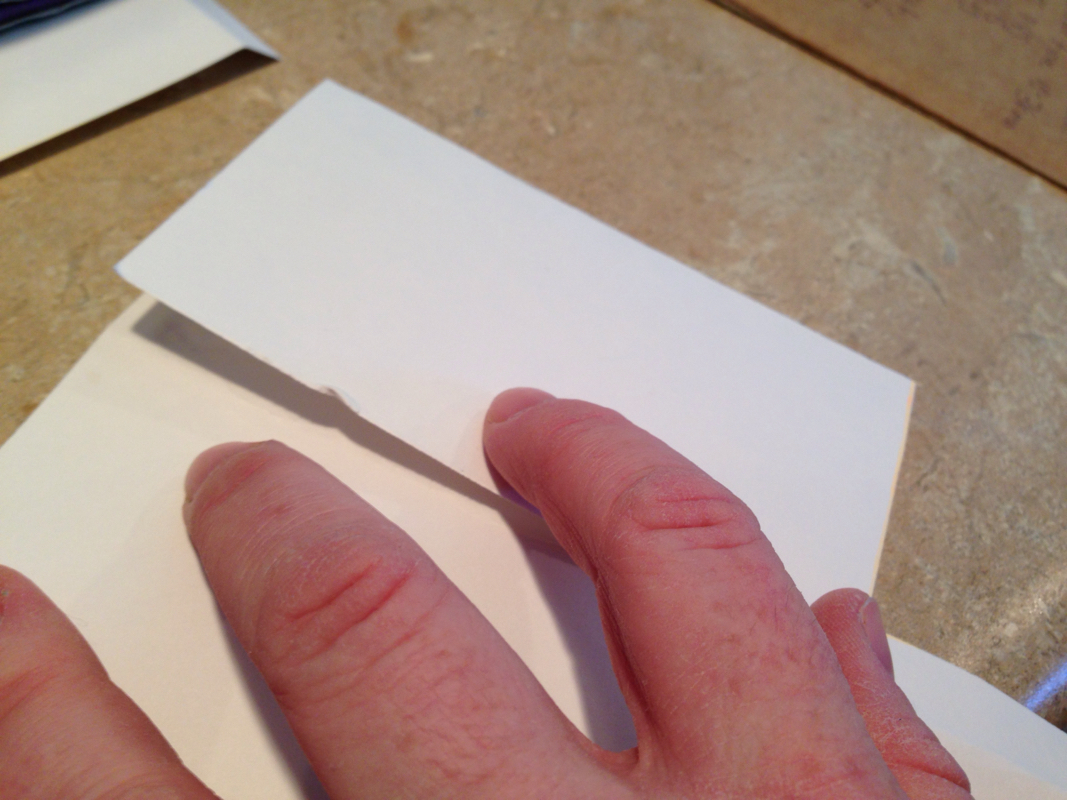
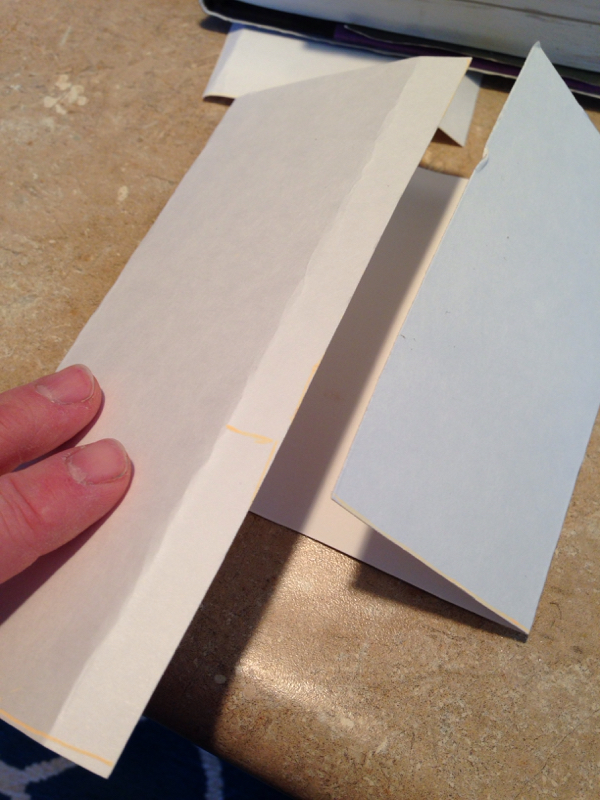
Bent edges should match when laid flat
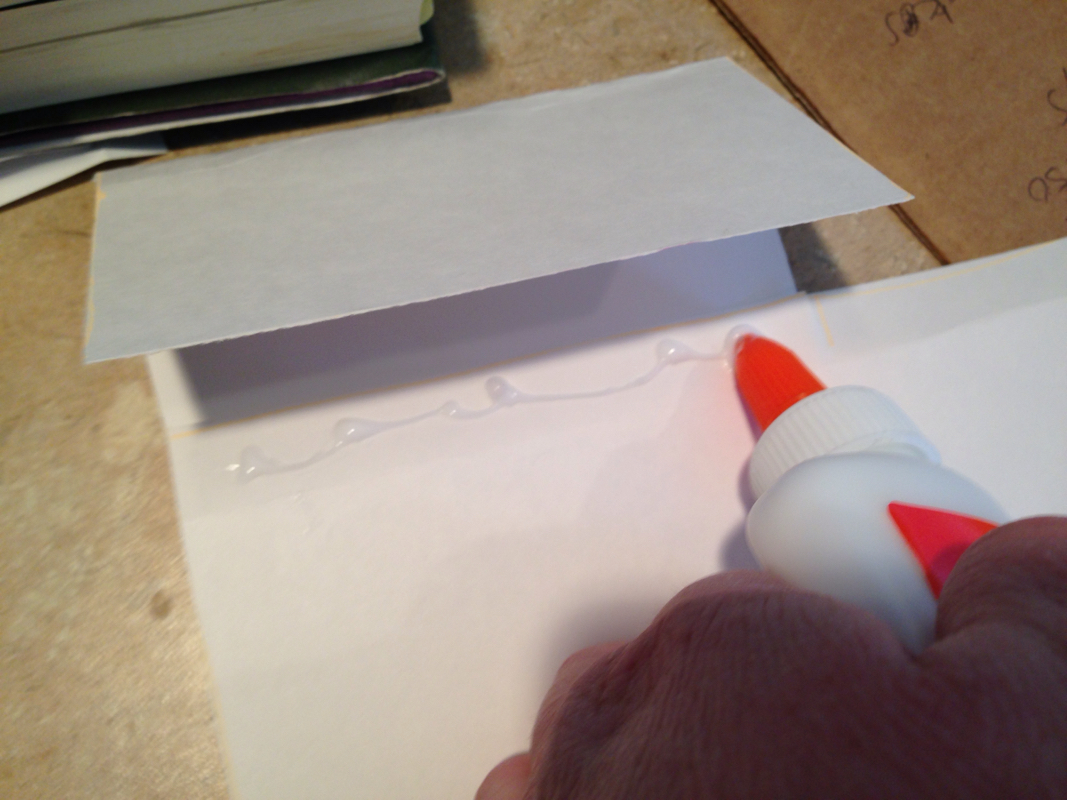
Squirt some glue on the overlap flap
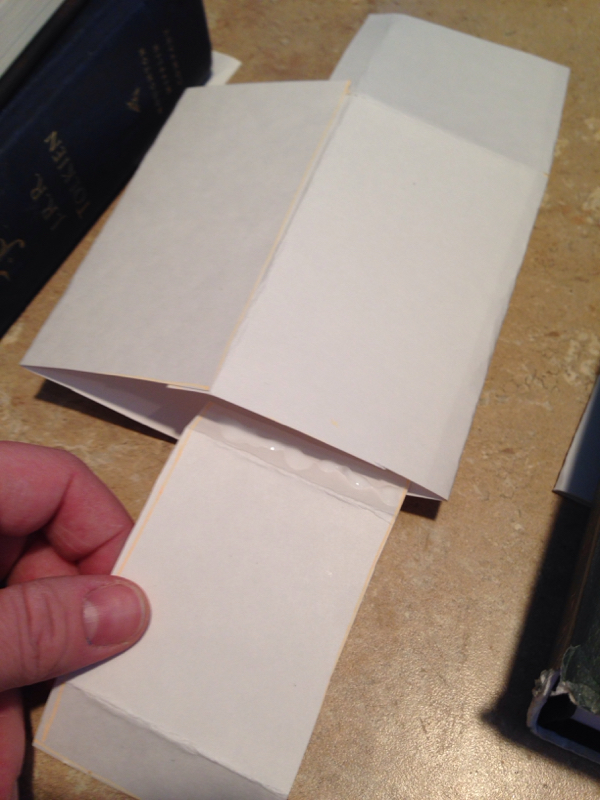
Glue this flap to the end
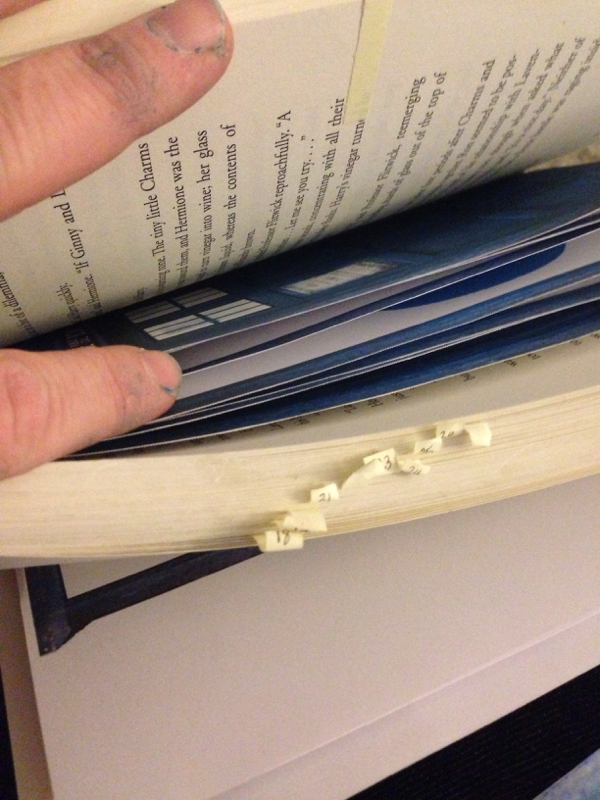
I weighed everything down with books until dry. Then I folded the boxes up to paint them. I did several layers of paint to give it a dimensional look, using light blue, royal blue, and purple. Once they were dry I laid them flat again. I copied the parts of the Tardis I wanted to print and paste, and made enough "police box" strips to cover all four sides of each box. Using a sharpie, I roughly drew boxes and lines for details on the door (3 instead of 4 so I didn't have to scrunch). Once I glued all the strips and posters and windows on, I weighed it down with books again until dry. Then I glued and taped the bottom flap in so it would be stable. 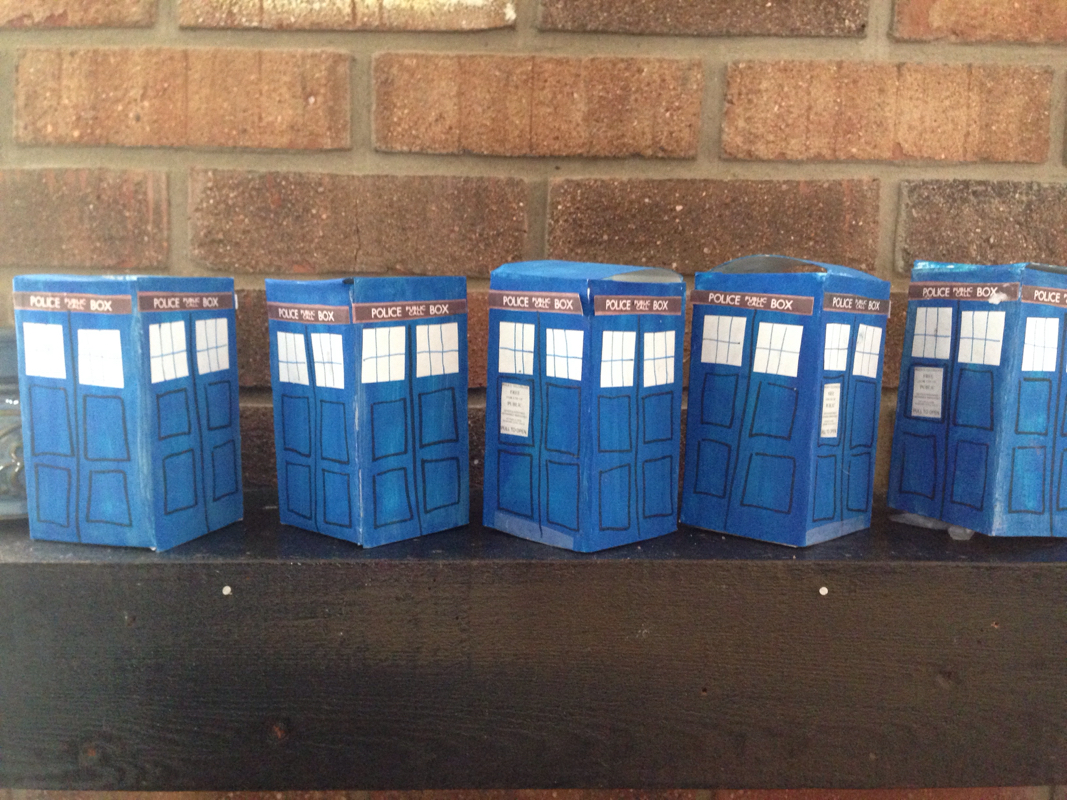
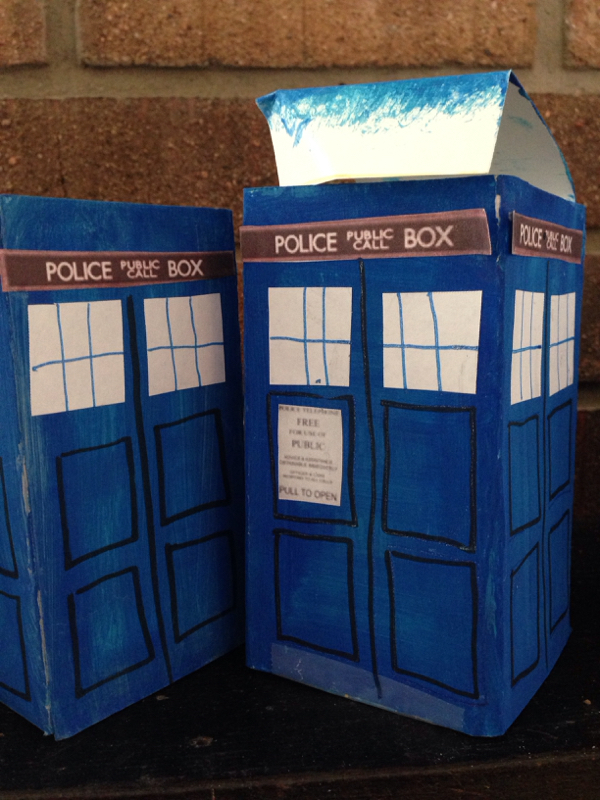
I doubt anyone needs the step by step, so I'm not really putting much thought into what I've written. BUT AREN'T THEY PRETTY?? 💓😇😍😘💗 They turned out better than I would have guessed. We stuffed them with stickers, rubber balls, laser fingers, glow sticks. I made a little "journal of impossible things" for each one, which was totally under appreciated. Lol 
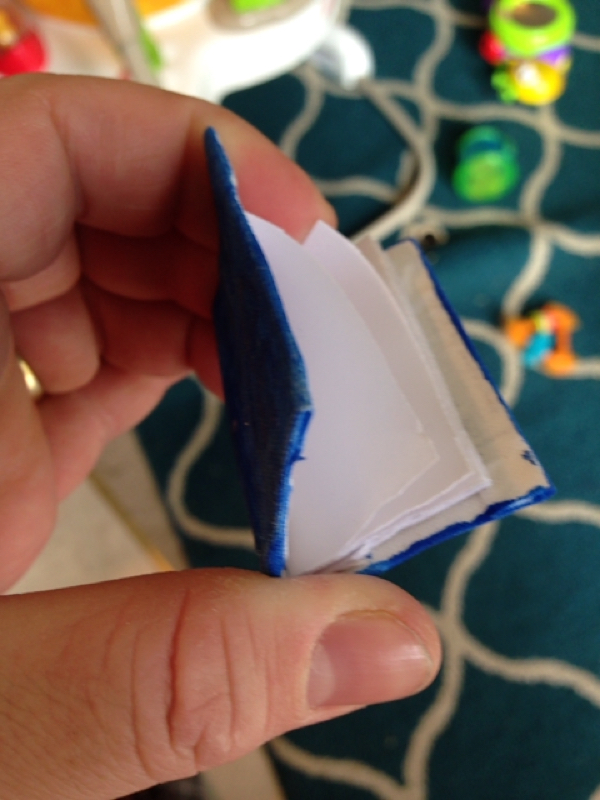
Blank pages, so you can fill it in
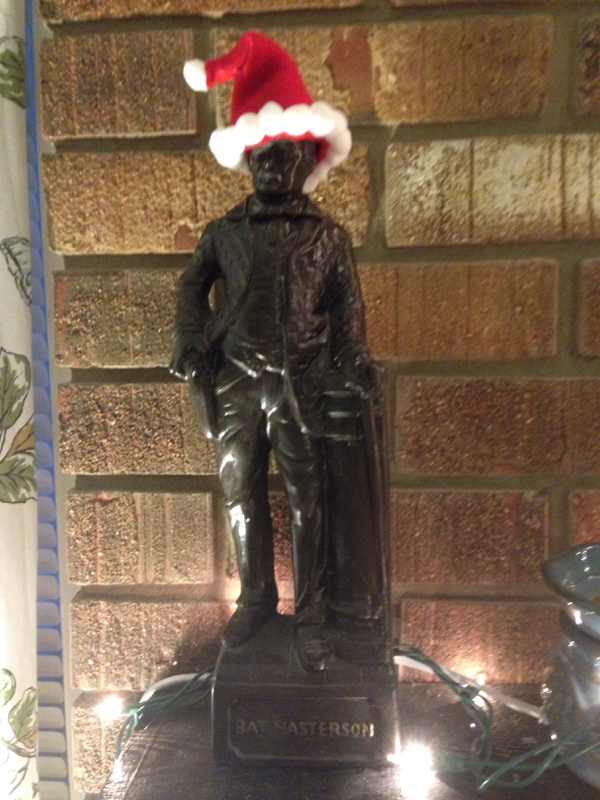
Using some red fleece, white pom-poms and hot glue, I made customized Santa hats for everything in my house I could think of. I started out wanting to put hats on the little soldier decorations that hang on the wall above our TV, but after an extra strong piña colada that my husband made me, it turned into Santa hats for everyone! (Soldier dudes not pictured).it was a quick slap dash chip and glue project. Easy easy, if you're not too bothered with hot glue burns (those suckers are hard to hold on. Plus alcohol). 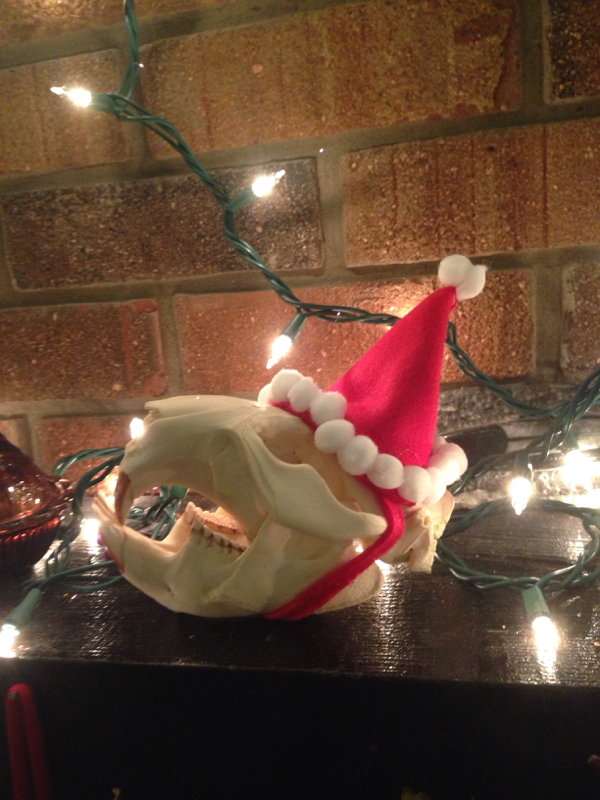
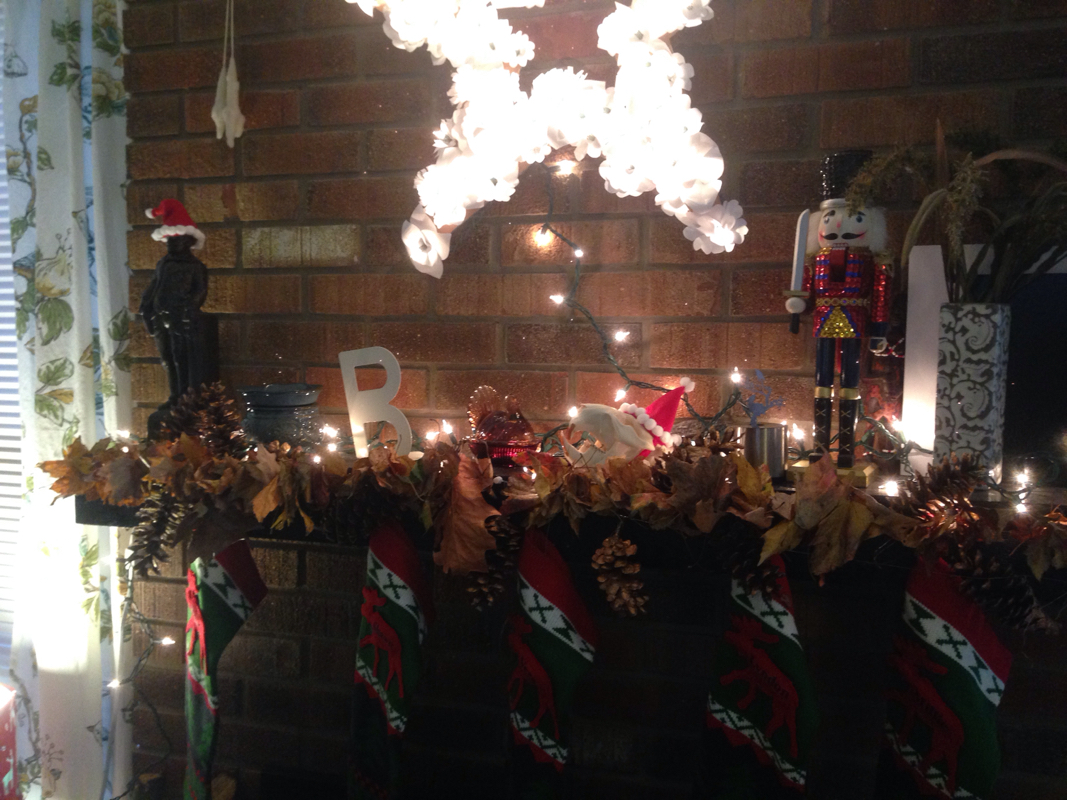
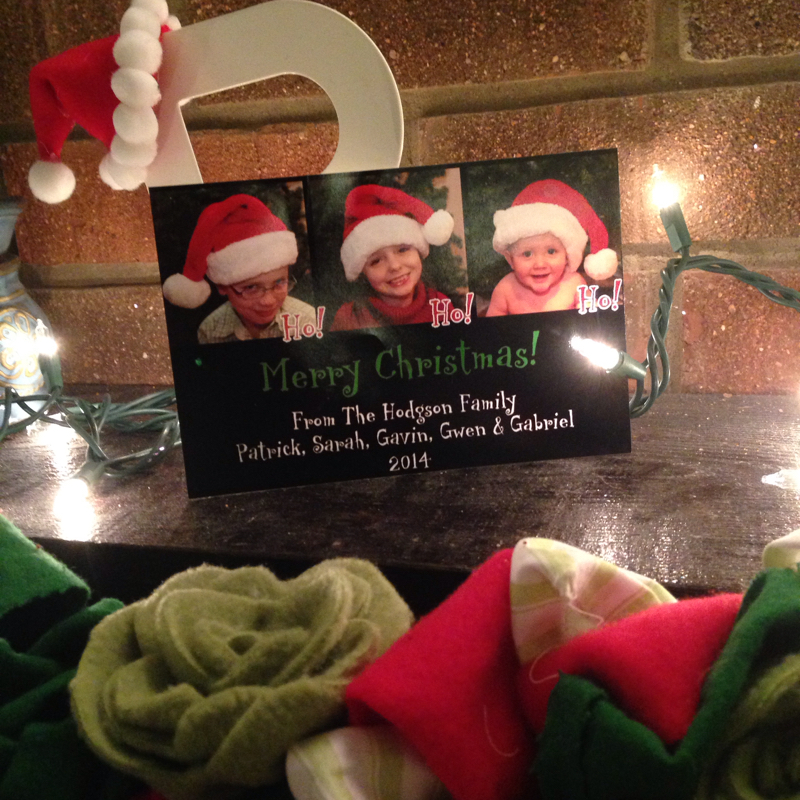
My letter B in the back has the little hat on.
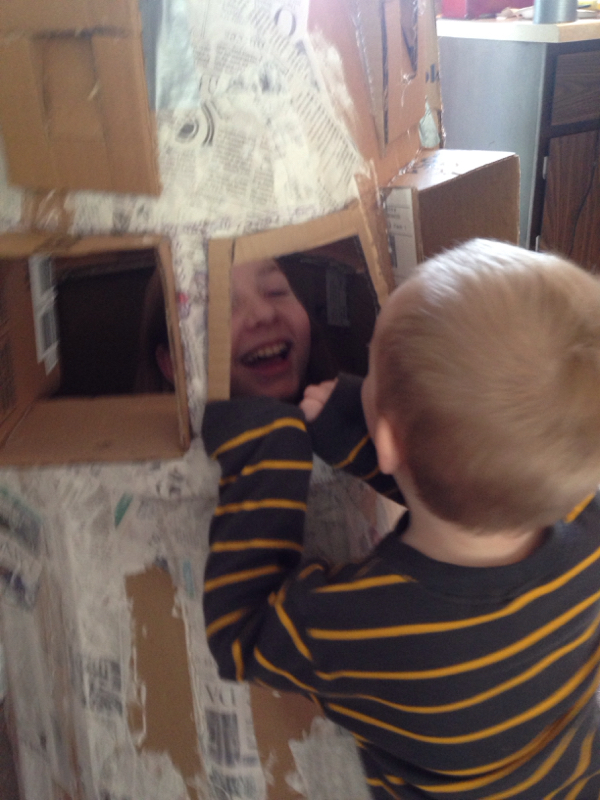
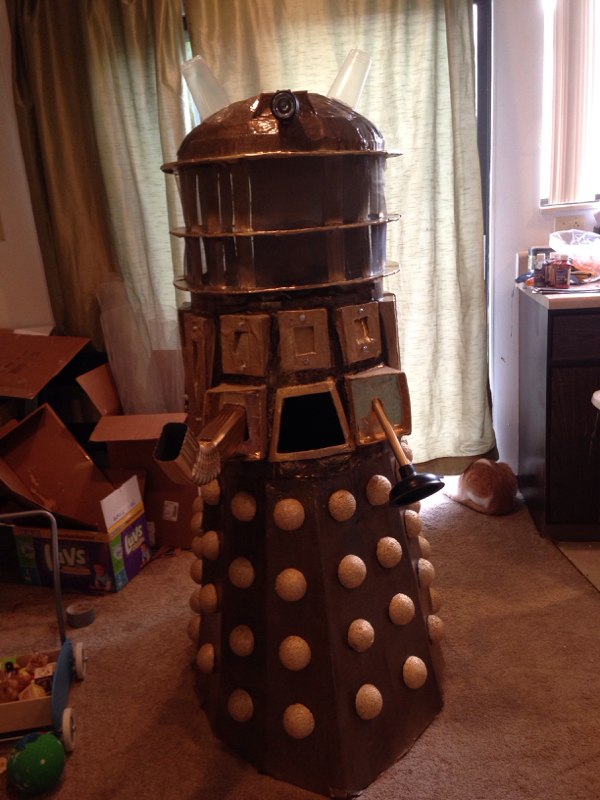
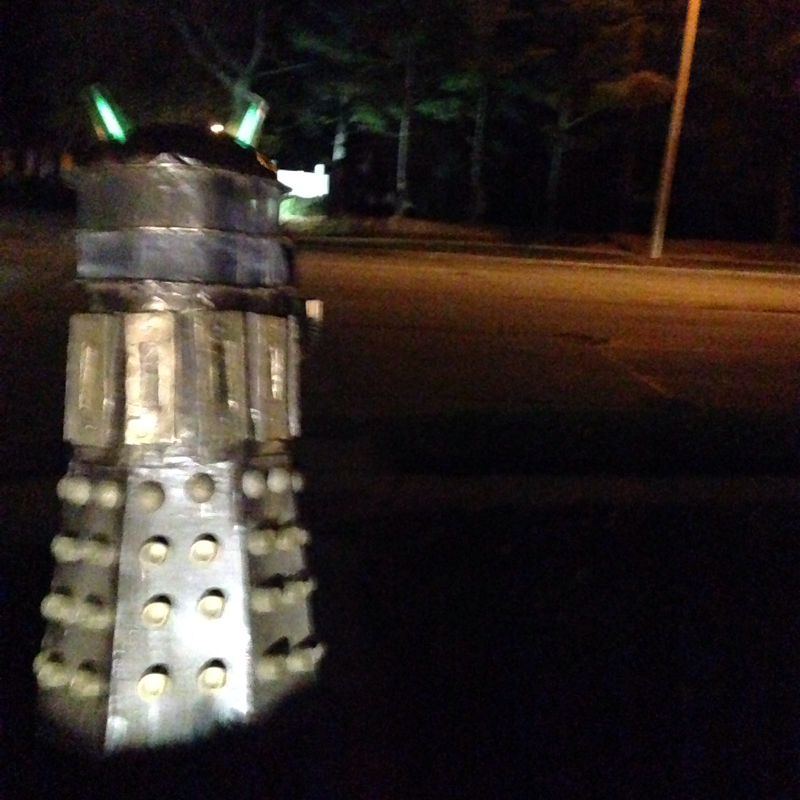
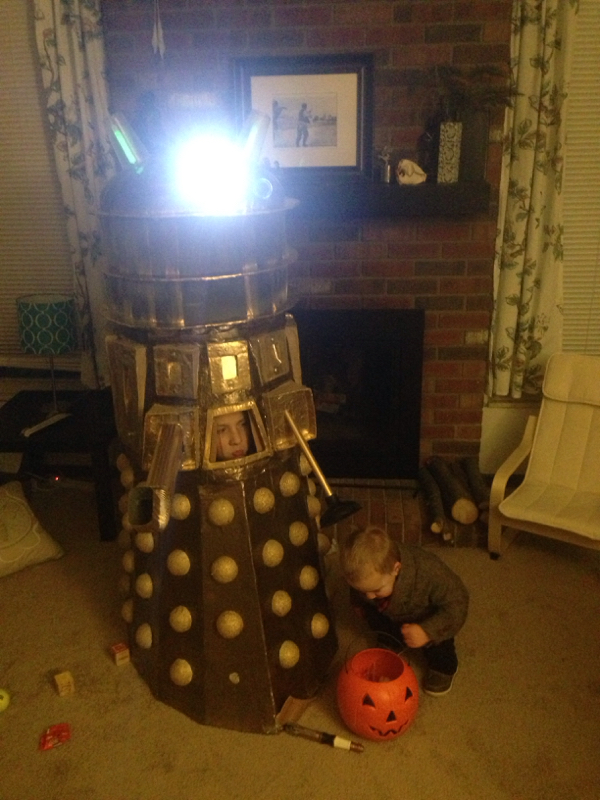
3/9/2015 0 Comments Dalek costumeThis is how the Dalek costume turned out. It was surprisingly difficult to get a picture of. 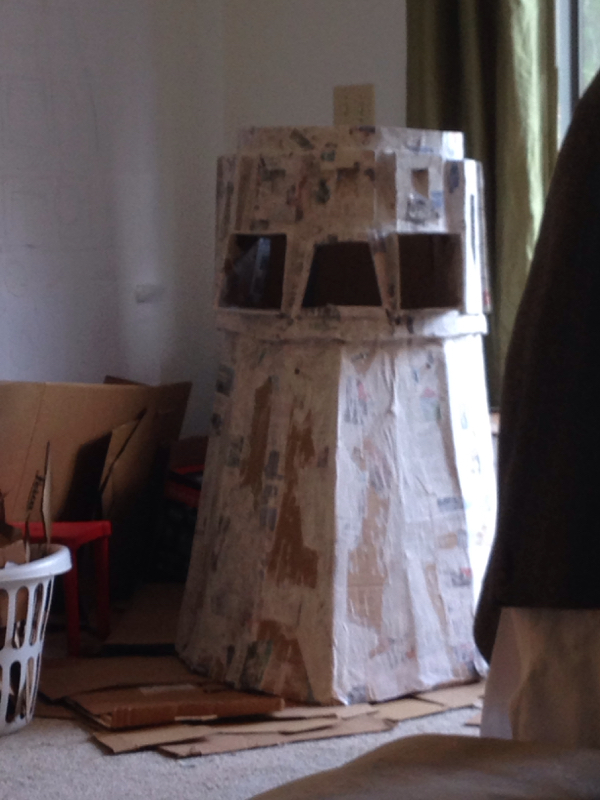
Dalek construction. Cardboard and papier-mâché
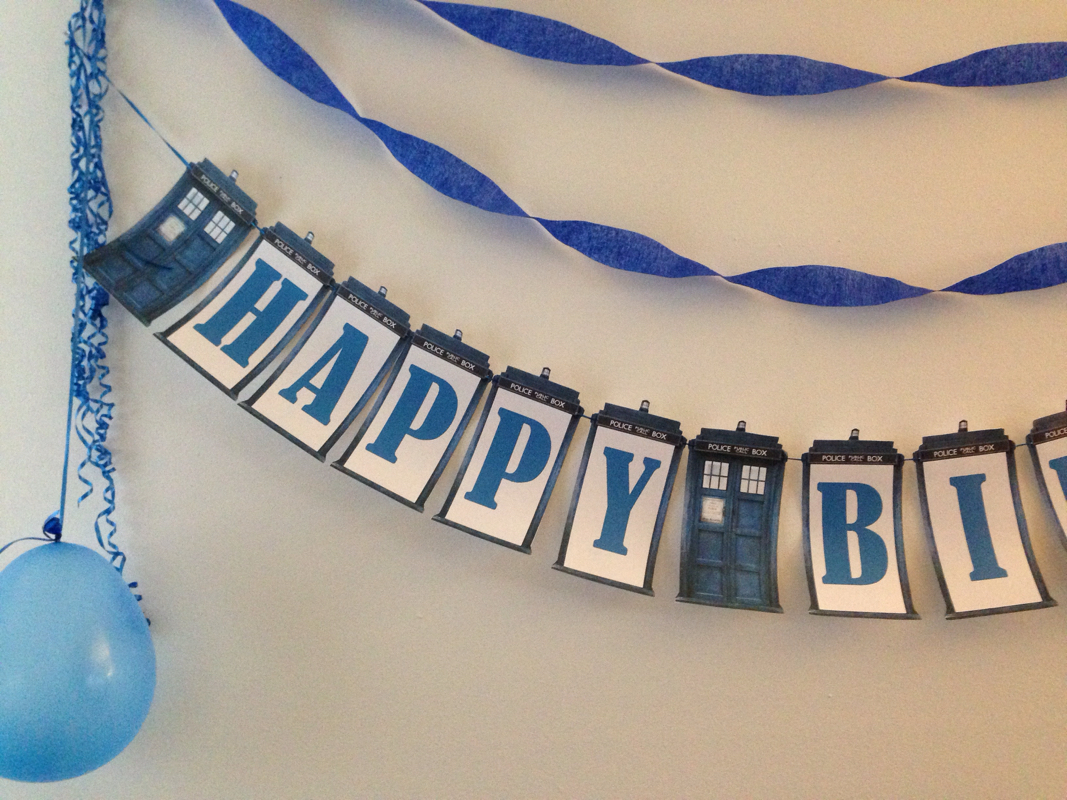
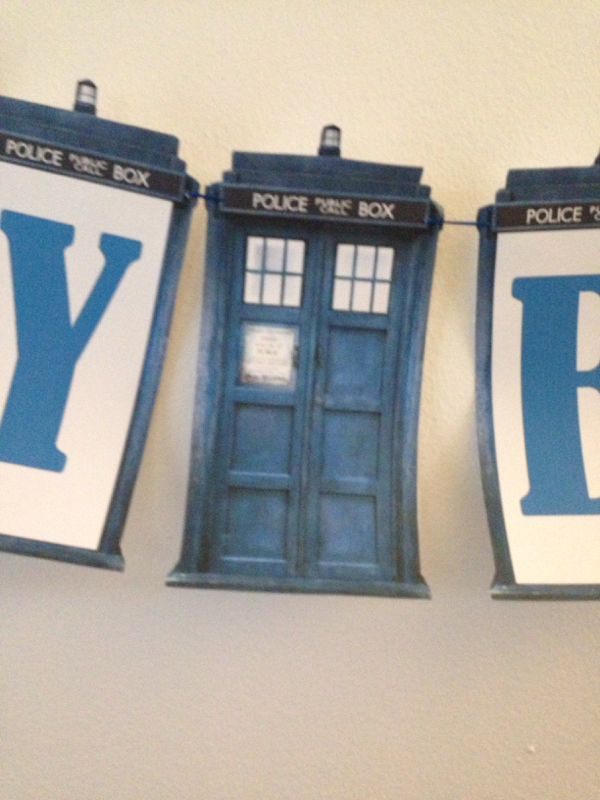
2/17/2015 0 Comments Dr Who party: banner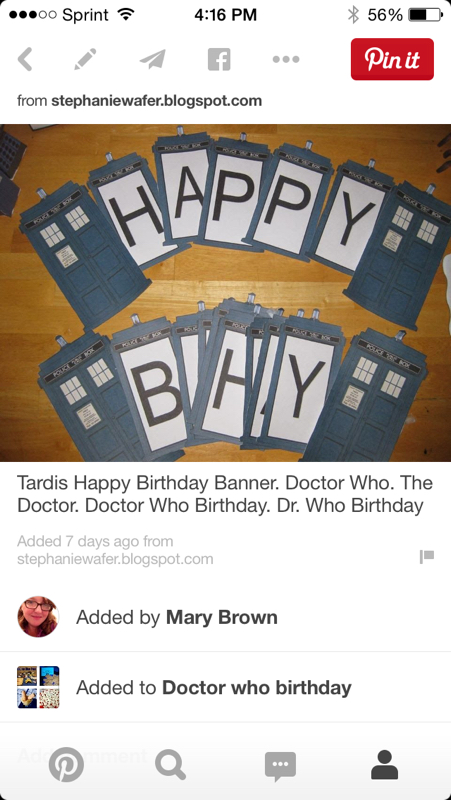
Inspiration
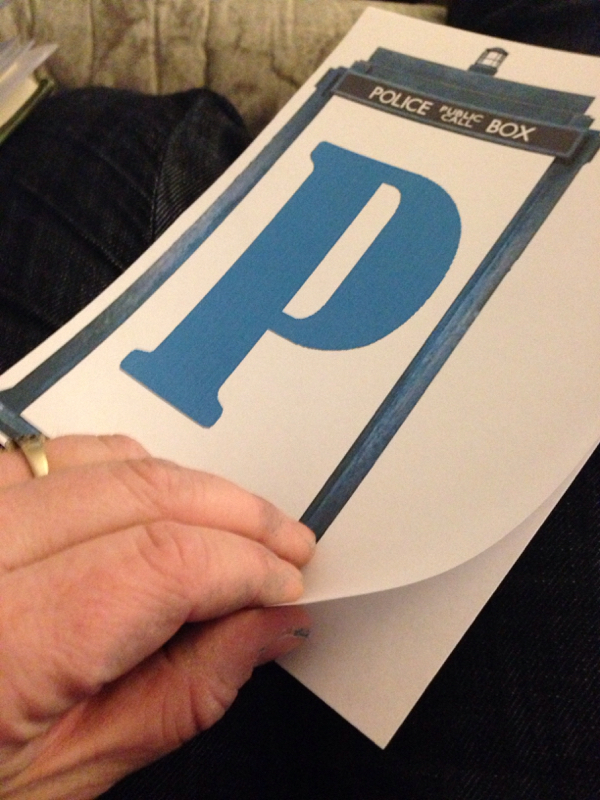
Printed letters. Glued a second sheet of paper for a touch of thickness
Cut around the edges of each one
Sandwiched in a book to flatted out

Final product, after the party

Used ribbon and a quilting thread to lace letters together.
2/17/2015 0 Comments Printed bottom plates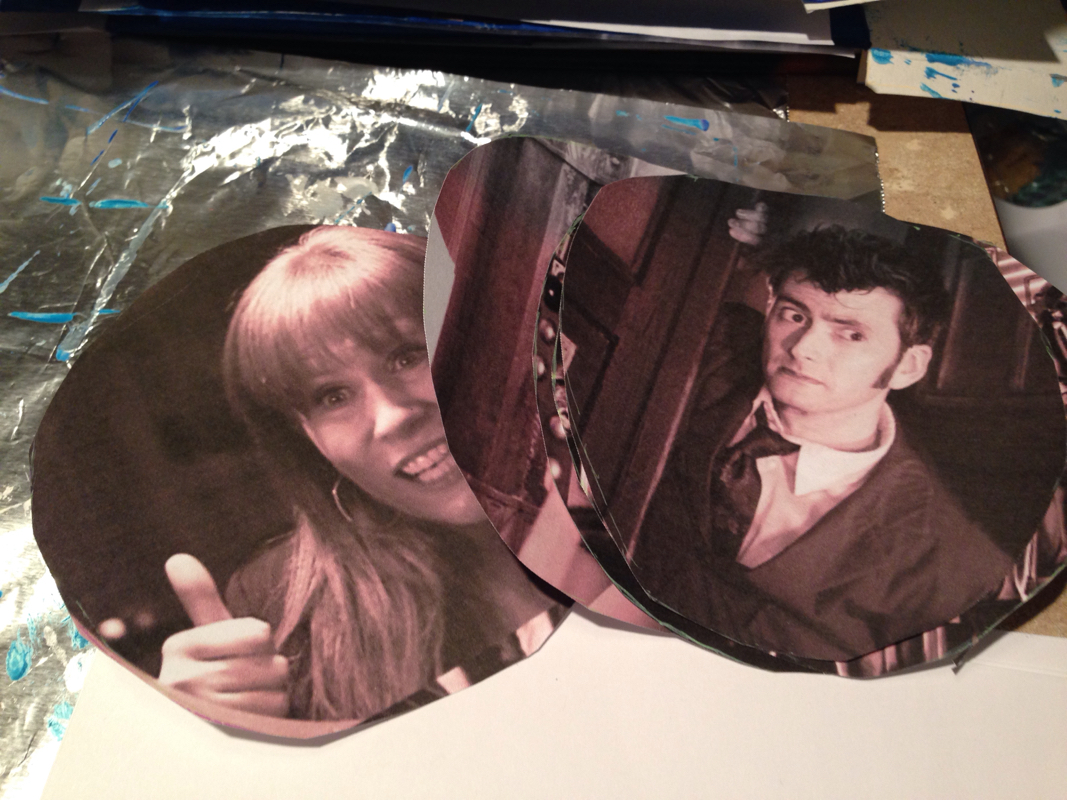
Print photos and cut in a circle
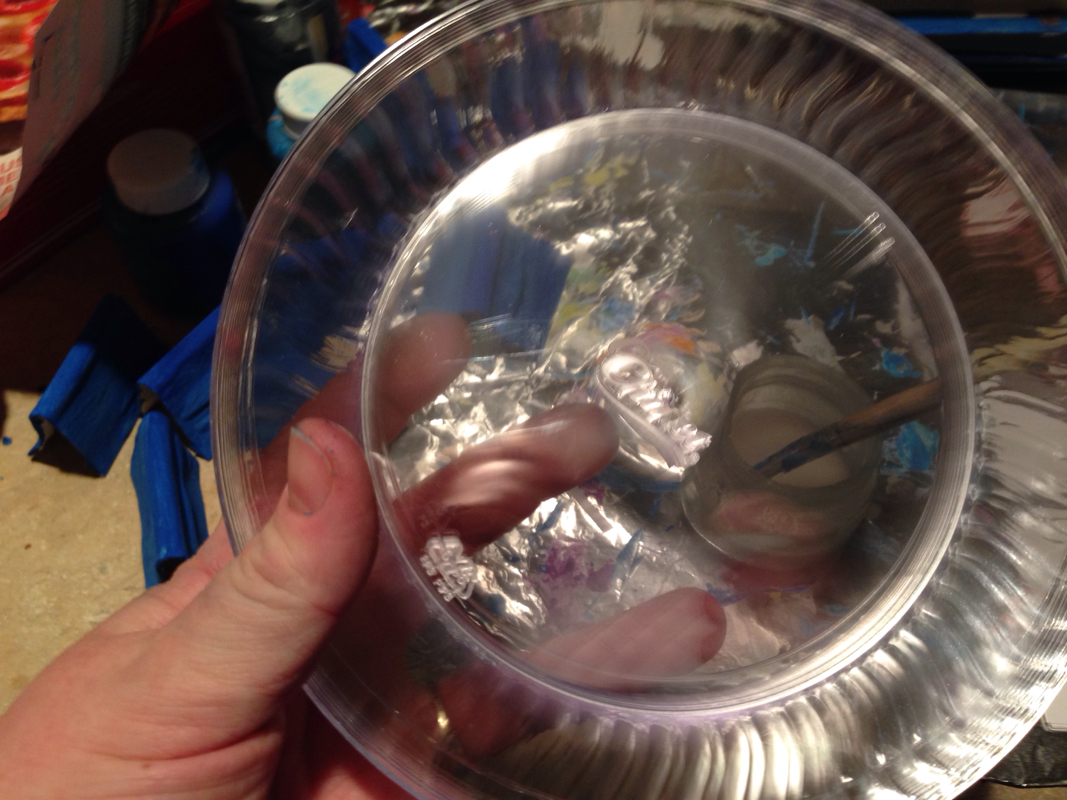
Clear plate
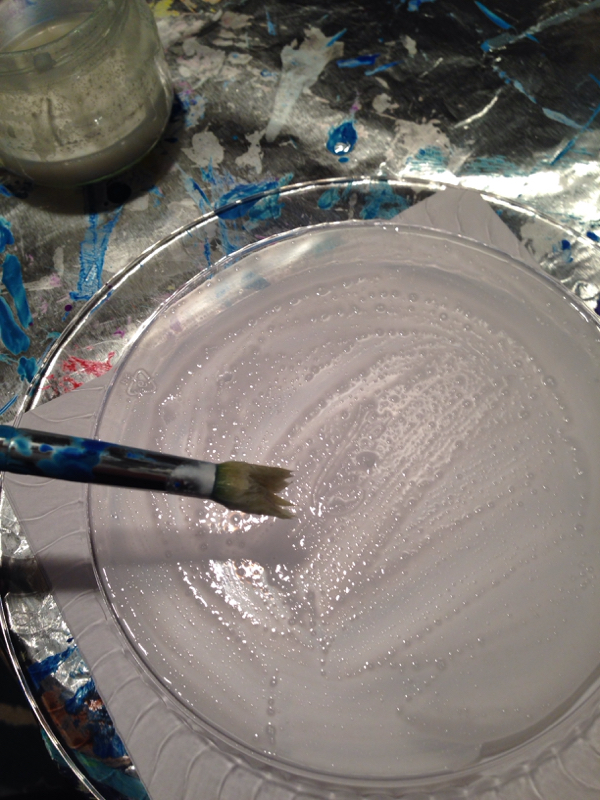
Paint on glue
Press photo into glue
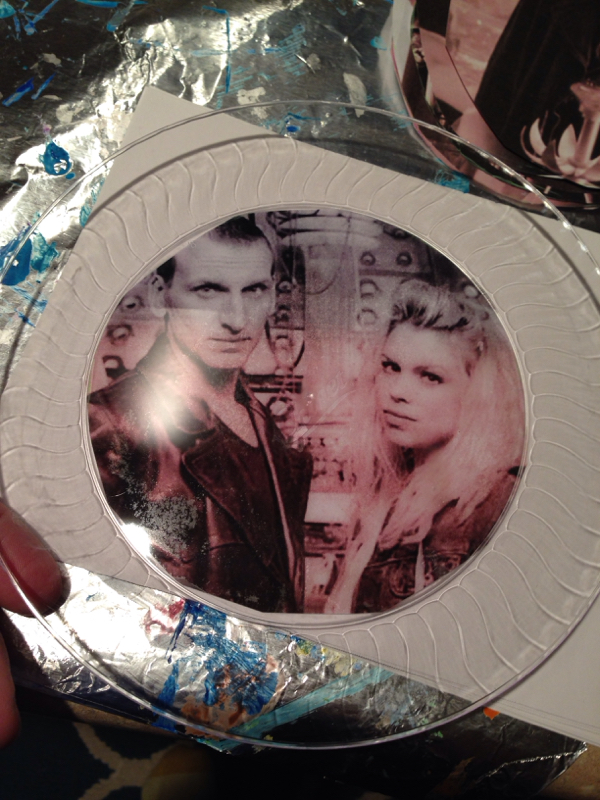
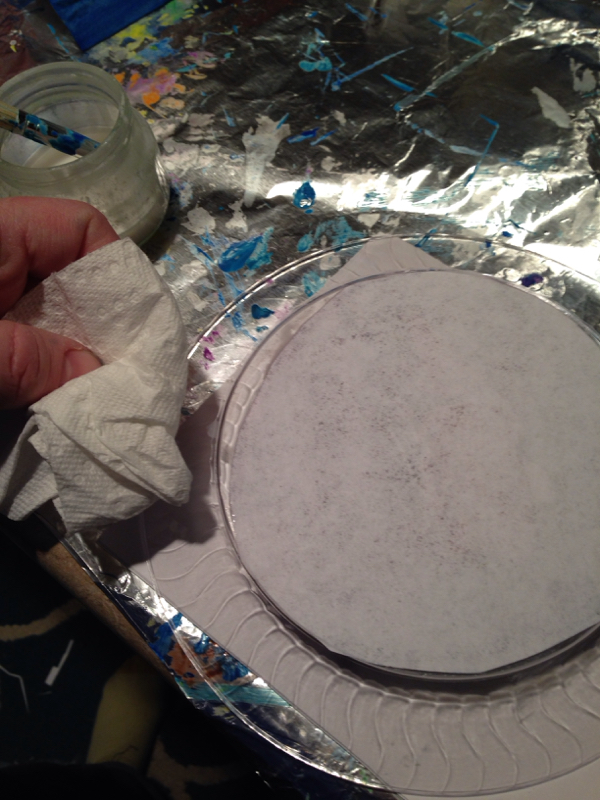
Ta da

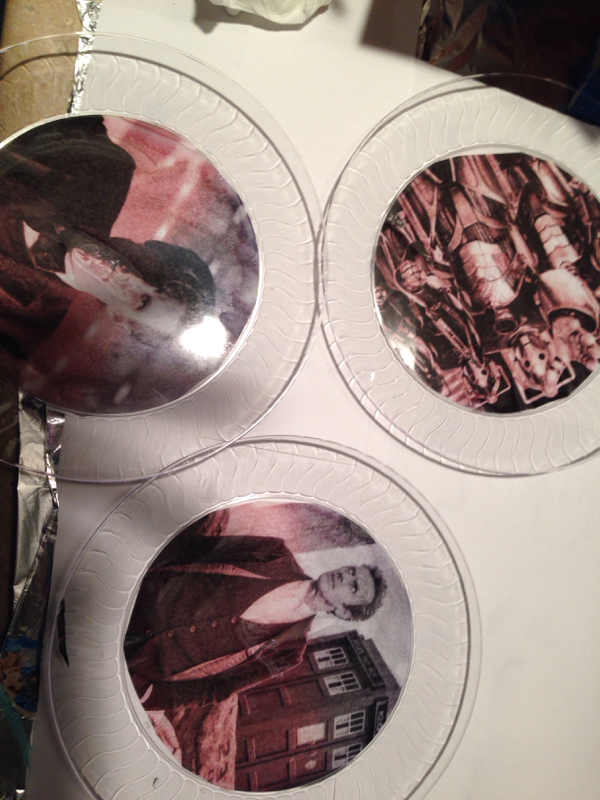
This was another Pinterest idea. It was a bit of a fail, since once the glue dried some of the pictures fell off. I used a half water, half elmers mixture, so if I had used a different glue it may have worked better. But enough of the plates stayed fine and met their purpose. I also was running low on printer ink, which was a bummer. Oh well. These could be done with any kind of image. |
Archives
June 2016
Categories
All
|
 RSS Feed
